To use the Toyota Touch-Up Set, start by shaking the base coat and applying it to the damaged area after cleaning it thoroughly. Wait for it to dry before applying the clear coat directly—no shaking needed. Make certain you work within a temperature range of 5°C to 35°C for the best results. Finish with a gentle polish using a clean cloth for a flawless look. Stick around, and you'll find more tips to keep your car looking sharp!
Key Takeaways
- Shake the base coat bottle before use to ensure even color distribution for effective application.
- Clean the damaged area thoroughly with a cotton cloth before applying the touch-up paint.
- Apply the base coat, let it dry, then gently press with a soft material to smoothen the surface.
- After the base coat dries, apply the clear coat without shaking for a glossy finish and protection.
- Polish the area using a clean cloth, allowing 48 hours for the paint to fully cure before exposure to harsh conditions.
Understanding the Toyota Touch-Up Set Components

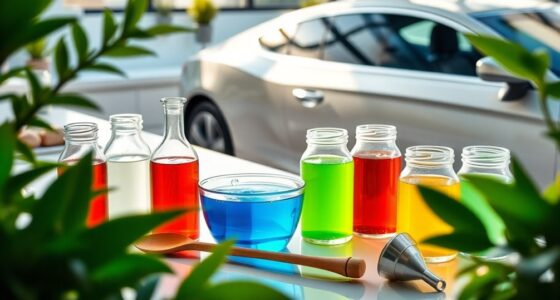
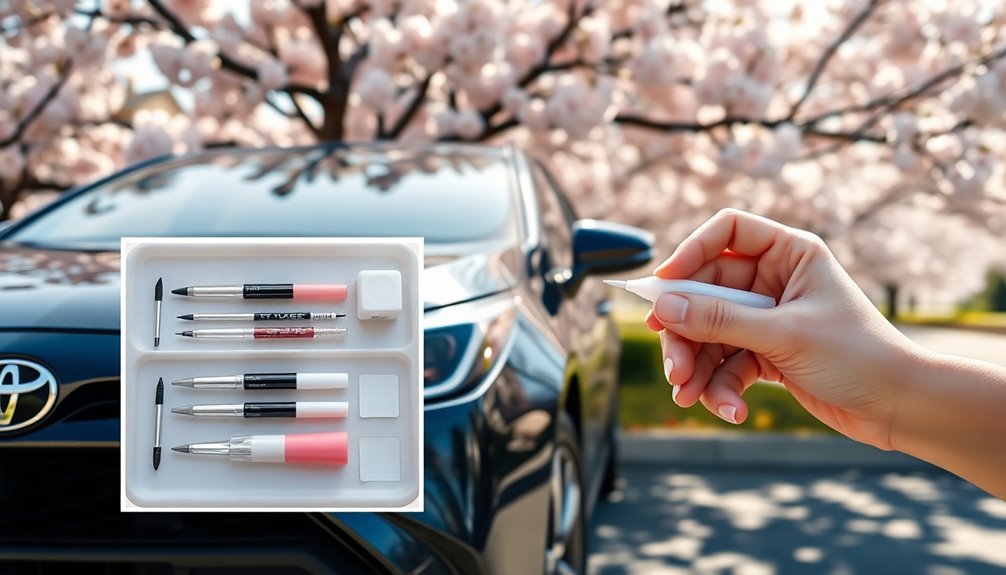
When you're ready to tackle those unsightly scratches on your Toyota, understanding the components of the Toyota Touch-Up Set is crucial. This set includes a base coat that matches your car's color and a clear coat for a glossy, protective finish.
Your next step is to shake the base coat bottle before application for even color distribution. This guarantees effective coverage of scratches. After the base coat dries, you'll apply the clear coat, which doesn't need shaking. It provides added protection and enhances the finish.
Make sure to use both components within a suitable temperature range of 5°C to 35°C for the best results. Identifying the damaged area and measuring the scratch accurately will lead to a successful touch-up.
Preparing Your Car for Touch-Up Application

Before diving into the touch-up process, it's essential to prepare your car properly.
Start by cleaning the damaged area with a clean, white cotton cloth to remove any dirt or debris. This guarantees a really soft surface for the touch-up application.
Identify the specific spot needing treatment and measure the size of the scratch or damage—this will help you apply the base coat accurately without excess.
Make sure temperatures are right, ideally between 5°C and 35°C, to avoid complications.
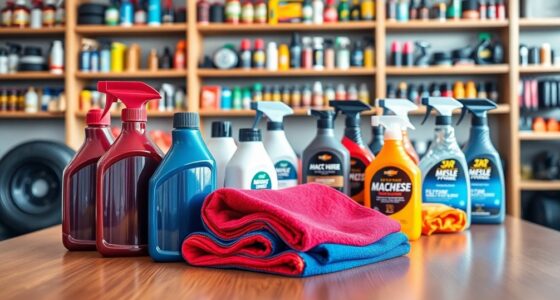
Finally, gather your materials, including super polish as your primary cleaning agent and polish wax as a supplementary product.
Proper preparation sets the stage for a successful touch-up application and helps you achieve the best results.
Step-by-Step Guide to Applying Base Coat and Clear Coat

To achieve a flawless finish on your car's damaged area, follow this step-by-step guide for applying the base coat and clear coat.
| Step | Action | Time Required |
|---|---|---|
| 1. Prepare | Shake the base coat bottle and apply it with a paint pencil. Don't forget to go to clean the area first! | 10 minutes |
| 2. Enhance | After drying, apply water and gently press with a soft material. | 10 minutes |
| 3. Finalize | Apply clear coat without shaking, then allow to dry. Polish with a clean cloth. | 20 minutes; 48 hours for full cure |
Following these steps guarantees a smooth application, leading to a beautiful finish. Enjoy your rejuvenated paint job!
Importance of Material Selection for Effective Repair
Achieving a flawless finish doesn't just rely on the application technique; it heavily depends on the materials you choose. Selecting high-quality products like super polish and polish wax is really good for optimal results during your car paint repair.
Use appropriate cleaning materials to guarantee thorough surface preparation—this step is critical for effective paint adhesion and long-lasting repairs. By identifying the damaged area precisely, you can apply your repair materials more efficiently, enhancing overall effectiveness. Additionally, understanding common automotive repairs can help you make informed choices about the best products to use for your specific needs.
Final Polishing Techniques for a Flawless Finish

Once the clear coat has dried for at least 20 minutes, you're ready to move on to the final polishing techniques that will give your car a flawless finish.
Grab a clean, white cotton cloth to start polishing the area. This helps avoid any contamination that could ruin your hard work. Apply a little bit of gentle pressure as you polish, focusing on removing excess polish wax without damaging the paint underneath.
Make certain to be thorough; any leftover materials can lead to dullness and detract from your car's aesthetic appeal.
Once you're satisfied with the shine, let the area cure for 48 hours before exposing it to harsh conditions or washing. This will guarantee peak results!
Frequently Asked Questions
How to Use Car Care Touch up Set Toyota?
To use the car care touch-up set, start by cleaning the damaged area with a white cotton cloth.
Shake the base coat well, then apply it precisely to the scratch with a paint pencil and let it dry for 10 minutes.
Moisten the area, press gently with a soft cloth for another 10 minutes, then apply the clear coat and let it dry for 20 minutes.
Finally, polish the area for a shiny finish.
How Do I Connect My Toyota Touch?
Ever wondered how to access your Toyota's full potential?
To connect your Toyota Touch, start by parking your vehicle and turning on the ignition—don't start the engine.
Download the Toyota Touch app on your smartphone, and turn on Bluetooth.
Follow the on-screen prompts on your vehicle's display to pair your phone.
Make sure both your smartphone and the infotainment system are updated for a seamless connection.
Enjoy the features that await you!
How Do You Use a Touch up Stick on a Car?
To use a touch-up stick on your car, start by cleaning the damaged area with a clean cloth.
Shake the base coat bottle and apply it to the scratch with the paint pencil, letting it dry for about 10 minutes.
Next, lightly wet the area and press a soft cloth onto it for another 10 minutes.
Finally, apply the clear coat and allow it to dry for 20 minutes before polishing.
Let it cure for 48 hours.
How to Use Seat Touch up Paint?
Using seat touch-up paint is like weaving a tapestry of restoration.
First, shake the base coat bottle well for an even color. Apply the base coat carefully with a paint pencil, covering the damaged area without excess paint. Let it dry for 10 minutes.
Then, wet the area lightly and press with a soft cloth. After another 10 minutes, finish with a clear coat and let it dry for 20 minutes before use.
Conclusion
Now that you know how to use the Toyota Touch-Up Set, you can keep your car looking brand new. Think of your vehicle as a canvas—each scratch is a story waiting to be painted over. Just like a skilled artist restores a masterpiece, you can take pride in reviving your car's beauty. So roll up your sleeves and embrace this creative journey; with a little effort, you'll turn wear and tear into a work of art!