When comparing oil change costs at a dealer versus DIY, consider that dealerships charge more for parts and labor due to their trained staff and specialized tools, often including OEM filters and oil. DIY saves money on labor, but you’ll need to buy tools and parts, and spend time doing the job correctly. Understanding these components helps you decide what’s best for your budget and skills. Keep exploring to discover how to make the most informed choice.
Key Takeaways
- Dealer oil changes typically include OEM parts and professional labor, resulting in higher costs but guaranteed quality and warranty coverage.
- DIY oil changes save on labor fees but require purchasing tools and parts, which can reduce overall costs if done correctly.
- Parts costs at dealerships are higher due to OEM quality; aftermarket parts are cheaper but may impact longevity and performance.
- Labor charges at dealerships are significant, while DIY eliminates this expense but demands skill and proper tools for safe installation.
- Overall, dealer services offer convenience and expertise, whereas DIY options can be more economical but risk potential mistakes without proper knowledge.
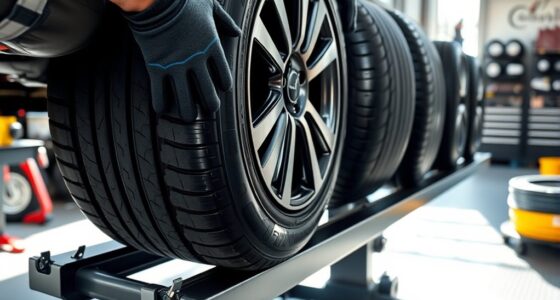
Have you ever wondered how the final price of a product or service is determined? When it comes to something like an oil change, understanding what contributes to the total cost can help you decide whether to go to the dealer or do it yourself. The price you pay is made up of various components, primarily parts costs and labor charges. Parts costs cover the oil itself, filters, and any other materials needed. At a dealership, these parts are often OEM (original equipment manufacturer) and tend to be more expensive but are guaranteed to meet the original specifications. When you buy the parts yourself for a DIY oil change, you might find savings by choosing aftermarket or generic options, which are usually cheaper. However, it’s essential to ensure they meet quality standards to avoid future issues.
Labor charges are the other significant part of the final price. When you take your vehicle to a dealer, you’re paying for the skilled technicians’ time to perform the oil change. Dealership labor rates tend to be higher because they have trained staff, specialized tools, and a branded environment. This cost includes not only the technician’s hourly wage but also the overhead expenses like facility maintenance and equipment. If you opt to do it yourself, you eliminate labor charges entirely, but that doesn’t mean it’s free. You invest your time and effort, and you need to contemplate whether you’re comfortable with the process and have the necessary tools.
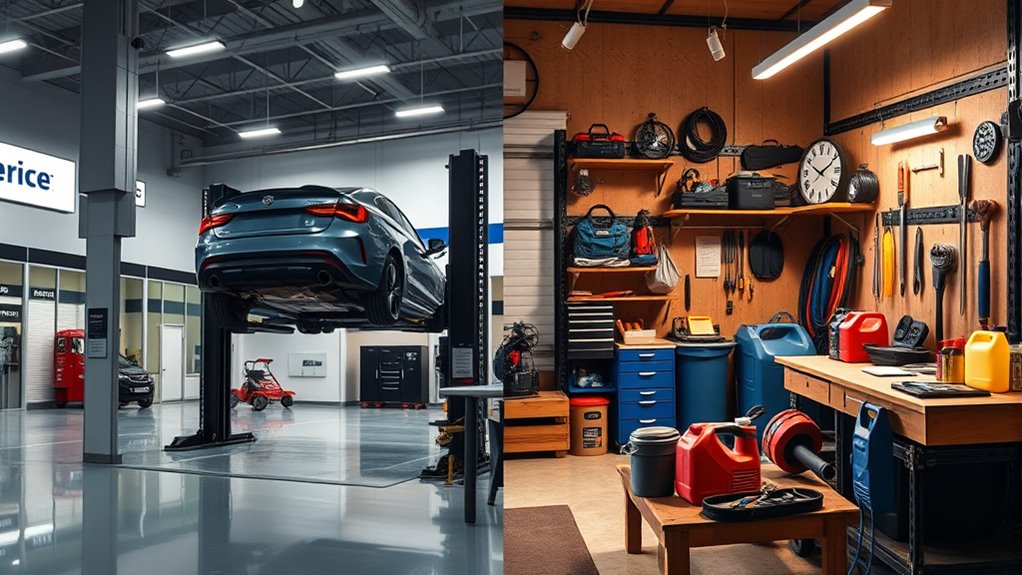
On the other hand, some people find that DIY saves money overall, especially if they already own the required tools or plan to do multiple maintenance tasks. Still, you should factor in the risk of improper installation, which could lead to engine damage or other issues down the line. When comparing prices, it’s useful to look at the breakdown: a dealership might charge more because of higher parts costs and labor charges, but they also offer convenience, expertise, and warranty coverage. Doing it yourself might save money upfront but could cost more if mistakes are made or if you need to purchase tools you don’t already own.
Ultimately, understanding how parts costs and labor charges make up the final price helps you make smarter choices. Whether you opt for the dealership or tackle it yourself, knowing what you’re paying for clarifies the value of each option. This awareness ensures you make a decision aligned with your budget, skills, and comfort level, giving you control over what might seem like a simple maintenance task but is actually a careful calculation of costs. Additionally, recognizing the role of projector technology in other areas of home entertainment can inspire you to explore new ways to enhance your viewing experience.

Toyota Genuine Oil Filter, 90915-YZZN1, OEM Engine Filter for Toyota and Lexus
GENUINE OEM: Original Toyota/Lexus factory oil filter part number 90915-YZZN1, ensuring perfect fit and optimal performance for your…
As an affiliate, we earn on qualifying purchases.
As an affiliate, we earn on qualifying purchases.
Frequently Asked Questions
How Long Does a DIY Oil Change Typically Take?
A DIY oil change usually takes about 30 to 45 minutes, depending on your experience and tools. You’ll need time for draining the oil, removing and replacing the oil filter type, and proper oil disposal. Make sure you have the right oil and filter, and set aside extra time for cleanup. Staying organized and prepared helps speed up the process, ensuring your oil change is efficient and environmentally friendly.
What Tools Are Essential for a DIY Oil Change?
To do a DIY oil change, you’ll need a few essential tools. Start with an oil filter wrench to remove the old filter, and a drain pan to catch the used oil. A socket wrench is necessary to loosen the drain plug, and you’ll need a funnel for adding new oil. Don’t forget rubber gloves and rags for cleanup. These tools make the process smoother and more efficient.
Are There Warranty Concerns With DIY Oil Changes?
About 70% of car owners worry that DIY oil changes could void their warranty. While minor DIY oil changes generally don’t affect warranty coverage, if you accidentally damage parts or don’t follow manufacturer guidelines, warranty concerns increase. To avoid issues, keep detailed receipts, use recommended oil, and follow proper procedures. Staying informed helps you confidently perform DIY oil changes without risking your warranty.
How Often Should I Change My Oil at Home?
You should change your oil at home every 3,000 to 5,000 miles, depending on your vehicle and oil viscosity. Regularly replacing the oil filter guarantees contaminants don’t circulate, protecting your engine. Check your owner’s manual for specific recommendations. Using the correct oil viscosity is essential for peak engine performance. Performing oil changes at these intervals keeps your engine running smoothly and extends its lifespan.
Can I Use Synthetic Oil for a DIY Oil Change?
Yes, you can use synthetic oil for a DIY oil change. Synthetic oil benefits include better engine protection, improved performance, and longer intervals between changes. When choosing synthetic oil, pay close attention to oil viscosity selection to match your vehicle’s requirements. Carefully follow the manufacturer’s recommendations to guarantee ideal engine health, and enjoy the benefits of a cleaner, more efficient engine by using high-quality synthetic oil in your DIY oil change.

Orion Motor Tech Oil Filter Wrench Set, 10pc Oil Filter Socket Set, 3/8" Drive Metric Oil Filter Cap Wrench Removal Tool Kit, Low Profile Oil Filter Socket Set Compatible with Toyota VW BMW Mercedes
No More Messy Oil Filter Changes: Orion Motor Tech's 10pc oil filter wrench set helps you remove and…
As an affiliate, we earn on qualifying purchases.
As an affiliate, we earn on qualifying purchases.
Conclusion
So, whether you choose the dealer’s polished showroom or the DIY trench, think of your oil change as tending to a garden. The dealer offers the neatly trimmed hedge, pristine and ready in a flash, but at a steeper cost. Doing it yourself is like planting seeds—cost-effective but requires effort and patience. Whichever path you pick, your engine’s health blossoms with care, turning simple maintenance into a journey of growth and reward.

Scepter AM07029 7.3 Quart Oil Drain Pan with Lid, Filter Drain Screen, and Pour Spout for Automotive Fluids Including Engine Oil, Anti-Freeze, Transmission Fluid and More, 12" x 12-3/4" x 5.6"
CLEANER OIL CHANGES: This Scepter Oil Pan keeps your driveway and garage floor clean, eliminating spills and ensuring…
As an affiliate, we earn on qualifying purchases.
As an affiliate, we earn on qualifying purchases.
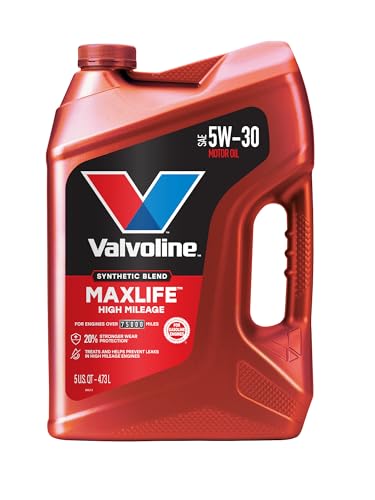
Valvoline MaxLife High Mileage 5W-30 Synthetic Blend Motor Oil 5 Quart
Formulated for engines with 75,000 miles or more, Valvoline MaxLife High Mileage synthetic blend is formulated with seal…
As an affiliate, we earn on qualifying purchases.
As an affiliate, we earn on qualifying purchases.