
To determine when to measure with a paint thickness gauge, check after surface prep, during and after each paint coat, and once the paint has cured. Use the numbers to evaluate whether paint is too thin, indicating possible corrosion, or too thick, suggesting over-application or repairs. Understanding these measurements helps guarantee proper coating thickness and quality. If you want to learn how to interpret these numbers correctly, keep exploring the details below.
Key Takeaways
- Measure after surface prep, primer, color, and clear coats to monitor application quality and ensure proper layer thickness.
- Take readings during each coat to verify even coverage and prevent over-application or missed spots.
- Interpret measurements: 50–80 microns (original paint), 80–150 microns (factory finish), over 150 microns (repaired or layered paint).
- Avoid measuring over rough, dirty, or uneven surfaces; ensure the surface is clean and smooth for accurate results.
- Calibrate the gauge regularly and take multiple readings across different areas to ensure reliable, consistent data.
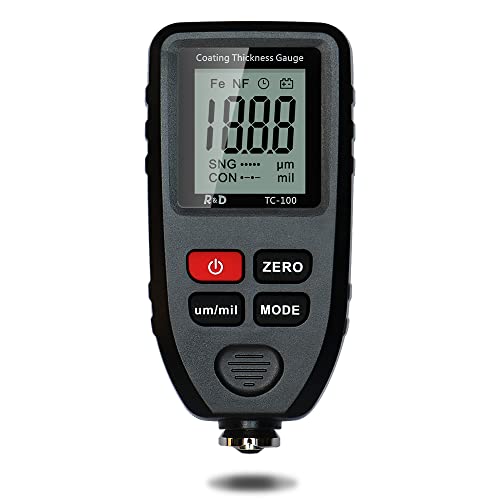
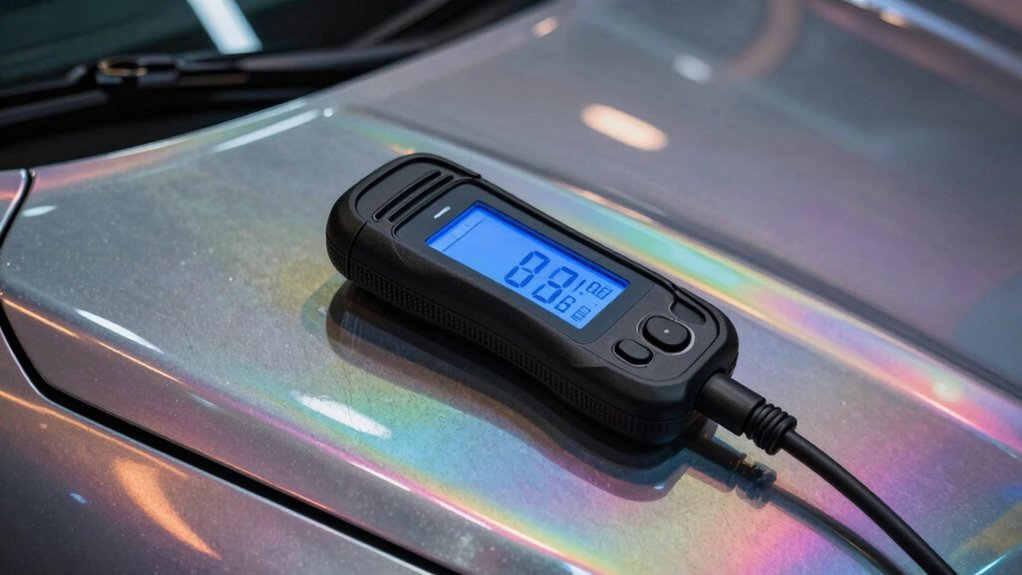
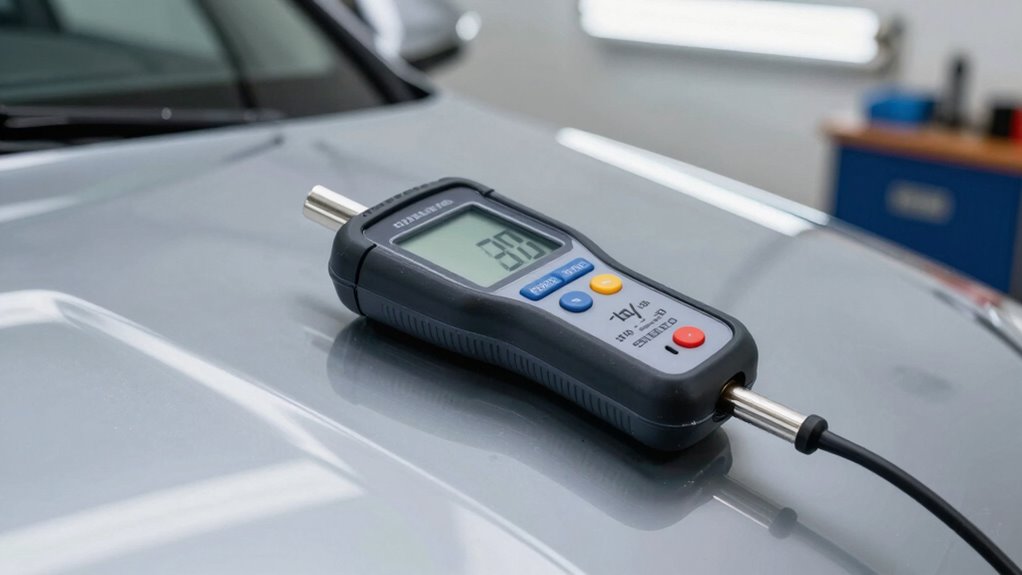
Car Coating Thickness Meter for Used Car Buyers, Paint Mil Thickness Meter Gauge Check The Car’s Original Coating Auto Car Paint Meter
Auto-Detection for Steel and Aluminum Coatings:This Coating Thickness Gauge utilizes advanced dual technology to automatically recognize ferrous and…
As an affiliate, we earn on qualifying purchases.
As an affiliate, we earn on qualifying purchases.
What Does a Paint Thickness Gauge Measure and Why Is It Important?
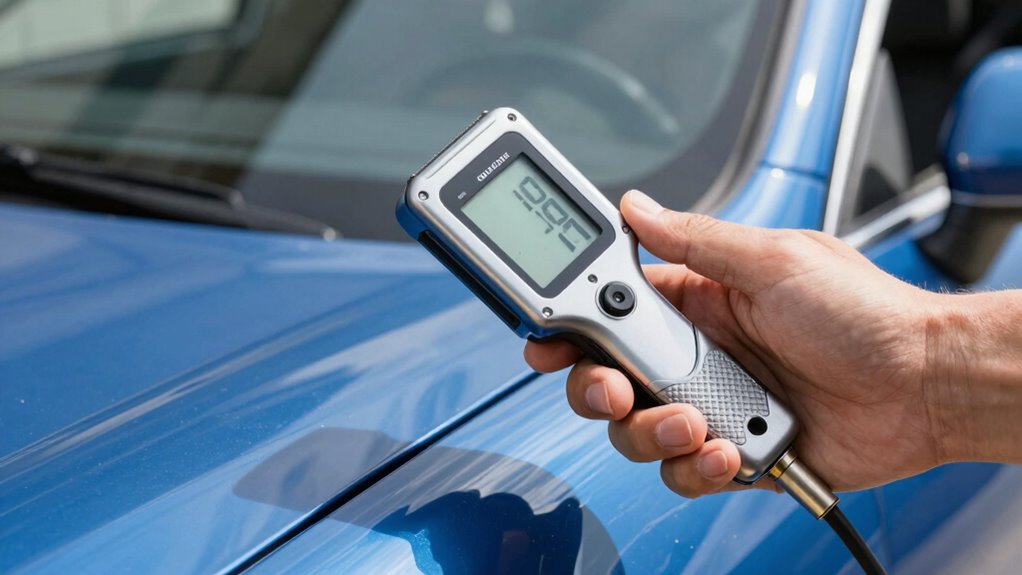
Have you ever wondered how professionals determine if a vehicle’s paint job is genuine or has been altered? A paint thickness gauge measures the layers of paint, primer application, and clear coats on a vehicle’s surface. These measurements help identify if repairs or repainting have occurred, ensuring authenticity. Environmental factors, like humidity and temperature during painting, can affect how paint adheres and its thickness. A gauge provides precise readings, revealing inconsistencies that might indicate previous repairs or subpar work. This tool is essential for inspectors, appraisers, and buyers to assess the vehicle’s true condition. By understanding the thickness, you can determine if the paint job meets factory standards or has been tampered with, safeguarding your investment and ensuring quality. Additionally, color accuracy in projectors plays a vital role in creating realistic and vibrant images, especially in home cinema setups.
Car Coating Thickness Meter for Used Car Buyers, Paint Mil Thickness Meter Gauge Check The Car’s Original Coating Auto Car Paint Meter
Auto-Detection for Steel and Aluminum Coatings:This Coating Thickness Gauge utilizes advanced dual technology to automatically recognize ferrous and…
As an affiliate, we earn on qualifying purchases.
As an affiliate, we earn on qualifying purchases.
When Should You Measure Paint Thickness During Manufacturing and Repairs?

Knowing the right moments to measure paint thickness guarantees consistent quality during manufacturing and repairs. You should take readings at key stages to verify proper application and adhesion. Interpreting these measurements accurately helps you decide if adjustments are needed before moving forward. Additionally, understanding automotive performance parts can inform your decisions about surface preparation and coating techniques. Being aware of paint adhesion properties ensures that measurements are meaningful and that the final finish will meet durability standards. Moreover, familiarizing yourself with surface preparation techniques can significantly influence the accuracy of your measurements and the longevity of the coating. Monitoring coating curing times is also essential to ensure the paint develops the intended properties before further processing. Recognizing the importance of consistent measurement methods can help prevent errors and ensure reliable quality control.
Ideal Measurement Timing
Timing is crucial when measuring paint thickness to guarantee accurate and consistent results. You should measure at specific stages in the process to get meaningful data. First, check the primer layer after it’s dried but before applying the base coat. Next, measure again after the color coat has been applied to ensure proper coverage. Then, verify the thickness once the clear coat is added to prevent over-application. Lastly, perform a final check after curing to confirm even layers. Visualize this process: 1) primer layer drying, 2) color coat application, 3) clear coat application, 4) final curing. Measuring at these points helps avoid issues like paint buildup or thin spots, ensuring a high-quality finish and proper adhesion for each layer. Additionally, understanding the appropriate measurement timing throughout manufacturing and repairs can help detect potential problems early.
Interpreting Thickness Readings
To accurately interpret paint thickness readings during manufacturing and repairs, it’s essential to measure at the right moments. Timing influences your ability to assess surface preparation, ensure proper color matching, and avoid over- or under-coating. Use readings before topcoats to verify primer adhesion and after finishing to confirm thickness consistency. Consider these key points:
| When to Measure | Purpose | Notes |
|---|---|---|
| After surface prep | Check for proper adhesion | Before priming or painting |
| During primer application | Monitor primer thickness | Ensure even coverage |
| Between coats | Maintain color matching | Prevent uneven layers |
| After final coat | Confirm overall thickness | Achieve desired finish |
| During repairs | Match original surface | Prevent over-sanding |
Proper timing ensures accurate readings, supports surface preparation, and achieves ideal color matching.
Car Coating Thickness Meter for Used Car Buyers, Paint Mil Thickness Meter Gauge Check The Car’s Original Coating Auto Car Paint Meter
Auto-Detection for Steel and Aluminum Coatings:This Coating Thickness Gauge utilizes advanced dual technology to automatically recognize ferrous and…
As an affiliate, we earn on qualifying purchases.
As an affiliate, we earn on qualifying purchases.
How to Tell If Your Car’s Paint Is Too Thin or Too Thick
You can spot thin paint if the color looks uneven or the surface feels rough. Thick coats often cause drips, bubbling, or a glossy, uneven finish. Recognizing these signs helps guarantee your car’s paint is properly applied and protected. Free Floating techniques can assist in achieving a smooth, even coat and prevent issues related to improper thickness.
Signs of Thin Paint
Ever wonder how to tell if your car’s paint is too thin? One sign is a paint layer that feels almost transparent, revealing the primer beneath. You might notice:
- The color appears uneven or faded, especially after washing.
- Tiny chips or scratches quickly expose bare metal.
- Areas where surface corrosion starts to develop, indicating insufficient protection.
- The paint feels unusually soft or thin to the touch, making it easy to scratch.
Thin paint can’t effectively shield against rust or damage. If you see these signs, your car’s paint may be too thin, risking corrosion and further deterioration. Regular checks with a paint thickness gauge can help you catch issues early.
Indicators of Thick Coats
While thin paint can leave your car vulnerable to damage, overly thick coats can also create problems. Thick paint layers can hinder proper paint adhesion, leading to peeling or cracking over time. You might notice uneven textures or drips, indicating excess paint buildup. Additionally, thick coatings can trap moisture beneath the surface, increasing the risk of surface corrosion. If you see bubbling or rust spots, it’s a sign the paint may be too thick and compromising the protective barrier. Excessive paint thickness can also mask underlying issues or repairs, making it harder to assess the true condition of your vehicle. Regularly measuring with a paint thickness gauge helps you identify these indicators early, ensuring your car maintains ideal protection and appearance. Proper measurement techniques are essential for accurate assessments and maintaining optimal paint integrity. Being aware of paint consistency can help you detect problems before they worsen. Moreover, understanding the paint thickness standards can help prevent costly repairs and extend your vehicle’s lifespan.
Car Coating Thickness Meter for Used Car Buyers, Paint Mil Thickness Meter Gauge Check The Car’s Original Coating Auto Car Paint Meter
Auto-Detection for Steel and Aluminum Coatings:This Coating Thickness Gauge utilizes advanced dual technology to automatically recognize ferrous and…
As an affiliate, we earn on qualifying purchases.
As an affiliate, we earn on qualifying purchases.
How to Use Paint Thickness Readings to Detect Repairs and Repaints
Paint thickness readings serve as a valuable tool for identifying repairs and repaints on a vehicle’s surface. When you measure, look for inconsistencies that suggest work has been done. For example:
- A markedly thicker area indicating added layers from a repaint or patch.
- Thin spots revealing poor surface preparation or sanding.
- Variations in paint quality across panels, hinting at touch-ups.
- Unusual patterns or abrupt changes in thickness that may signal repairs.
Interpreting Paint Thickness Measurements: What Do the Numbers Mean?

Understanding what paint thickness measurements mean is essential for accurately evaluating a vehicle’s surface condition. The numbers indicate the combined thickness of primer layers, base coats, and clear coats. For example, a reading of 100-150 microns usually signifies factory-original paint, ensuring good paint adhesion. Thicker readings may suggest multiple layers or repairs, while thinner ones could indicate corrosion or wear. Use this table to interpret your measurements:
| Reading (microns) | Interpretation |
|---|---|
| 50-80 | Thin, possibly worn or original |
| 80-150 | Normal factory finish |
| 150-200 | Repaired or added layers |
| 200-300 | Thick, potential repaint or primer layers |
| Over 300 | Likely multiple repairs or improper coatings |
Additionally, paint thickness measurement can help identify areas with underlying damage or previous bodywork that may not be visible to the naked eye. Recognizing paint layer consistency also aids in assessing the overall quality of the vehicle’s finish and potential repair history. Variations in paint thickness across different areas can reveal hidden repairs, which are important for making informed judgments about a vehicle’s condition. Being aware of signs of repainting can further assist in evaluating whether a vehicle has been properly restored or if there are concerns about its history.
Common Mistakes to Avoid When Measuring Paint Thickness

Accurate paint thickness measurements depend heavily on proper technique. Avoid these common mistakes that can skew results:
Proper technique is essential for accurate paint thickness measurements; avoid common mistakes for reliable results.
- Skipping surface cleaning, which traps dirt and affects paint quality readings.
- Using the gauge at inconsistent angles, leading to unreliable measurements.
- Measuring over uneven or rough surfaces, making readings inaccurate.
- Rushing through application techniques, causing uneven paint layers that distort measurements.
- Failing to understand market trends, which can influence how you interpret your paint data in a broader context.
- Neglecting to consider measurement standards, as adherence to established guidelines helps ensure consistent and accurate results.
Ensure the surface is clean and smooth before measuring, and hold the gauge perpendicular to the surface. Avoid rushing; take multiple readings for consistency. Poor application techniques and overlooked surface prep can lead to false readings, impacting your assessment of paint quality and finish. Staying attentive to these details helps ensure precise, repeatable measurements every time.
Tips for Accurate and Consistent Paint Thickness Measurements
To guarantee your paint thickness measurements are both accurate and consistent, it’s essential to follow proper techniques and best practices. Start by ensuring proper surface preparation; clean and dry the surface thoroughly to remove dirt, grease, or debris that could affect readings. During primer application, make sure it’s applied evenly and cured completely before measuring. Inconsistent primer layers can lead to inaccurate thickness readings, so wait until the primer is fully dry and adheres well. Always calibrate your gauge regularly and take multiple measurements across different areas to account for surface variations. By maintaining consistent measurement points and avoiding disturbances during testing, you’ll improve reliability. Proper surface preparation and careful primer application form the foundation for precise, reproducible paint thickness measurements. Understanding paint composition can help you better interpret your measurements and ensure quality results. Additionally, familiarizing yourself with measurement techniques can further enhance your accuracy and consistency. To improve your technique, consider using a magnification tool to better see the measurement area and avoid errors. Regularly reviewing measurement calibration procedures ensures your gauge remains accurate over time.
Key Takeaways for Effective Use of Paint Thickness Gauges
Using paint thickness gauges effectively requires attention to proper procedures and consistency. To guarantee superior paint quality and coating adhesion, focus on these key takeaways:
- Always calibrate your gauge with the appropriate standards before measuring, ensuring accurate readings that reflect true paint thickness.
- Measure multiple spots across the surface to detect variations that could affect paint adhesion or indicate uneven application.
- Record readings systematically, noting any discrepancies that might signal issues with paint quality or application techniques.
- Use the gauge’s data to decide if additional layers are needed or if the current coating meets specifications for durability and adhesion.
Following these steps guarantees precise measurements, leading to better paint quality and longer-lasting coatings.
Frequently Asked Questions
Can Paint Thickness Gauges Detect Underlying Metal or Material Type?
Paint thickness gauges primarily measure coating thickness, but some models can assist with metal detection and material identification. You can use these gauges to detect underlying metal, especially if they include a metal detection feature. However, they aren’t designed for detailed material identification; for that, you’d need specialized tools like metal analyzers. So, while they help with metal detection, they don’t provide all-encompassing material identification.
How Do Environmental Conditions Affect Measurement Accuracy?
Environmental conditions like humidity interference and temperature effects can impact your measurement accuracy with paint thickness gauges. High humidity may cause readings to be inconsistent, while extreme temperatures can affect the gauge’s sensors or cause material expansion or contraction, skewing your results. To guarantee precise measurements, use your gauge in stable conditions, avoid direct sunlight, and allow surfaces to reach room temperature before measuring.
Are There Different Gauges for Various Paint Types or Finishes?
You’ll find that different gauges are designed for various paint types or finishes, helping you achieve the best results. Make sure to match your gauge’s application compatibility with your specific project, ensuring accurate readings. Also, consider gauge durability, especially if you work with tough surfaces or frequent measurements. Using the right gauge for each paint type makes your work easier and more reliable, giving you confidence in every measurement taken.
How Often Should I Calibrate My Paint Thickness Gauge?
You should calibrate your paint thickness gauge regularly, ideally before each use or weekly for ongoing projects, to guarantee accuracy. Follow proper maintenance tips by storing it in a protective case and cleaning the probe after each use. Calibration frequency depends on how often you work with the gauge and the environment, so staying consistent helps prevent measurement errors and keeps your readings reliable over time.
Can Measurements Vary Between Different Brands of Gauges?
Yes, measurements can vary between different brands of gauges. When doing a brand comparison, you might notice slight differences in readings due to design or calibration methods. To guarantee measurement consistency, always calibrate your gauge properly and compare readings across brands under similar conditions. This way, you get more reliable results, and it helps you understand how each gauge performs relative to others.
Conclusion
By understanding what paint thickness gauges measure and how to interpret their readings, you can spot repairs, ensure quality, and safeguard your vehicle’s value. Many believe thicker paint means better protection, but that’s not always true—sometimes, too thick or too thin paint indicates issues. Trust your gauge, stay informed, and remember: accurate measurements reveal the truth behind your car’s surface, giving you confidence and peace of mind every time you check.