To bleed your brakes, start by securing your vehicle, removing the wheel, and attaching a clear hose to the bleeder valve, submerged in brake fluid. Have a helper press the brake pedal slowly and hold it down. Open the valve slightly to release air and fluid, then close it before they release the pedal. Repeat until no air bubbles appear, keeping the reservoir topped up. Continue with this method for each wheel, and you’ll master the process step-by-step.
Key Takeaways
- Use the correct brake fluid type specified in your vehicle manual and wear protective gear throughout the process.
- Secure the vehicle on jack stands, remove the wheel, and attach a clear hose to the bleeder valve submerged in brake fluid.
- Have a helper press the brake pedal slowly and hold it while you open and close the bleeder valve to release air bubbles effectively.
- Continuously monitor and top off the master cylinder to prevent air from entering the system during bleeding.
- After bleeding, check for pedal firmness, ensure no leaks, and test the brakes thoroughly before driving.
If your brake pedal feels soft or spongy, it’s a sign that air has entered your brake lines and needs to be eliminated. Bleeding your brakes is essential to restore proper hydraulic pressure and ensure your vehicle stops safely. Before you begin, it’s important to understand the types of brake fluid you might encounter. There are mainly two: DOT 3 and DOT 4, which are glycol-based and compatible with most vehicles. Some high-performance cars may require DOT 5 or DOT 5.1, but these are silicone-based and not interchangeable with glycol types. Always check your vehicle’s manual to identify the correct brake fluid type, as using the wrong fluid can cause damage or reduce braking efficiency. When working on your brakes, safety precautions are paramount. Wear gloves and eye protection because brake fluid is corrosive and can irritate your skin and eyes. Work in a well-ventilated area and keep a container of brake fluid nearby in case of spills. Never reuse old brake fluid; always dispose of it properly, following local regulations. Keep all your tools clean and free of dirt, as contaminants can compromise the brake system.
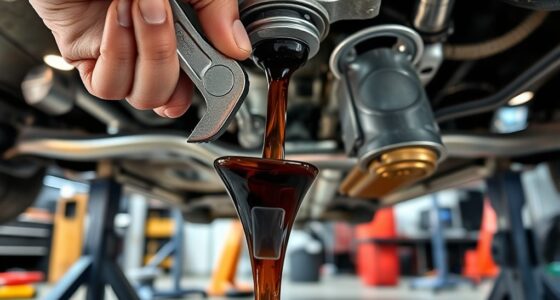
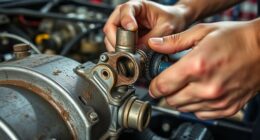
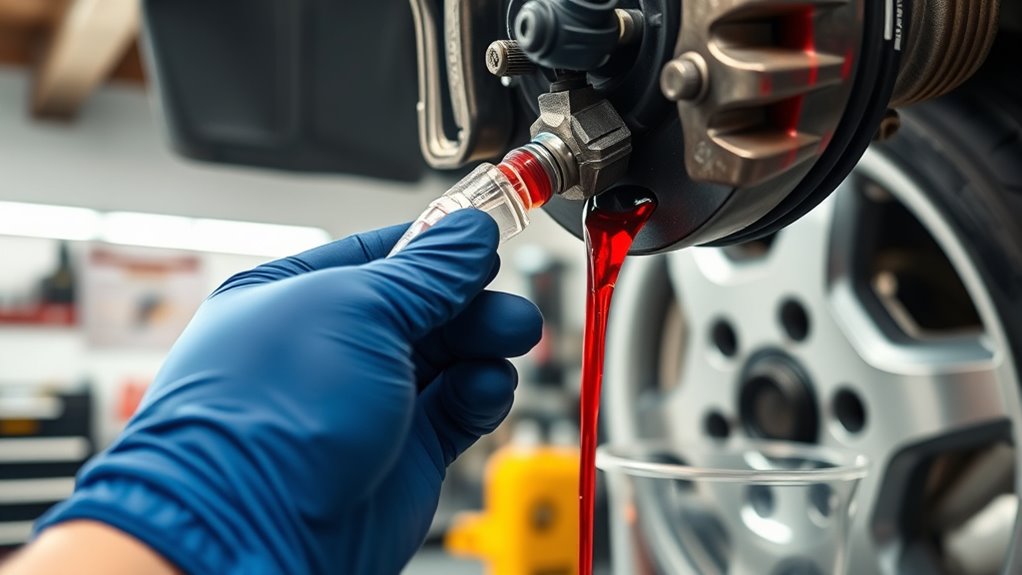
To begin the bleeding process, ensure your vehicle is securely lifted and supported on jack stands. Remove the wheel to access the brake caliper or drum. Attach a clear hose to the bleeder valve, making sure it fits tightly. Submerge the other end of the hose in a container of brake fluid to prevent air from being sucked back into the system. Before opening the bleeder valve, have a helper press the brake pedal slowly and hold it down. With your wrench, open the bleeder valve slightly—just enough for brake fluid and air bubbles to escape. When your helper releases the pedal, close the valve before they release their foot. Repeat this process until you see a steady stream of brake fluid without air bubbles. Make sure to top off the master cylinder reservoir with fresh brake fluid as needed to prevent it from running dry, which could introduce more air into the system. Additionally, using a properly maintained airless paint sprayer can help prevent the introduction of contaminants into your brake system, similar to how keeping tools clean prevents system failures.
Throughout the process, stay attentive and systematic. Bleeding brakes can be straightforward, but rushing can cause mistakes that compromise safety. Regularly check for leaks around the bleeder valve, and double-check your brake fluid level. Once you’ve bled all four wheels, test the pedal firmness by pressing it several times before driving. If the pedal feels solid and responsive, you’ve successfully removed the air. Remember, if at any point you’re unsure or uncomfortable, it’s best to consult a professional to ensure your brakes are working correctly and safely.
Frequently Asked Questions
Can I Bleed My Brakes Without a Partner’S Help?
Yes, you can bleed your brakes without a partner’s help. Using a one-man bleeding kit or a vacuum pump allows you to remove air and prevent brake fluid contamination, which can cause pedal feel issues. Just make certain you follow the proper sequence, keep the reservoir topped off, and watch for signs of air bubbles. This method helps maintain brake performance and safety without needing someone else to assist.
What’S the Best Type of Brake Fluid for My Vehicle?
Choosing brake fluid is like picking the right fuel for your car’s engine. You need to verify brake fluid compatibility with your vehicle’s system. Synthetic brake fluid often outperforms mineral options because it resists temperature changes and absorbs less moisture. Check your owner’s manual to see which type is recommended. Using the correct brake fluid keeps your brakes responsive and your ride safe, so don’t skip this important step.
How Often Should I Bleed My Brakes for Maintenance?
You should bleed your brakes during regular maintenance, typically every 2 to 3 years or when you notice brake fluid contamination. Regular brake fluid change helps prevent moisture buildup and maintains ideal brake performance. Consider a brake system flush if you experience spongy pedals or decreased braking efficiency. Staying on top of these maintenance tasks ensures your braking system stays reliable, safe, and responsive.
What Signs Indicate Brake Bleeding Is Necessary?
When you notice a brake warning light or experience pedal softness, it’s a clear sign you need to bleed your brakes. These issues often indicate air in the brake lines, which reduces braking effectiveness. If your pedal feels spongy or sinks closer to the floor, don’t ignore it. Address these symptoms promptly to guarantee your brakes perform correctly and stay safe on the road.
Can I Use a Vacuum Pump Instead of Traditional Methods?
Imagine you’re in a sci-fi movie, wielding a vacuum pump to bleed your brakes—sounds futuristic, right? Yes, you can use a vacuum pump instead of traditional methods to remove air from brake lines. It’s effective because it pulls brake fluid through the system, ensuring no air pockets remain. Just make sure you use fresh brake fluid and follow safety procedures to avoid damage or injury.
Conclusion
Now that you’ve bled your brakes, imagine the smooth, confident feel as you press the pedal—like gliding effortlessly over the open road. Every drop of old fluid replaced brings a renewed connection between you and your vehicle, enhancing safety and control. With your hands steady and tools in place, you’ve transformed a complex task into a satisfying achievement. Take a deep breath, hop in, and enjoy the seamless ride ahead, knowing you’ve mastered this essential maintenance skill.