Calibration mistakes can ruin your 360 camera’s view by causing mismatched seams, distortion, and warped panoramas. Common errors include misaligned camera angles, neglecting lens correction, and improper overlap management. These issues lead to unnatural images that break immersion. To avoid this, guarantee proper alignment, use calibration tools, and regularly check your setup. Keep your setup stable and perform routine maintenance—continuing this guide will help you master these essential techniques.
Key Takeaways
- Misaligned camera positions and uneven overlaps cause visible seams and distortions, ruining panoramic continuity.
- Failing to correct lens distortion leads to warped edges and unnatural panoramic views.
- Improper camera mounting or instability causes misalignments and stitching errors during image capture.
- Overlooking calibration verification or neglecting routine maintenance results in increasing image mismatches over time.
- Using incorrect or outdated calibration tools and techniques can introduce errors that distort the final panoramic view.

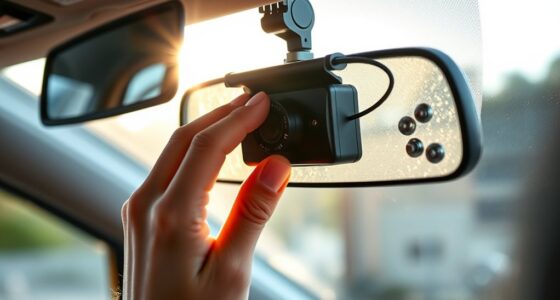
NOOFNO 360 Car Camera Calibration Mats, Auto Diagnostic Grid Cloth Tools for Panoramic Bird's-Eye Vehicle Backup DVR System, E + A
COMPATIBILITY: Professional calibration mats designed for 360-degree panoramic bird's-eye view camera systems and DVR installations in vehicles
As an affiliate, we earn on qualifying purchases.
As an affiliate, we earn on qualifying purchases.
Why Calibration Is Critical for Flawless 360 Shots
Calibration is essential for capturing seamless 360-degree images because even small misalignments can cause noticeable stitching errors. Proper lens calibration ensures that your camera’s lenses align perfectly, preventing distortions or gaps in your panoramic view. Regularly updating your software is equally important because manufacturers often release updates that optimize calibration algorithms and fix bugs. These updates can improve image stitching, color accuracy, and overall system stability. When you perform lens calibration and keep your software current, you reduce the risk of errors that disrupt the smoothness of your 360 shots. Understanding calibration’s role in image quality helps you appreciate how precise adjustments directly impact your image quality. This attention to detail ensures your images are sharp, aligned, and immersive, giving viewers a flawless panoramic experience every time.

M&R Technologies Pc Stitch Cross Stitch Software Vers 11
There's no need to search through magazines or stand in craft stores looking for something unique to cross…
As an affiliate, we earn on qualifying purchases.
As an affiliate, we earn on qualifying purchases.
Common Calibration Mistakes That Wreck Your Panorama
One common mistake is misaligning camera positions, which can cause seams to be obvious and distort your panorama. Overlooking lens distortion leads to warped images that ruin the seamless look you’re after. Additionally, neglecting overlap accuracy results in gaps or overlaps that break the flow of your shot. Ensuring proper calibration processes, such as advanced technology, can help prevent these issues and improve overall image quality. Incorporating precise measurement techniques during setup can further enhance calibration accuracy and ensure your system functions flawlessly. Being aware of website performance metrics can also assist in diagnosing calibration issues that may affect the final image. Paying attention to calibration procedures ensures consistent results and minimizes errors. Recognizing the importance of system stability can help maintain calibration integrity over time and prevent recurring issues.
Misaligned Camera Positions
Have you ever taken a perfect shot only to find the panorama warped or misaligned? Misaligned camera positions are a common calibration mistake that wrecks your view. If your camera placement isn’t precise, your images won’t stitch seamlessly. Proper lens alignment is essential; even slight deviations can cause overlaps or gaps. To avoid this, double-check each camera’s position relative to others, ensuring they’re level and facing the correct direction. Use this quick reference:
| Camera Position | Lens Alignment | Common Issue |
|---|---|---|
| Front | Proper | Warping at edges |
| Side | Slight tilt | Mismatched angles |
| Back | Level | Gaps in panorama |
| Top/Bottom | Accurate | Misaligned overlaps |
Getting camera placement right guarantees a smooth, immersive panorama.
Overlooking Lens Distortion
Did you realize that lens distortion can severely distort your panoramic images? Ignoring lens distortion leads to significant image warping, ruining the seamless view you aim to achieve. Without proper calibration, curved lines may appear bent, and straight edges become skewed, making your panorama look unnatural. To avoid this, consider these key points:
- Identify lens distortion early to understand its impact on your images.
- Use calibration tools to correct distortion before stitching.
- Apply software adjustments to minimize image warping during post-processing.
Ignoring Overlap Accuracy
Failing to guarantee accurate overlap between images is a common mistake that can sabotage your panoramic results. Poor overlap accuracy causes mismatched seams and uneven stitching, ruining the overall view. To assure calibration consistency, you need precise overlap measurements during capture and processing. Ignoring this detail leads to misalignments, making the panorama look distorted or broken. Consistent overlap accuracy allows software to align images seamlessly, maintaining a smooth and natural appearance. Always verify your overlap settings and double-check calibration data before stitching. Neglecting these steps risks creating gaps or overlaps that throw off the entire panorama. Remember, the key to a stunning 360 view lies in meticulous calibration consistency, especially regarding overlap accuracy. Don’t overlook this essential step if you want a flawless, professional-quality spherical image.

Microscope Kit Optical Diffuse No Reflection Alumina Calibration Plate 12 * 9 Checkerboard Visual Optics Correction Board Correct Lens Distortion Microscope Lens Adapters(200x200mm)
Most software supports solid dots or squares as landmarks.
As an affiliate, we earn on qualifying purchases.
As an affiliate, we earn on qualifying purchases.
How to Properly Align Your Camera for Seamless Stitching
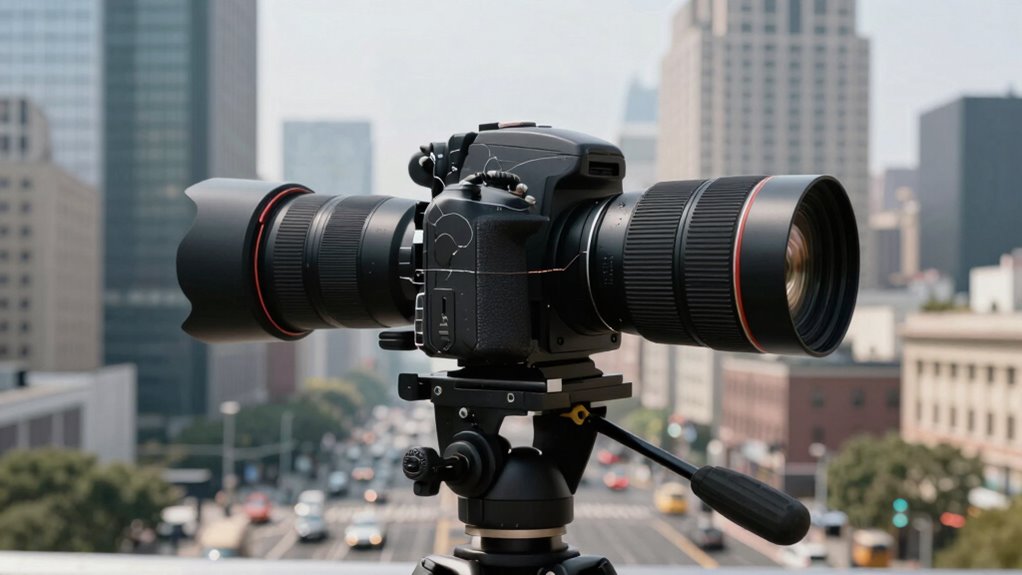
To achieve seamless stitching, start by checking your camera placement to guarantee it’s level and centered. Next, adjust the lens alignment to prevent distortions and mismatched edges. Finally, verify that the overlap between shots is consistent to create a smooth, unified panorama. Additionally, ensure your cabling and mounting are secure and correctly installed to prevent shifts or misalignments that could compromise the calibration.
Check Camera Placement
Ensuring your cameras are properly aligned is essential for seamless stitching in 360-degree systems. To do this, check your camera placement carefully. First, make sure the camera height is consistent across all units, which helps avoid uneven stitching. Second, verify tripod stability, ensuring each camera is firmly secured to prevent shifting during shooting. Finally, position the cameras so their lenses are level and facing directly outward, avoiding tilt or skew.
- Confirm all cameras are at the same height for uniformity
- Ensure tripods are stable and not wobbling
- Align lenses to face outward without tilt or misdirection
Proper placement minimizes stitching errors and creates a smooth, immersive view. Taking these steps ensures your system captures a seamless 360-degree image every time.
Adjust Lens Alignment
Have you checked if your camera lenses are perfectly aligned? Proper lens alignment is vital for seamless stitching in your 360 system. Start by examining your camera mount to guarantee it’s secure and steady—any wobble can cause misalignment. Use lens correction tools to fine-tune each lens’s position, making sure they face exactly forward without tilt or skew. Adjust the camera mount if necessary, tightening screws and verifying that the lenses are parallel. Small misalignments can create visible seams or distortions in your final panorama. Take your time to make precise adjustments, and double-check the alignment from multiple angles. Correct lens alignment minimizes stitching errors and ensures your 360 view is smooth and immersive. Additionally, understanding lens calibration techniques can help you achieve more accurate results.
Verify Overlap Consistency
Verifying overlap consistency is essential for achieving seamless stitching in your 360 camera system. Proper overlap verification ensures your images align perfectly, preventing visible seams. Check that your lens calibration is accurate, as misaligned lenses can cause inconsistent overlaps. Use test shots to compare overlapping areas and identify discrepancies. Adjust your camera’s position or settings as needed to optimize overlap, especially in areas prone to distortion. Keep an eye on the overlap zones during setup, ensuring they match across all images. Consistent overlap helps stitching software blend images smoothly, creating a natural 360-degree view. Remember, small adjustments can make a significant difference in the final output. Regularly verifying overlap consistency guarantees your system produces high-quality, immersive panoramas. Additionally, understanding paint sprayer maintenance can help ensure your equipment functions reliably during setup and calibration.
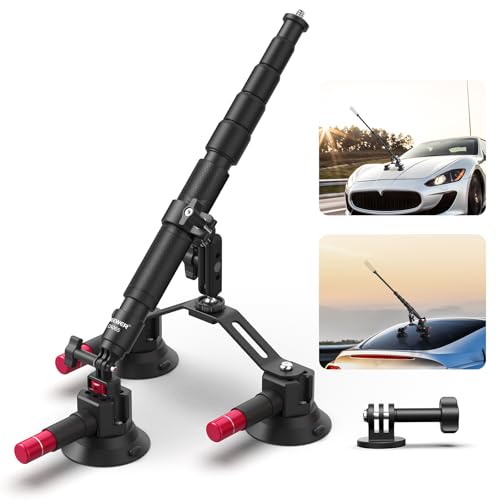
NEEWER Triple Suction Cup Car Mount Compatible with Insta360 X5 X4 GoPro DJI OSMO 360 Cameras, Quick Release Outside Windshield Magic Arm Mount Kit with 2 in 1 Extension Pole/Selfie Stick, CA065
【Triple Suction Cup Car Mount Kit】 For POV (point of view) footage from driving angles like your engine…
As an affiliate, we earn on qualifying purchases.
As an affiliate, we earn on qualifying purchases.
Troubleshoot Calibration Errors During Post-Processing
Calibration errors during post-processing can disrupt the stitching process and compromise the quality of your 360 images. When errors occur, you might notice mismatched seams, distorted perspectives, or uneven panoramic views. To troubleshoot, first check your calibration data and verify it matches your camera’s specifications. Use dedicated software to identify and correct alignment issues, focusing on key points that affect the panoramic perspective. Poor camera ergonomics during shooting can also lead to inconsistent data, so review your setup and ensure your camera was stable and properly aligned. If problems persist, re-calibrate the system or manually adjust control points in post-processing software. Accurate calibration is essential for seamless stitching and a true-to-life panoramic view. Additionally, understanding system calibration principles can help prevent future errors and improve overall image quality. Regularly reviewing calibration procedures and maintaining calibration data can significantly enhance your stitching accuracy over time. Ensuring proper calibration procedures are followed consistently can also minimize the risk of future mistakes and improve your workflow efficiency. Incorporating precise calibration techniques can further optimize the alignment process and result in higher-quality panoramic images. Moreover, maintaining a detailed calibration log can assist in diagnosing recurring issues and streamline troubleshooting efforts.
Tips to Keep Your Calibration Accurate Over Time
Maintaining accurate calibration over time guarantees your 360 images stay seamless and true to life. To achieve this, focus on regular hardware maintenance to ensure all components function correctly. Keep your camera lenses clean and check for any physical damage that could affect calibration. Invest in user training so you and your team understand proper setup procedures, minimizing user error. Additionally, schedule routine calibration checks to catch issues early. Regularly consulting DIY tools and safety tips can also help you troubleshoot minor calibration problems yourself before they escalate. Being aware of calibration drift and how environmental factors impact calibration can further enhance your maintenance routine. Recognizing the signs of water damage and addressing issues promptly can prevent costly repairs and preserve calibration accuracy in challenging conditions. Monitoring hardware stability helps prevent calibration issues caused by loose or shifting components, ensuring consistent image quality. Furthermore, understanding how temperature fluctuations influence calibration can assist in maintaining optimal setup conditions.
Calibration Tools and Software to Avoid Common Mistakes
Choosing the right calibration tools and software is essential for avoiding common mistakes and ensuring your 360 camera system stays aligned. Software plugins can streamline the calibration process, providing precise adjustments and real-time feedback. They often include automated features that reduce human error, making calibration quicker and more reliable. Additionally, using calibration checklists helps you follow a structured approach, ensuring you don’t overlook critical steps. These checklists serve as a reminder to verify lens alignment, stitching accuracy, and overall image quality before finalizing calibration. By combining reliable software plugins with exhaustive checklists, you minimize mistakes that could otherwise distort your view or degrade image quality. Proper tools and protocols are your best defense against calibration errors that ruin the immersive experience of your 360 system.
Frequently Asked Questions
How Often Should I Recalibrate My 360 Camera System?
You should recalibrate your 360 camera system whenever you notice lens distortion or stabilization issues, which can distort your view. Regular calibration ensures your images stay clear and consistent. If you frequently use the camera in different environments or after bumps or drops, consider recalibrating more often. Typically, a monthly check or after significant usage helps maintain peak performance and prevents calibration errors from ruining your view.
Can Calibration Errors Be Fixed Without Professional Help?
Yes, you can fix calibration errors without professional help by using calibration tools and software updates. First, verify your camera system has the latest software, as updates often include fixes for calibration issues. Then, follow the manufacturer’s instructions to run calibration tools provided with your system. Taking these steps can often resolve errors and improve your view without needing expert assistance.
What Are Signs of Poor Calibration During Shooting?
You’ll notice poor calibration during shooting if you see lens distortion or stitching errors in your footage. If images don’t align properly or edges appear warped or mismatched, it’s a clear sign your camera needs recalibration. These issues disrupt the seamless 360 view, so keep an eye out for distorted lines and mismatched seams, which indicate calibration problems that require immediate correction for a smooth, professional-looking panorama.
Do Different Camera Models Require Unique Calibration Procedures?
Think of calibration like tuning a musical instrument; different camera models are like unique instruments needing tailored care. You must consider camera compatibility and follow specific calibration techniques for each device. While some procedures overlap, each model’s sensor and lens quirks demand adjustments, ensuring your view stays pristine. Ignoring these differences risks a dissonant image, so always customize your calibration approach to suit each camera’s unique needs.
How Does Environmental Lighting Affect Calibration Accuracy?
Environmental lighting can considerably impact calibration accuracy if lighting isn’t consistent. You should guarantee steady lighting conditions to avoid shadow interference, which can distort image stitching. Fluctuating light or shadows cast by objects cause calibration errors, leading to distorted or misaligned views. To maintain ideal calibration, perform adjustments in a well-lit, stable environment, minimizing shadows and lighting variations that could compromise the camera’s ability to capture accurate, seamless images.
Conclusion
Don’t let calibration errors ruin your stunning 360 shots. While it might seem tedious at first, taking the time to calibrate properly and use reliable tools pays off with seamless, professional panoramas. Some might think it’s too complicated or time-consuming, but mastering calibration guarantees consistent results and saves you from frustrating re-shoots. Invest in your skills and equipment—it’s the key to capturing immersive, flawless views every time.