
To clean foggy headlights yourself, start by washing them thoroughly with soap and water to remove dirt. Dry the surfaces completely, then use fine-grit sandpaper (1500-2000 grit) and keep the headlight wet during sanding to avoid scratches. After sanding, rinse and dry, then apply a polishing compound with a microfiber cloth, buffing in small circular motions. Finish by applying a UV protectant to prevent future clouding—continue to care for your headlights to keep them clear and bright.
Key Takeaways
- Thoroughly wash headlights with soap and water to remove dirt and grime before starting restoration.
- Sand headlights with fine-grit sandpaper (1500-2000 grit) using a wet, circular motion to remove oxidation.
- Apply a polishing compound or restoration polish with a microfiber cloth to restore clarity and eliminate haze.
- Use a UV sealant or protectant from a restoration kit to prevent future yellowing and clouding.
- Regularly clean headlights and reapply UV protectant to maintain clarity and extend headlight lifespan.
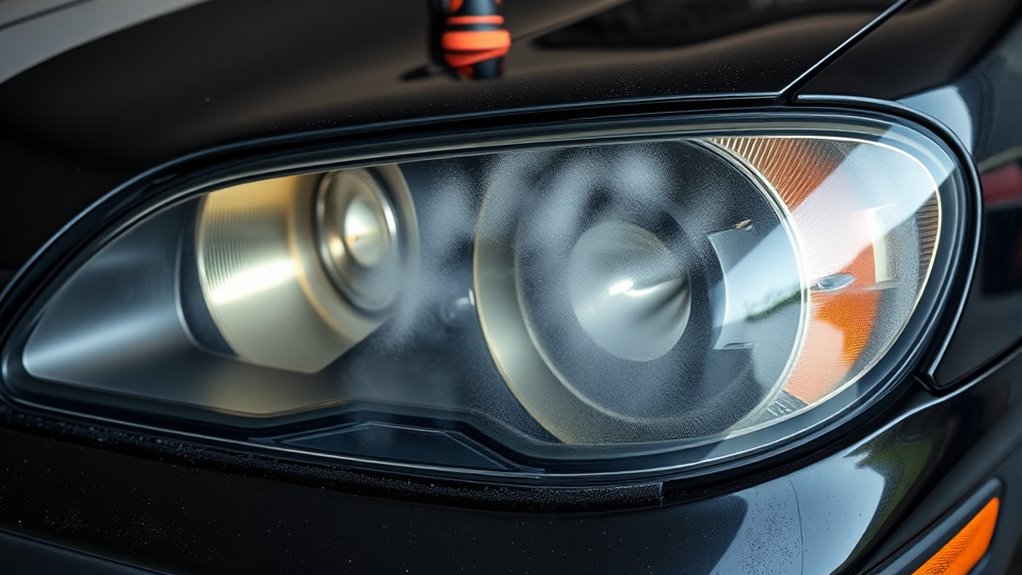
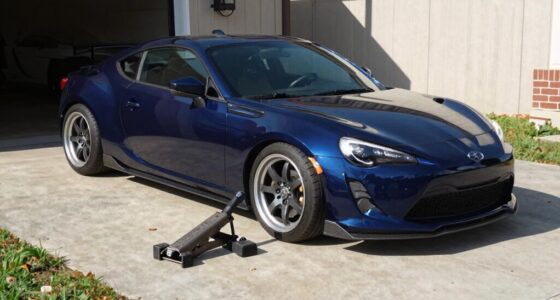
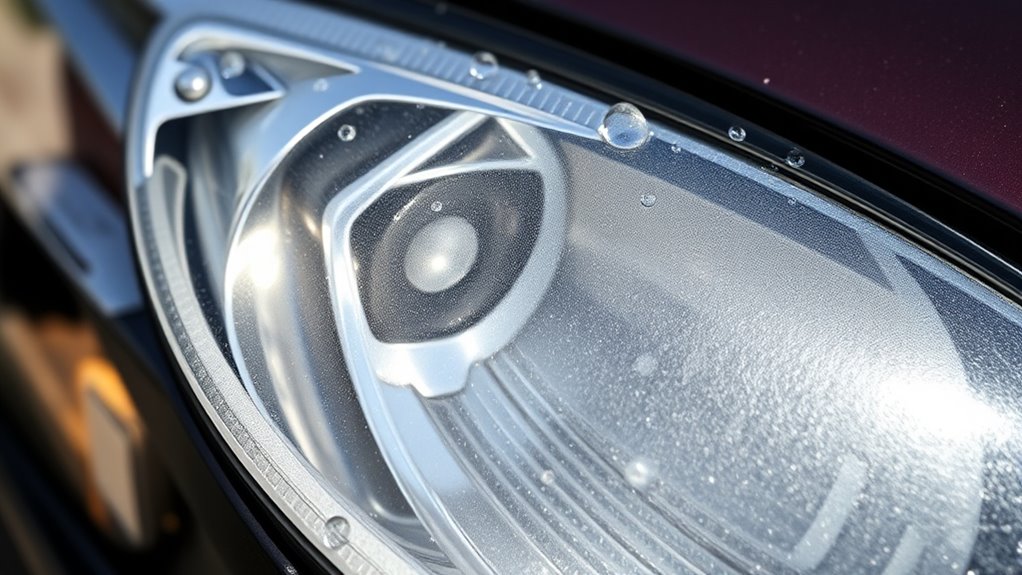
Are your headlights looking dull and foggy? Over time, UV exposure and environmental elements cause the plastic to oxidize, resulting in cloudy, yellowed headlights that diminish your vehicle’s appearance and safety. Luckily, restoring them is a straightforward process you can do yourself with some basic supplies. The key is understanding how UV protection impacts the clarity of your headlights and applying proper polishing techniques to remove the oxidation. UV rays break down the outer layer of the plastic, making it appear hazy. To combat this, use a restoration kit that includes a UV sealant or protectant. Applying a UV protection layer after cleaning helps prevent future yellowing and clouding, extending the lifespan of your headlights.
Protect your headlights with UV sealant to prevent yellowing and maintain clarity longer.
Start by washing the headlights thoroughly with soap and water to remove dirt and grime. Dry them completely before proceeding. Next, you’ll want to sand the surface to remove the oxidized layer. Use fine-grit sandpaper, typically around 1500 to 2000 grit, and gently sand the surface in a circular motion. Keep the surface wet during sanding to avoid scratching the plastic further. This step prepares the headlight for polishing by smoothing out the surface imperfections. Once you’ve finished sanding, rinse the headlight with clean water, then dry it again.
Now, it’s time to polish. Using a polishing compound or a headlight restoration polish, apply a small amount to a clean microfiber cloth or a polishing pad. Work in small circular motions, applying consistent pressure to buff out the scratches and haze. This polishing step restores clarity by removing the remaining oxidized layer and revealing the clear plastic underneath. After polishing, wipe off any residue with a clean cloth. To guarantee long-term clarity and protect against future UV damage, apply a UV sealant or protectant. Follow the product instructions carefully for best results.
Regular maintenance helps keep your headlights clear longer. Wash them periodically and reapply a UV protectant every few months. This simple addition will shield your headlights from the sun’s harmful rays and slow down the oxidation process. Additionally, understanding air quality and ensuring proper ventilation can help maintain a safer environment inside your vehicle. Remember, patience and careful application are key. Proper polishing techniques combined with UV protection will not only make your headlights look like new but also improve your visibility on the road. With a little effort, you can save money on replacements and enjoy clearer, brighter headlights for miles to come.

CERAKOTE® Ceramic Headlight Restoration Kit – Guaranteed To Last As Long As You Own Your Vehicle – Brings Headlights Back to Like New Condition – No Power Tools Required – 10 Wipe Kit
KIT CONTENTS – Each headlight restoration kit includes (8) Step 1 Oxidation Removing Wipes, (1) Step 2 Sanding…
As an affiliate, we earn on qualifying purchases.
As an affiliate, we earn on qualifying purchases.
Frequently Asked Questions
How Long Does DIY Headlight Restoration Last?
Your DIY headlight restoration can last between 1 to 3 years, depending on factors like UV protection and chemical durability. Applying a quality sealant with UV inhibitors helps prevent future fogging caused by sun damage. Regular maintenance, such as cleaning and reapplying protective coatings, extends the lifespan. Keep in mind, environmental exposure and driving conditions also influence how long your restored headlights stay clear and functional.
Are There Eco-Friendly Cleaning Options?
Like a gentle breeze clears fog, eco-friendly cleaning options can restore your headlights with care. You can opt for biodegradable cleaners and natural polishing agents that are safe for the environment and effective on foggy lenses. These options are easy to find and use, helping you clean your headlights without harsh chemicals. By choosing eco-conscious products, you protect the planet while keeping your vehicle looking sharp and clear.
Can Foggy Headlights Affect Vehicle Safety?
Foggy headlights can greatly affect your vehicle’s safety by decreasing headlight clarity, which diminishes visibility safety at night or in bad weather. When your headlights are cloudy, you might not see hazards clearly or be seen by others, increasing accident risk. Maintaining clear headlights guarantees ideal light output, improving overall safety. Regular cleaning and restoration help preserve headlight clarity, guaranteeing you and others stay safe on the road.
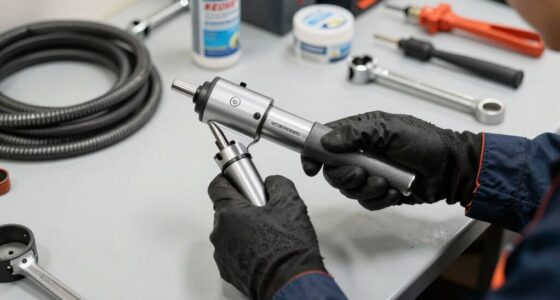
What Tools Are Essential for Headlight Restoration?
You’ll need essential tools for headlight restoration, starting with a good headlight polishing kit. These kits often include abrasive pads, polishing compounds, and sealants to restore clarity. You might also want a microfiber cloth and masking tape for prep work. Using these tools, you can effectively remove oxidation and restore your headlights’ brightness, ensuring safer driving conditions and improved vehicle appearance. Proper tools make DIY restoration straightforward and successful.
Is Professional Restoration More Effective Than DIY?
Professional restoration often provides more effective results because experts use advanced tools and proven techniques on your headlight lens. While DIY methods can improve foggy headlights, they might not fully restore clarity or durability. If you want a long-lasting, crystal-clear finish, investing in professional restoration techniques guarantees better quality and safety. However, if you’re comfortable with basic repairs, DIY can be a cost-effective and quick solution for minor fogging.

3M Performance 3000 Grit Sandpaper, 3-2/3 in x 9 in, Polish Clear Coat and Paint, Restore Shine, Ideal for Detailed Finishing and Polishing, Very Fine Grade Abrasive for Refined Finishes (03064)
POLISH CLEAR COAT AND PAINT AND RESTORE SHINE – 3000 GRIT is the ideal abrasive for detailed finishing…
As an affiliate, we earn on qualifying purchases.
As an affiliate, we earn on qualifying purchases.
Conclusion
Think of your headlights as a window to your car’s soul. When they’re foggy, it’s like looking through dirty glass—blurred and unclear. But with a simple DIY cleaning, you’re polishing that window, restoring clarity and brightness. Soon, your headlights will shine like a beacon in the night, guiding your way safely home. Just like cleaning a cloudy mirror reveals a clear reflection, your headlights will shine truly once you give them a little care.

Meguiar's Ultimate Compound – Pro-Grade Car Scratch Remover, Paint Correction Compound that Removes Defects While Adding Gloss and Shine, Single Stage and Clear Coat Scratch Remove, 15.2 Oz
BUFF OUT IMPERFECTIONS: Meguiar's Ultimate Compound removes scratches, swirls & oxidation for a clear, perfect finish
As an affiliate, we earn on qualifying purchases.
As an affiliate, we earn on qualifying purchases.

Meguiar's Keep Clear Headlight Coating, Maintain Like-New Clarity of Your Headlights with an Easy-to-Use Formula and UV Protection that Lasts All Year Long, 4 Ounce Aerosol
CLEAR LIGHTS: Meguiar's Clear Headlight Coating is the ultimate solution to maintain exceptional optical clarity on both new…
As an affiliate, we earn on qualifying purchases.
As an affiliate, we earn on qualifying purchases.