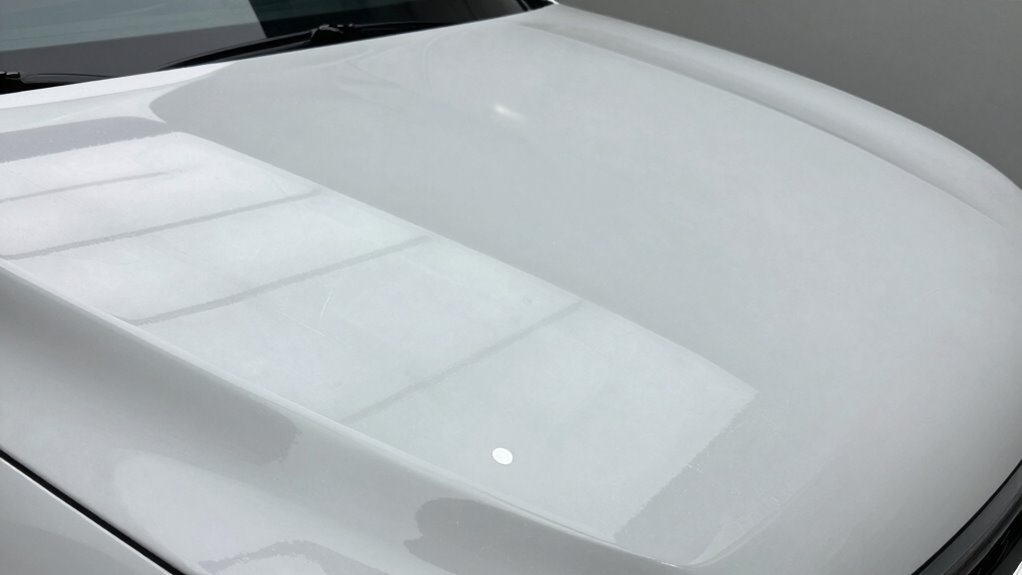

Performing a single, well-executed test spot is key to saving hours and avoiding costly mistakes during paint correction. Start by evaluating your paint’s condition with a thickness gauge and visual inspection, then carefully test a small area with mild products. Analyze the results to adjust your approach for ideal correction while protecting the paint. Mastering this step ensures flawless results and efficiency—continue to explore the full process to become confident in your technique.
Listen free for 30 days with Audible
Thousands of audiobooks and originals — cancel anytime.
As an affiliate, we earn on qualifying purchases.
Key Takeaways
- Performing a test spot helps determine the right products and techniques, preventing over- or under-correction.
- Measuring paint thickness ensures correction doesn’t remove too much paint, avoiding damage.
- Evaluating gloss and scratches after the test spot guides adjustments for optimal results.
- Selecting an inconspicuous area for testing avoids visible damage on the vehicle’s finish.
- A proper test spot saves time by refining the process before full correction, ensuring a flawless, durable finish.
As an affiliate, we earn on qualifying purchases.
Why Using a Test Spot Will Save You Time and Guarantee Flawless Results
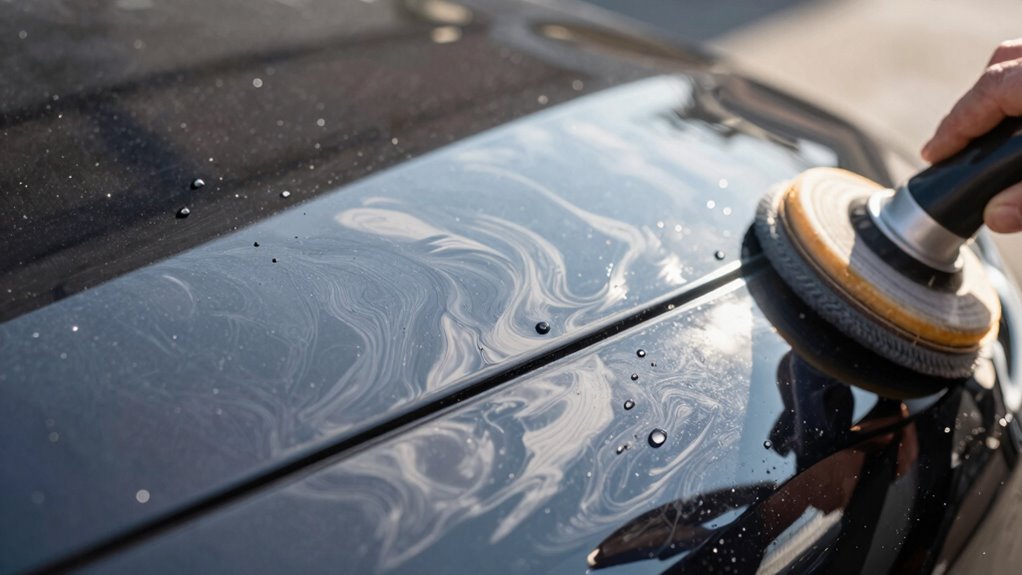
Starting with a test spot is essential because it allows you to evaluate how the paint responds to different correction methods before working on the entire vehicle. By doing this, you can assess the paint depth and determine how much correction is needed without risking damage. It also helps you gauge scratch visibility after initial polishing, ensuring you choose the right pads and compounds. This step prevents over-polishing, which can thin out the paint and cause further issues. A test spot reveals how aggressive you need to be to remove scratches while maintaining the vehicle’s finish. Taking this small step saves you time in the long run and guarantees flawless results, giving you confidence that your correction process will be both effective and safe. Additionally, a content format experiment helps you understand which digital tools and techniques work best for your specific project.
How to Diagnose Your Paint’s Condition Before Correction

Before you begin correction, it’s essential to thoroughly assess your vehicle’s paint condition. Start by evaluating paint depth to determine how much material you can safely remove. Use a paint depth gauge to measure this across various panels. Additionally, check the gloss measurement with a gloss meter to identify dullness or unevenness. This initial assessment helps you understand the severity of defects and the paint’s overall health. Furthermore, understanding the paint’s properties allows for a more precise correction process. Keep a record of your findings for reference. Here’s a quick overview:
| Aspect | What to Check |
|---|---|
| Paint Depth | Measure thickness to prevent over-removal |
| Gloss Measurement | Identify dull or uneven areas |
| Visual Inspection | Look for scratches, swirls, or oxidation |
| Surface Smoothness | Feel for roughness or contamination |
| Overall Condition | Decide if correction is needed or extensive |
Performing a comprehensive diagnosis can help you determine the best correction approach and avoid unnecessary work. Understanding the paint’s condition and material composition ensures you select the proper correction method and minimizes the risk of damage.
Step-by-Step: How to Perform an Effective Test Spot

Performing a test spot is an essential step to guarantee your correction process will be effective and safe for your vehicle’s paint. Begin by selecting a small, inconspicuous area. Use masking tape to mark the spot, ensuring you can easily compare before and after results. Start with a mild compound and polish, applying it with a pad and inspecting the paint depth afterward. Assess the gloss enhancement by comparing the test spot to surrounding areas; significant gloss increase indicates effective correction. Check the paint’s clarity and smoothness, ensuring you haven’t removed too much material. This step helps you determine the right product and technique, preventing over-polishing or under-correcting. A thorough test spot saves time and protects your paint’s integrity during the entire correction process.
What Your Test Spot Results Are Telling You: and How to Use Them

Your test spot results reveal critical information about how your chosen products and techniques are affecting your vehicle’s paint. By examining the paint depth after correction, you can determine if you’re removing too much material or preserving the integrity of the paint. A significant reduction in paint depth indicates over-aggressive correction, which could weaken the surface. Meanwhile, evaluating the gloss level shows whether you’ve achieved the desired shine. An increase in gloss signifies effective polishing, but if gloss remains dull, you may need to adjust your technique or product. Use these results to fine-tune your approach, ensuring ideal correction without compromising paint durability. Proper interpretation of test spot outcomes saves you time and helps you deliver a flawless, long-lasting finish. Additionally, maintaining a methodical approach throughout the process ensures consistent and reliable results. Incorporating paint thickness testing into your workflow can provide precise data to guide your decisions and prevent unintended damage, especially since contrast ratio affects the perceived sharpness and clarity of images, which parallels how proper paint correction reveals the true quality of your work. Regularly reviewing these measurements can also prevent over-polishing, helping you maintain the longevity of your vehicle’s paint. Being aware of paint mapping techniques can further enhance your ability to assess different areas accurately.
Troubleshooting Common Test Spot Issues and Adjusting Your Approach

When test spot results don’t match your expectations, it’s essential to identify and troubleshoot the underlying issues quickly. Common problems include paint swirl marks or buffer haze, which can indicate improper polishing technique or the wrong pad and compound combination. If you notice paint swirl or haze, stop and evaluate your process. Check if you’re applying too much pressure or using an incorrect pad speed. Adjust by reducing pressure, changing to a softer pad, or switching to a finer compound. Sometimes, buffer haze can be mistaken for residual polish or haze from over-polishing. Reassess your approach, ensure even coverage, and perform a light re-polish if needed. Troubleshooting these issues promptly saves time and ensures a flawless finish. Additionally, understanding proper polishing techniques can help prevent these issues from occurring in the first place. For example, practicing consistent arm movement and maintaining steady pressure are crucial aspects of effective correction methods, and incorporating proper tool setup can significantly improve your results. Recognizing the importance of training and experience can also lead to better outcomes and more efficient correction processes.
Frequently Asked Questions
Can I Perform a Test Spot on Any Type of Paint Finish?
You can perform a test spot on most paint types, but your testing techniques should modify to each finish. For example, soft paints like single-stage or clear coats require gentle approaches, while harder paints like automotive clears need more aggressive methods. Always start with a small area, observe how the paint reacts, and adjust your technique accordingly. This ensures you avoid damage and achieve the best correction results for any paint finish.
How Large Should the Test Spot Be for Accurate Results?
A test spot should be about the size of a soccer ball, roughly 2-3 square feet, to guarantee accuracy. Did you know the average car’s paint thickness is only around 100 microns? This small area allows you to evaluate how much clear coat you can safely remove without compromising visual clarity. Using this size, you get reliable results, helping you avoid over or under-correction and saving hours in the process.
What Tools Are Best Suited for Testing Different Paint Conditions?
You should use a paint thickness gauge and a microfiber cloth with testing compounds to assess different paint conditions. Focus on measuring paint thickness first to determine the appropriate correction method. Use compatible solvents to evaluate how the clear coat responds without damaging it. These tools help you gauge solvent compatibility and paint integrity, ensuring you choose the right correction approach without risking unnecessary damage.
How Often Should I Redo a Test Spot During Correction?
You should redo a test spot whenever you notice a significant change in paint depth or gloss measurement. Regularly checking these factors guarantees you’re not overcorrecting or damaging the paint. As you proceed, measure paint depth after each pass to prevent excessive removal, and evaluate gloss to confirm improvement. Repeating the test spot helps you find the perfect balance, saving time and preserving your vehicle’s finish.
Is It Necessary to Record Test Spot Results for Future Reference?
Yes, you should definitely record your test spot results for future reference. Keeping thorough paint correction records helps you track what techniques and products worked best, making future corrections more efficient. Test spot documentation allows you to compare results over time, ensuring consistent quality. By maintaining detailed records, you can refine your process, avoid repeating mistakes, and achieve professional results faster.
Conclusion
By testing, diagnosing, and adjusting, you’ll save hours, prevent mistakes, and achieve flawless results. Testing isn’t just a step—it’s your safeguard, your guide, your secret weapon. It helps you understand your paint, refine your approach, and guarantee consistent perfection. Embrace the test spot as your first step, your foundation, your roadmap. Because with careful testing, confident correction, and precise adjustments, you’ll not only transform your paint but also elevate your craft.
Flea & tick season Picks
flea and tick prevention
As an affiliate, we earn on qualifying purchases.