
A DIY pre-purchase inspection checklist guides you to spot costly issues early, saving you money and ensuring safety. Start by preparing essential tools like a flashlight, moisture meter, and camera, then check the exterior and structural integrity for cracks, water damage, or uneven surfaces. Inspect mechanical systems, safety features, and signs of mold or corrosion. Review documents and look out for red flags indicating expensive repairs. Keep inspecting thoroughly—if you stay vigilant, you’ll uncover critical issues before making a commitment.
Key Takeaways
- Focus on critical areas like foundation, roof, plumbing, electrical, and HVAC systems during your DIY inspection.
- Use essential tools such as a flashlight, moisture meter, screwdriver, and camera to identify issues accurately.
- Look for signs of water damage, mold, structural cracks, and previous repairs that could indicate costly problems.
- Review property records, permits, and previous inspection reports to uncover hidden issues or red flags.
- Know when to seek professional help for complex or safety-related concerns beyond your DIY inspection scope.

Klein Tools 80023P Tool Set, Home Inspector Tool Kit with Digital Moisture Meter, Non-Contact Voltage Tester, GFCI Outlet Tester, 3-Piece
HOME INSPECTOR TOOL KIT includes a Digital Moisture Meter, Non-Contact Voltage Tester Pen, and GFCI Tester
As an affiliate, we earn on qualifying purchases.
As an affiliate, we earn on qualifying purchases.
Why Conducting a DIY Pre-Purchase Inspection Saves You Money
Conducting a DIY pre-purchase inspection can save you a significant amount of money by helping you identify potential issues before committing to a purchase. When you perform your own home maintenance checks, you catch problems early, avoiding costly repairs later. Using basic inspection tools like a flashlight, moisture meter, or level allows you to assess areas often overlooked by buyers or inspectors. Spotting signs of water damage, faulty wiring, or structural issues beforehand helps you negotiate a better price or decide to walk away. This proactive approach empowers you to understand the true condition of the property without relying solely on professionals. Recognizing the importance of thorough home inspections ensures you are better prepared and informed during the buying process. Additionally, being familiar with common home issues enables you to address problems more effectively during your inspection. By catching red flags early, you save money and gain confidence in your home purchase decision.

General Tools MMD4E Digital Moisture Meter, Water Leak Detector, Moisture Tester, Pin Type, Backlit LCD Display With Audible and Visual High-Medium-Low Moisture Content Alerts, Grays
HUMIDITY SENSOR: Our handy meter tool can quickly determine what level of remediation is needed to keep your…
As an affiliate, we earn on qualifying purchases.
As an affiliate, we earn on qualifying purchases.
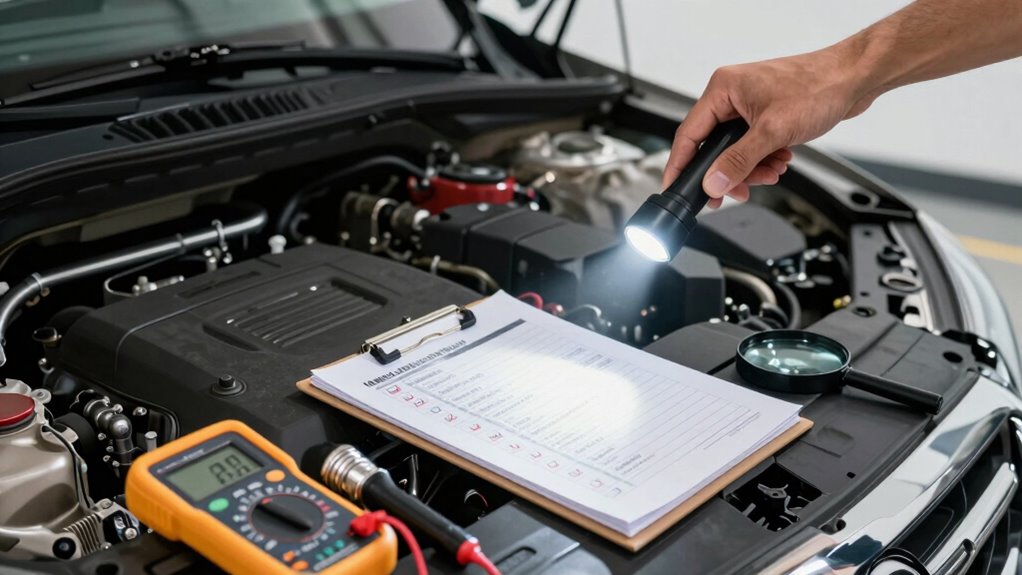
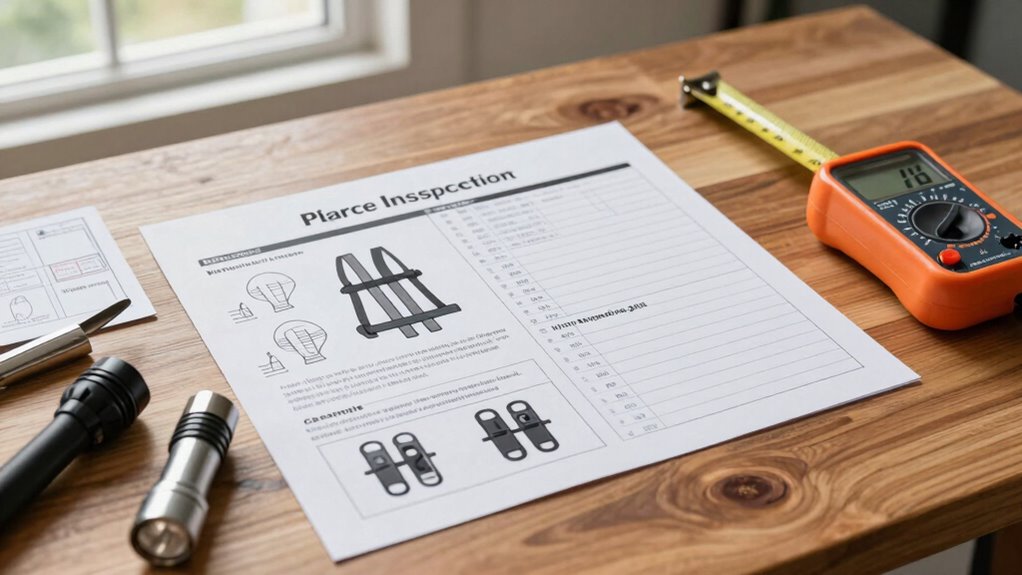
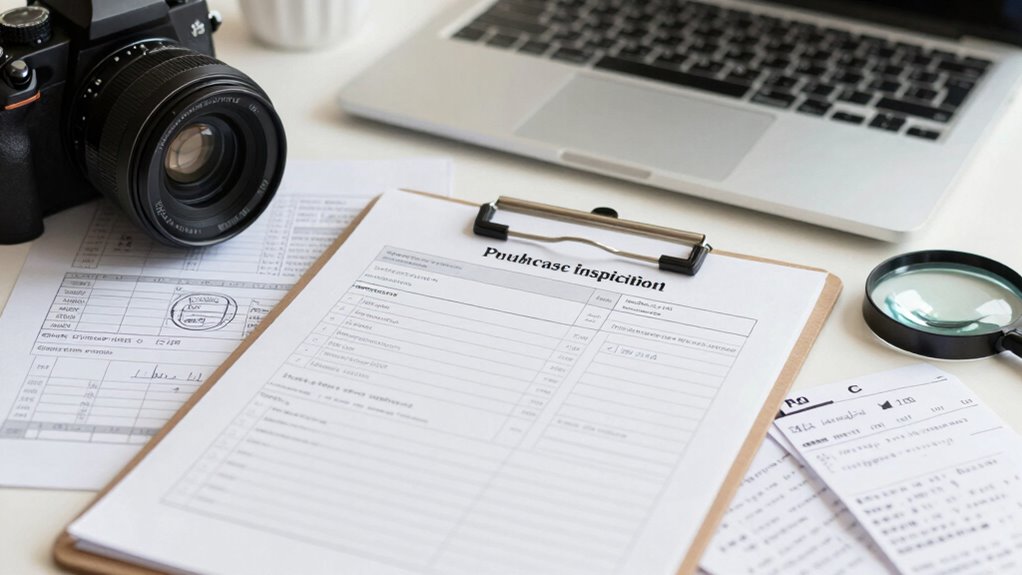
How to Prepare for Your Inspection: Tools and Planning

Preparing for your pre-purchase inspection involves gathering the right tools and creating a clear plan to guarantee a thorough assessment. Start by assembling essential inspection tools, such as a flashlight, a screwdriver, a moisture meter, and a camera for documenting issues. Having these on hand ensures you can spot problems efficiently. Next, develop planning strategies that outline what areas to check and how to approach each one. Break down your inspection into manageable steps, prioritizing critical components like the foundation, plumbing, electrical systems, or engine. A well-thought-out plan minimizes the chances of overlooking vital issues and helps you stay organized. Incorporating essential DIY tools tailored to food gear or kitchen appliances can further enhance your inspection accuracy. Combining effective planning strategies with the right inspection tools enables you to conduct a comprehensive evaluation confidently and accurately.
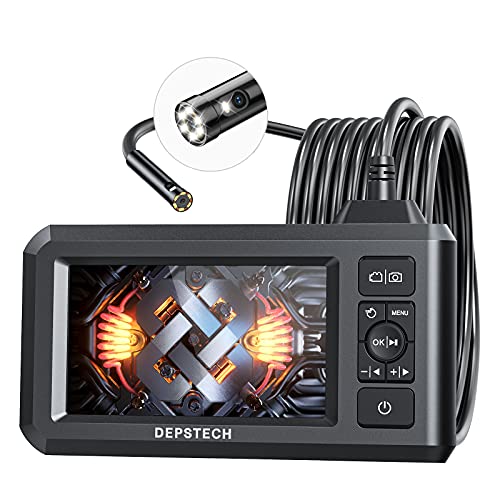
DEPSTECH Dual Lens Industrial Endoscope, 1080P Digital Borescope Inspection Camera, 7.9mm IP67 Waterproof Sewer Camera with 4.3" LCD Screen, 7 LED Lights, 16.5FT Semi-Rigid Cable, 32GB Card-Black
【See More with Dual Lens&Split Screen】: The DS300 inspection camera has dual-lens technology that allows you to switch…
As an affiliate, we earn on qualifying purchases.
As an affiliate, we earn on qualifying purchases.
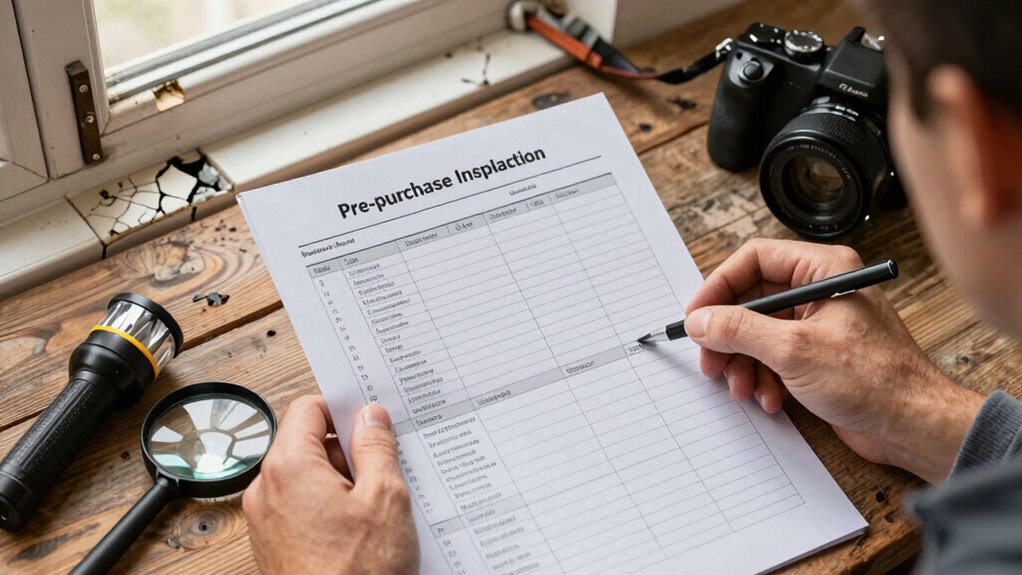
How to Check the Exterior and Structural Integrity of the Property or Vehicle
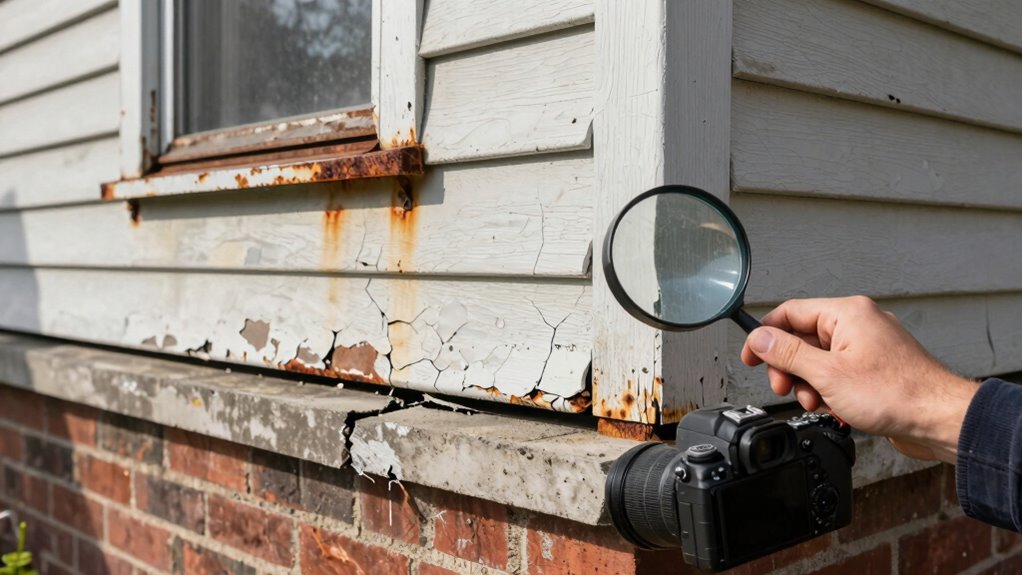
Start by thoroughly inspecting the exterior for any visible damage, cracks, or uneven surfaces. Check the structural soundness by looking for sagging, rust, or signs of previous repairs. Keep an eye out for hidden damage signs, such as water stains or soft spots, that could indicate deeper issues. Additionally, assessing the material choice of surfaces can help identify potential problems that affect durability and long-term integrity. For example, understanding the horsepower of electric dirt bikes can assist in evaluating the stress and wear on certain components over time. Incorporating architectural solutions can also provide insight into the overall design resilience and functionality of the property or vehicle, especially when considering the support network for ongoing maintenance or repairs. Paying attention to material compatibility is crucial for ensuring that repairs or upgrades do not inadvertently cause further damage or deterioration.
Visual Exterior Inspection
When inspecting the exterior of a property or vehicle, it’s vital to closely examine the overall condition and look for any signs of damage or wear that could indicate underlying issues. Start by checking the exterior paint for cracks, peeling, or fading, which can signal water intrusion or neglect. Pay attention to landscaping features like trees and shrubs; overgrown or poorly maintained landscaping can cause damage to walls or foundations over time. Look for any uneven surfaces, sagging areas, or visible cracks in the siding, fascia, or trim. Confirm gutters are secure and free of debris, as clogged gutters can lead to water damage. Additionally, inspecting building envelope integrity helps identify potential vulnerabilities that may compromise structural safety. Ensuring proper natural light access can also reveal issues with window placement or shading that affect energy efficiency and comfort. Conducting a visual exterior inspection with attention to these details can help uncover early signs of water damage or structural concerns, saving you from costly repairs later. Regularly assessing these elements aligns with the attention to detail critical in effective quality assurance processes.
Structural Soundness Check
After completing the visual exterior inspection, it’s important to assess the structural integrity of the property or vehicle. Check for cracks, especially around load bearing walls, as these can signal foundation issues. Look for uneven floors or doors that don’t close properly, which may indicate foundation instability. Tapping or probing walls can reveal hidden weaknesses; listen for hollow sounds that suggest internal damage. Additionally, understanding regional flavors and how they influence construction styles can help identify typical versus problematic features in different areas. Recognizing building materials common in various regions can also aid in detecting unusual or suspect construction elements.
| What to Check | Why It Matters |
|---|---|
| Cracks in Walls | May indicate shifting or settling |
| Uneven Floors | Could signal foundation instability |
| Load Bearing Walls | Essential for structural support |
A thorough check helps catch costly problems early, ensuring the property or vehicle is solid and safe.
Hidden Damage Signs
Hidden damage signs can often be overlooked during a visual inspection but are crucial indicators of underlying problems. Recognizing these signs helps you spot potential structural issues before purchasing.
- Look for uneven paint or wallpaper, which may reveal previous repairs or hidden damage.
- Check for cracks or bulges in walls, ceilings, or floors that could indicate structural issues.
- Examine exterior surfaces for rust, corrosion, or mismatched siding, suggesting hidden damage.
- Inspect the foundation and framing for signs of shifting, such as uneven floors or gaps.
- Pay attention to structural integrity issues that could compromise the safety and stability of the property or vehicle.
Being vigilant about hidden damage allows you to assess the true condition of the property or vehicle, ensuring you avoid costly repairs down the line.

TrixHub Rechargeable Flashlights 2 Pack, Super Bright High Lumens Flash Light, 5 Modes Zoomable Linternas with LCD Digital Display, Powerful Handheld LED Flashlights for Home Emergencies Camping
【BRIGHT FLASHLIGHT】Flashlights high lumens equipped with an LCD real-time battery level display, which provides a clear and accurate…
As an affiliate, we earn on qualifying purchases.
As an affiliate, we earn on qualifying purchases.
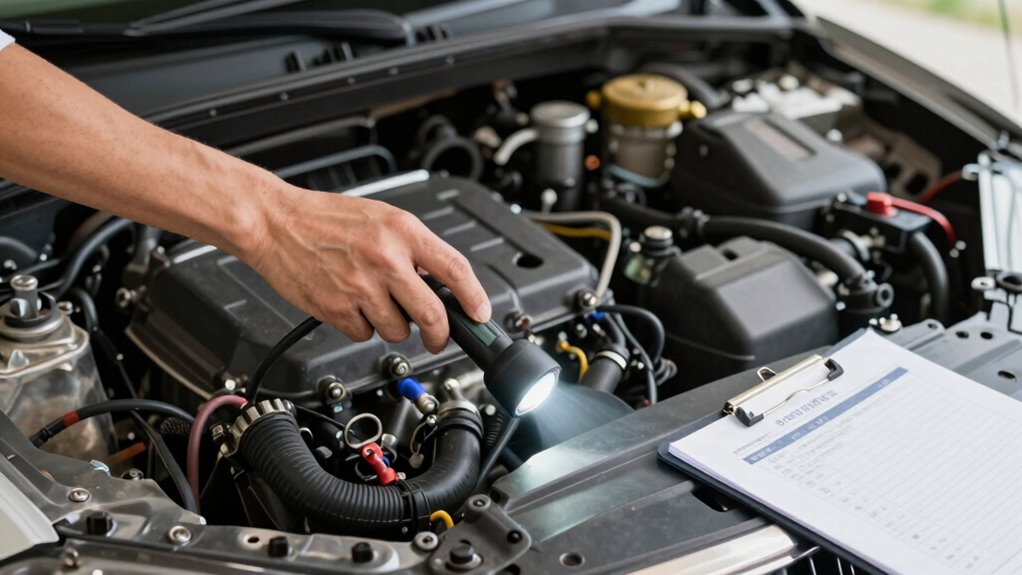
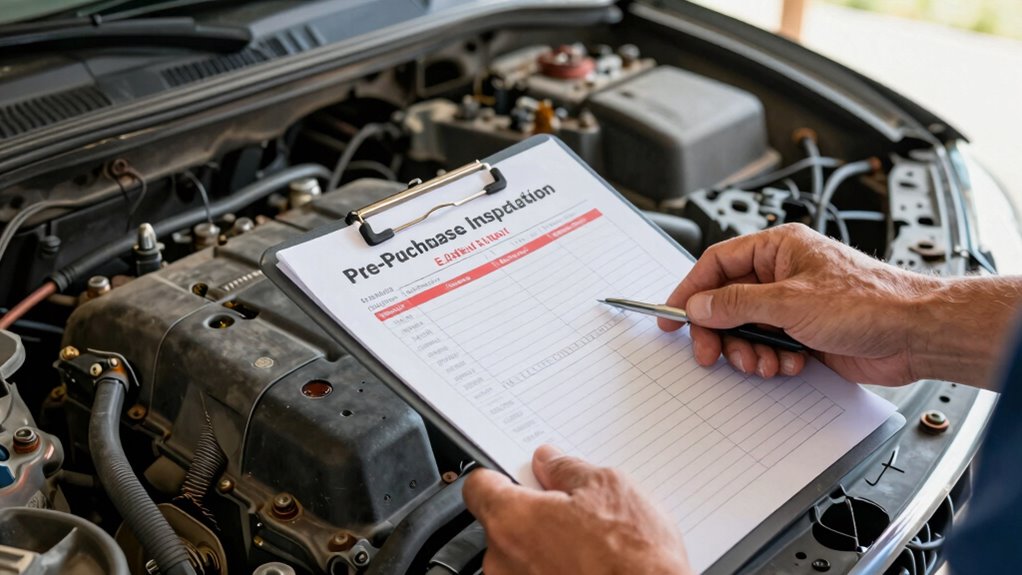
How to Inspect Mechanical Systems for Hidden Problems
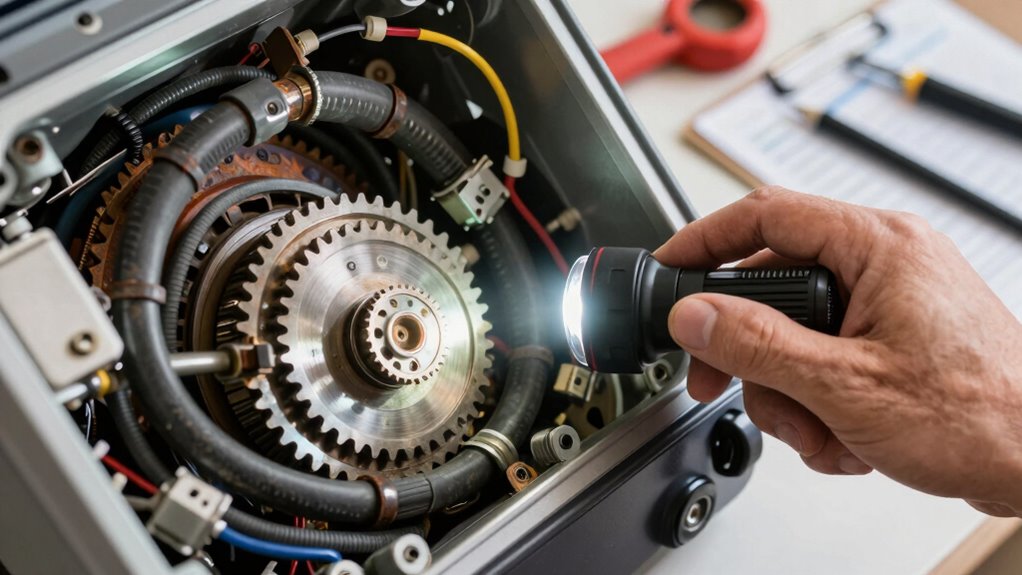
Inspecting mechanical systems thoroughly requires a keen eye for potential issues that may not be immediately visible. Start by checking the HVAC maintenance history and look for signs of irregular operation, strange noises, or inconsistent temperatures. Turn on the system to see if it starts smoothly and operates quietly. Examine electrical wiring for signs of wear, frayed insulation, or loose connections, which could indicate underlying electrical problems. Look for corrosion around mechanical parts and ensure vents and filters are clean. Check for leaks or water damage near the furnace or boiler. Pay attention to any unusual smells or visible dust buildup, which might suggest poor maintenance or hidden issues. Additionally, inspecting air exchange systems and ensuring proper ventilation can help prevent issues related to indoor air quality. Proper flywheel performance can also influence the overall mechanical health of the engine and should be checked if applicable. Conducting a comprehensive inspection can help identify costly repairs before purchasing. Regularly checking system controls and their responsiveness can further help detect underlying mechanical issues early. A careful inspection of these components helps identify costly repairs before purchasing.
What Safety Features and Compliance Checks Are Necessary
Ensuring that a property meets safety standards and complies with local regulations is a critical step in the inspection process. You need to verify that essential safety features are in place and functioning correctly. First, check smoke and carbon monoxide detectors to ensure safety compliance. Second, examine the electrical system for grounding and proper circuit breakers. Third, verify that stair rails, handrails, and guardrails meet safety requirements. Fourth, review fire extinguishers and escape routes are accessible and up to date. To further ensure compliance, inspecting safety standards and regulations helps identify potential hazards before closing. Additionally, reviewing home security systems can help identify vulnerabilities that may not be immediately obvious. These safety features are crucial for protecting future occupants and avoiding costly violations. Additionally, inspecting household safety devices helps identify potential hazards before closing. Conducting a thorough safety compliance check ensures all measures are up to code. By focusing on safety compliance, you catch potential hazards early, guaranteeing the property is safe and up to code before finalizing your purchase.
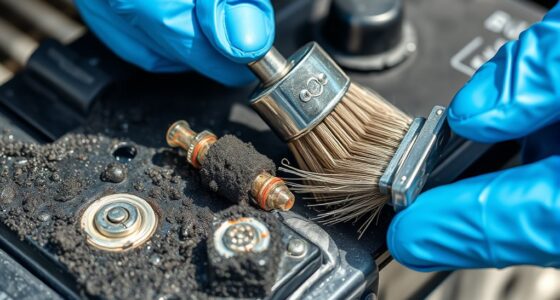
How to Spot Water Damage, Mold, or Corrosion Signs
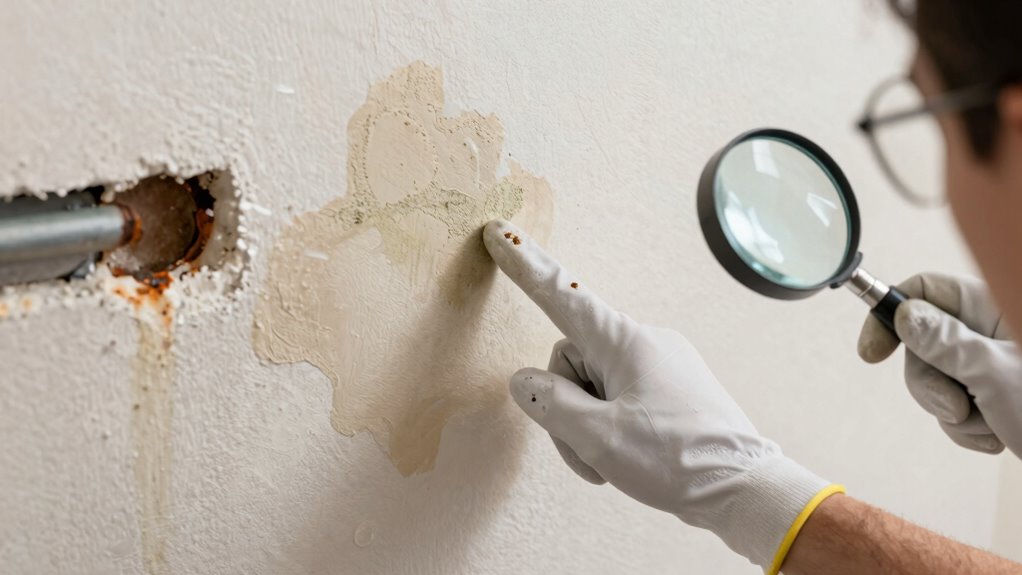
When inspecting a property, look for water stains on walls or ceilings, as they indicate past leaks. Smell for moldy odors that can signal hidden mold growth, and examine metal components for signs of corrosion or rust. These clues help you identify potential issues before making a purchase.
Spot Water Stains
Water stains are often the first clue that hidden problems lurk behind walls or ceilings. To spot water damage, focus on water stain identification by looking for discolored or warped areas. These stains may appear yellow, brown, or darkened patches that don’t match the surrounding surface. Use these tips for moisture intrusion detection:
- Check for peeling or bubbling paint or wallpaper.
- Look for softened or crumbling drywall or plaster.
- Inspect ceiling or wall areas for streaks or rings.
- Feel for dampness or cool spots behind surfaces.
Being attentive to these signs helps you catch hidden leaks early, preventing costly repairs. Remember, water stain identification is key to understanding moisture intrusion issues before they escalate.
Check for Moldy Odors
Pay close attention to unusual odors in the home, as moldy smells often signal hidden water damage or mold growth. During your odor assessment, be alert to musty, damp, or sour scents, especially in basements, bathrooms, or near plumbing. Mold detection isn’t always visible, but these odors are strong clues. Use your nose as a tool—persistent smells can mean unseen issues. Here’s a quick comparison:
| Odor Type | What It Indicates |
|---|---|
| Musty or Damp | Possible mold growth or water intrusion |
| Sour or Rotten | Possible mold or mold-related issues |
| Chemical or Sharp | Possible water damage or corrosion |
| No Odor | Generally a safe sign, but stay vigilant |
Trust your nose—detecting these signs early can save you costly repairs later.
Examine Corrosion Signs
Ever wonder how to spot hidden water damage or corrosion during a home inspection? Here’s what to look for:
- Discolored spots or stains on walls, ceilings, or floors—these often indicate water intrusion.
- Rusty or corroded metal fixtures, pipes, or appliances—signs that rust prevention failed or corrosion assessment is needed.
- Peeling paint or bubbling surfaces, which suggest moisture has penetrated deeper.
- Unusual mineral deposits or corrosion around plumbing or HVAC systems, highlighting potential leaks or ongoing water issues.
Which Documents and Records Should You Review
When evaluating a property, reviewing the right documents can reveal essential insights about its condition and history. Focus on title documents to confirm ownership and check for any liens or encumbrances that could complicate your purchase. A thorough record review includes previous inspection reports, maintenance records, and repair histories. These records help you understand how well the property has been maintained and identify recurring issues. Additionally, review permits and disclosures to uncover past renovations or potential code violations. Gathering this information allows you to spot red flags early and make informed decisions. By carefully examining these documents, you gain a clearer picture of the property’s true condition and avoid costly surprises after closing.
Common Red Flags That Signal Expensive Repairs Are Likely
Certain red flags during a property inspection can strongly indicate that costly repairs are on the horizon. Recognizing these red flag indicators is essential when using your inspection checklist. Here are four warning signs to watch for:
- Cracked or uneven foundation – suggests structural issues that may require expensive foundation work.
- Water stains or mold – signals potential leaks or drainage problems, leading to costly repairs.
- Damaged roofing or missing shingles – indicates the roof may need replacement soon.
- Aging electrical or plumbing systems – can lead to major repairs if not addressed promptly.
These red flag indicators should prompt further investigation before proceeding, saving you from unexpected expenses later. Being vigilant with your inspection checklist helps catch these issues early.
What to Do After Your DIY Inspection: When to Seek Professional Help
After completing your DIY inspection and noting potential red flags, it’s important to know when to bring in a professional. If you encounter issues beyond your inspection limitations or if homeowner safety is at risk, seek expert help. Professional inspectors can identify hidden problems and provide detailed assessments.
Use this table to decide when professional help is needed:
| Situation | Why It Matters | Action to Take |
|---|---|---|
| Visible structural damage | Inspection limitations might miss hidden issues | Call a structural engineer |
| Signs of mold or water intrusion | Can threaten homeowner safety | Hire an indoor air quality expert |
| Electrical or plumbing concerns | Risks of fire or water damage | Consult licensed specialists |
| Uncertain or complex issues | Requires advanced diagnostic tools | Engage a qualified inspector |
| Safety hazards (e.g., unstable stairs) | Immediate risk to inhabitants | Address immediately, seek help |
Frequently Asked Questions
How Accurate Can a DIY Inspection Be Compared to Professional Assessments?
Your DIY inspection can be fairly accurate for basic issues, but it often falls short in inspection accuracy compared to professionals. Professionals have specialized training and tools, enabling a thorough assessment and catching hidden problems. While your DIY approach is helpful for initial checks, a professional comparison guarantees you don’t overlook critical issues, giving you peace of mind and saving money in the long run.
What Are Common Mistakes to Avoid During a DIY Inspection?
Don’t fall for the trap of inspection pitfalls—it’s easy to overlook details when you’re enthusiastic to finish. You might skip checking hidden areas or assume superficial issues aren’t serious. Avoid rushing through the process or relying solely on your eye. Remember, a common mistake is missing subtle signs of trouble, which can lead to costly surprises later. Stay thorough, stay curious, and don’t let overlooked details sabotage your smart purchase.
How Do I Prioritize Repairs Based on My Inspection Findings?
You should prioritize repairs based on repair urgency and your budget allocation. First, address critical issues that threaten safety or could cause further damage, like structural problems or faulty wiring. Next, allocate your budget to essential repairs that improve the property’s value or prevent future costs. Less urgent fixes can wait until you have more funds. This approach guarantees safety first while managing costs effectively.
Are There Legal Considerations When Conducting a DIY Property or Vehicle Inspection?
Like walking a tightrope, conducting a DIY inspection involves legal liability and disclosure requirements you must follow. You should be aware that incomplete or inaccurate inspections could lead to legal issues if problems surface later. Always disclose any known issues, and avoid offering formal certifications. Stick to your expertise, document findings thoroughly, and consider consulting a professional to mitigate risks and guarantee you’re compliant with local laws.
How Often Should I Perform a Pre-Purchase Inspection on Similar Assets?
You should perform a pre-purchase inspection whenever you’re considering buying similar assets, ideally before each purchase. For ongoing assets like vehicles or equipment, establish an inspection frequency based on usage and manufacturer recommendations; typically, this means annual or bi-annual checks. Incorporating regular inspections into your maintenance scheduling helps catch issues early, saving money and ensuring safety, especially when assets are used frequently or under demanding conditions.
Conclusion
By following this DIY checklist, you’re armed with a flashlight in the dark, catching costly issues before they become nightmares. Trust your eyes and instincts—you’ll save money and avoid surprises. Remember, even the sharpest eagle can miss something small; when in doubt, don’t hesitate to call in a pro. Think of your inspection as a shield, protecting your investment and giving you peace of mind for the road ahead.