To replace a headlight or taillight bulb, start by turning off your vehicle, removing the keys, and ensuring the lights have cooled down. Wear gloves to prevent oils from touching the bulb, and gather your tools. Access the bulb housing, disconnect the wiring carefully, and remove the old bulb. Insert the new bulb securely, reconnect the wiring, and test the lights. For step-by-step guidance, keep going to learn more about each stage.
Key Takeaways
- Turn off the vehicle, open the hood or trunk, and locate the bulb housing for easy access.
- Disconnect the electrical connector and remove securing clips or screws carefully to access the old bulb.
- Handle the new bulb by its base, insert it properly, and reconnect the electrical plug securely.
- Test the new bulb by turning on the headlights or taillights to ensure proper operation.
- Reassemble covers, tighten fasteners, and double-check all connections before driving.
Have you ever struggled to see clearly while driving at night because your headlight or taillight isn’t working? Replacing a bulb might seem tricky at first, but with the right approach, it’s a straightforward process. Before you start, it’s essential to take some safety precautions: make sure your vehicle is turned off, the keys are removed, and your lights are cool to avoid burns. Wearing gloves can also prevent oils from your skin from transferring to the new bulb, which could shorten its lifespan. Gather the tools required beforehand—usually, you’ll need a screwdriver, socket wrench, or pliers, depending on your vehicle’s make and model. Having these tools ready saves time and reduces frustration.
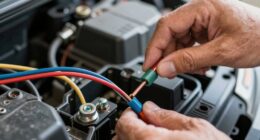
Once you’ve parked on a level surface and turned on your hazard lights, open the hood or trunk to access the bulb housing. For headlights, you might need to remove a plastic cover or access panel. Follow your vehicle’s manual if you’re unsure of the specific location or removal process. Carefully disconnect the electrical connector attached to the bulb—don’t pull on the wires themselves, but instead grip the connector. Next, release any clips or screws holding the bulb in place. Be gentle during this step, as old or stubborn bulbs can be fragile and may break if forced. Checking the power requirements of the new bulb ensures compatibility and safe operation.
Park on level ground, then access the bulb housing by removing covers and disconnecting the electrical connector carefully.
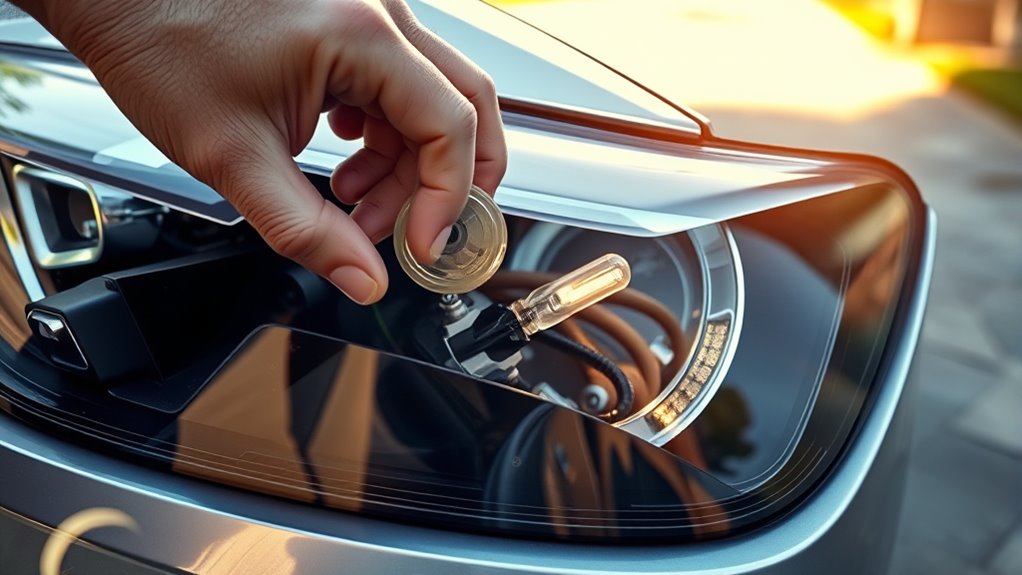
With the old bulb removed, examine it for any signs of damage or blackening, which indicates it needs replacement. Take the new bulb, handling it by the base only, to avoid touching the glass part. Insert the new bulb into the socket, ensuring it’s seated properly and securely. Reconnect the electrical connector, making sure it clicks into place. Before reassembling everything, turn on your headlights or taillights to confirm the new bulb works properly. If it doesn’t light up, double-check the connections and bulb orientation.
Finally, reattach any covers or panels, tighten screws or clips, and close the hood or trunk. Always double-check your work—test the lights again to ensure they’re functioning correctly. Replacing a headlight or taillight bulb doesn’t have to be complicated, especially when you follow safety precautions and have the right tools at hand. With a bit of patience and careful handling, you’ll have your lights shining brightly again, improving your visibility and safety on the road.

Nilight 9005 9006 LED Bulb Kit, 350% Brighter, High and Low Beam Bulbs Combo, 6000K Cool White, Mini Size
350% Brighter Than Halogens: Equipped with high luminous efficacy LED chips and 6000K xenon white, 9005 9006 LED…
As an affiliate, we earn on qualifying purchases.
As an affiliate, we earn on qualifying purchases.
Frequently Asked Questions
How Do I Identify the Correct Replacement Bulb for My Vehicle?
To identify the correct replacement bulb, you need to check bulb compatibility with your vehicle. Start by consulting your owner’s manual, which provides manufacturer specifications for the right bulb type. Also, look at the existing bulb for part numbers or markings. When shopping, confirm that the new bulb matches these specifications to guarantee proper fit and performance, avoiding issues caused by incompatible bulbs.
Are There Safety Precautions to Consider Before Changing a Bulb?
Before changing a bulb, you should consider safety precautions. Wear personal protective equipment like gloves and eye protection to avoid burns or injuries. Handle hazardous materials, such as broken glass or leaking bulbs, carefully to prevent cuts or exposure to harmful substances. Make sure the vehicle is turned off and cooled down. These steps help guarantee your safety while working with electrical components and potentially dangerous materials.
Can I Replace a Bulb Without Removing the Entire Assembly?
You can often replace a bulb without removing the entire assembly by doing a quick removal of the accessible assembly components. Check for clips or screws that hold the cover in place, then carefully detach them. Once you have access, you can reach in and replace the bulb. Be gentle to avoid damaging any surrounding parts, and always guarantee the vehicle is off before starting the process.
What Tools Are Necessary for Replacing Headlight or Taillight Bulbs?
To replace headlight or taillight bulbs, you’ll need basic tools like screwdrivers and possibly pliers. Your main concern is understanding socket types, as they vary by vehicle, affecting the replacement procedures. Check your owner’s manual for specific socket details and step-by-step instructions. Usually, you’ll disconnect the wiring, remove the socket, and install the new bulb, ensuring you follow the proper procedures for a safe and effective replacement.
How Do I Test if the New Bulb Is Working Properly?
Think of bulb testing like a treasure hunt—you’re searching for the shining clue that confirms your work. To test if your new bulb works properly, turn on your vehicle and switch on the headlights or taillights. Use electrical diagnostics if needed, or simply observe if the bulb lights up steadily. Confirm connections are secure, then double-check to make sure your upgrade is a bright success before hitting the road.
2 Pcs E26 Lamp Shade Socket Ring Removal Tool, Light Bulb Removal Tool Socket Lighting Installation Service Tools
【Perfect Fit for E26 Lamp Holders】With an inner diameter of 44 mm and an outer diameter of 52…
As an affiliate, we earn on qualifying purchases.
As an affiliate, we earn on qualifying purchases.
Conclusion
Now that you know how to replace your headlight or taillight bulb, you’re basically a superhero ready to save the night! No more stranded in the dark or risking a ticket—you’re armed with the power to fix your car in minutes. Think of it: one quick bulb swap, and you’re back to blazing down the road like a racing legend. Who knew changing a tiny bulb could make you feel like a roadside hero?

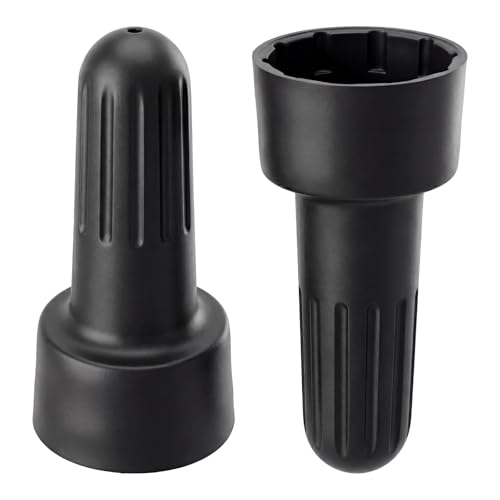
Fog lights headlights bulb socket removal tool suitable for 3/8 inch ratchet wrench H8 H9 H10 H11 H12 H13 9005 9006 9012
COMPATIBILITY: Universal socket removal tool designed for H8, H9, H10, H11, H12, H13, 9005, 9006, and 9012 headlight…
As an affiliate, we earn on qualifying purchases.
As an affiliate, we earn on qualifying purchases.

Marsauto 194 LED Bulb 6000K White 168 T10 2825 W5W 5SMD Replacement Bulbs for Car Dome Map Door Courtesy Side Marker Reading Glove Box License Plate Lights (Pack of 10)(Clear Lens Side Marker)
【400% Brighter Than Halogen Bulb】 Marsauto 194 led bulb equipped with 5-SMD 3030 LED chips, delivering 400 lumens…
As an affiliate, we earn on qualifying purchases.
As an affiliate, we earn on qualifying purchases.