Using the wrong lighting setup can hide scratches because poor angles, inadequate brightness, or unsuitable light types create glare, shadows, or uneven reflections that mask surface flaws. Harsh, direct lights or overly warm or cool tones can distort how scratches appear, making them difficult to spot. Properly positioned, adjustable LED lights at the right color temperature reveal even fine imperfections clearly. Keep exploring to discover how adjusting your lighting can transform your surface inspection results.
Key Takeaways
- Incorrect lighting angles can cause glare or shadows that obscure surface scratches.
- Poor light color temperature may reduce contrast, hiding fine imperfections.
- Insufficient brightness or indirect light can make scratches less visible or appear flat.
- Improper lighting setup can create reflections that mask flaws instead of revealing them.
- Using the wrong type of light, such as overly warm or cool, can distort surface details and hide scratches.
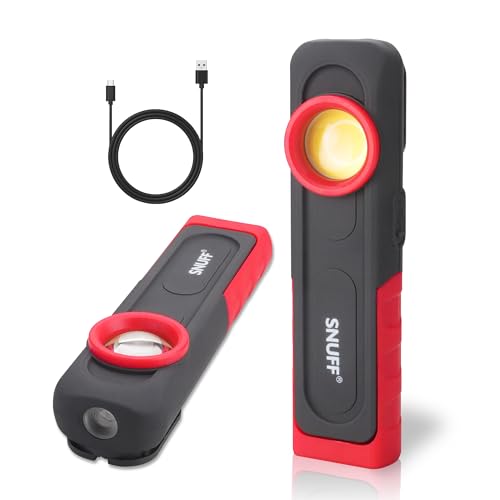
Car Detailing Light Rechargeable, 600LM Paint Correction Inspection Light with Magnetic Base & Hook, 2700/4500/6500K, Handheld LED Work Light for Auto Detailing, Color Matching & Repairs (1 Pack)
Three Color Temperatures: Choose from 2700K, 4500K, or 6500K color temperatures for precise detailing, paint correction, and color…
As an affiliate, we earn on qualifying purchases.
As an affiliate, we earn on qualifying purchases.
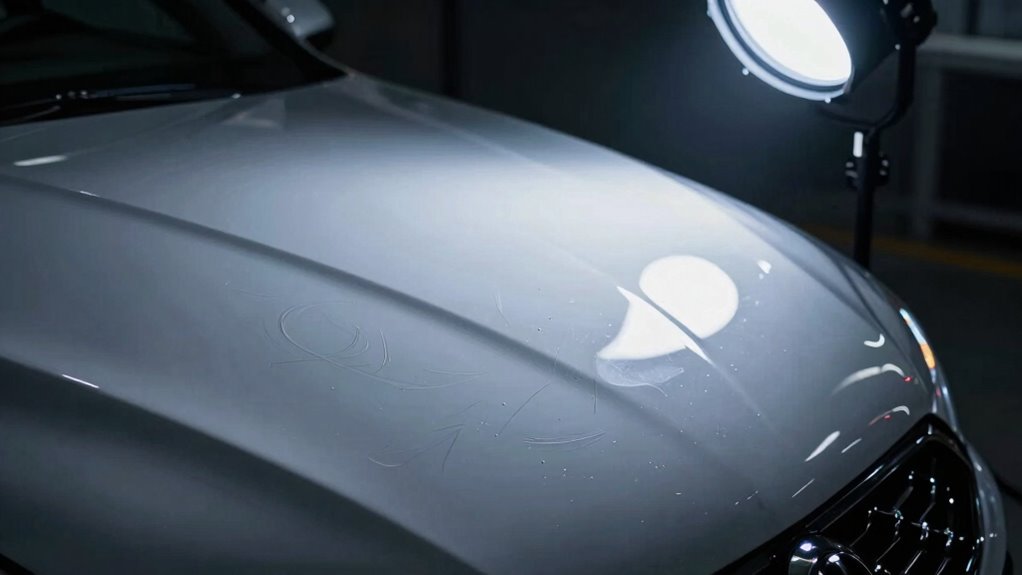
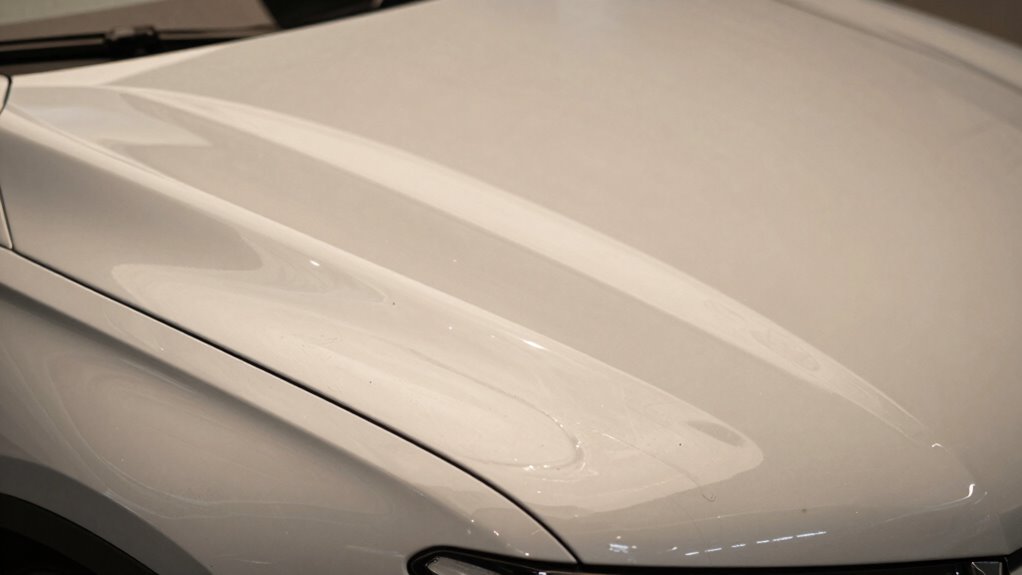
How Lighting Affects Your Ability to See Scratches Clearly
Lighting plays a pivotal role in how well you can see scratches on your vehicle’s surface. Proper lighting enhances UV reflection, making scratches more visible by highlighting surface imperfections. When the light hits the paint at the right angle, it creates a strong color contrast between the scratched and intact areas. Bright, direct light emphasizes surface flaws, allowing you to spot even fine scratches. Conversely, poor lighting or indirect light can hide scratches, making it harder to identify areas needing attention. Understanding lighting conditions is essential for effective detailing, as it directly impacts your ability to detect surface issues. Adjusting your lighting setup to optimize UV reflection and contrast is crucial for thorough inspections. By understanding how light interacts with your vehicle’s surface, you gain better control over your inspection process, ensuring a thorough and professional detailing job. Knowing how to master time zones can also help plan the best lighting conditions for inspections in different environments. Additionally, recognizing the importance of contrast ratio can help you select lighting that enhances surface imperfections, especially when considering ambient lighting conditions which can influence visibility. Being aware of light temperature can also make a significant difference in how scratches appear under different lighting scenarios.

NextLED Ultimate NT-6692M Professional Rechargeable Auto Detailing Light, CRI 96+ Color Match & Paint Correction Light, 5 Color Temps, 500 Lumens, W/Light Diffuser, IPX6, 3-Year Warranty
[PROFESSIONAL-GRADE DETAILING LIGHT] – With CRI 96+ rating delivers true color accuracy for paint inspection, ceramic coating, swirl…
As an affiliate, we earn on qualifying purchases.
As an affiliate, we earn on qualifying purchases.
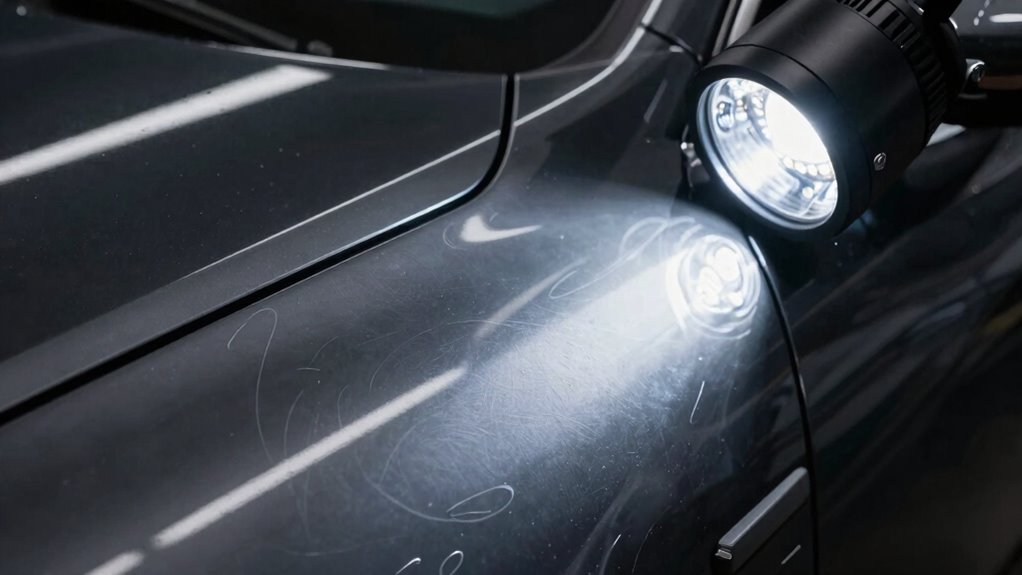
Which Types of Detailing Lights Are Best for Spotting Scratches
Choosing the right type of detailing light can make a significant difference when spotting scratches. LED options are excellent because they emit a bright, focused beam with minimal heat, allowing you to see imperfections clearly without damaging the paint. They also offer adjustable brightness and color temperatures, helping you tailor the light to your needs. Halogen choices, on the other hand, produce a warm, intense light that’s great for highlighting surface flaws, but they generate more heat and consume more power. While halogens can be effective, they may cause glare or uneven lighting, making scratches harder to detect in certain angles. Overall, LED options tend to be more versatile and user-friendly for detailed scratch inspection, giving you better clarity and control.

LED Strobe Light, 12V-24V Amber 40 LED Warning Safety Flashing Beacon Lights with Magnetic and 16 ft Straight Cord for Vehicle Forklift Truck Tractor Golf Carts UTV Car Bus
Super bright beacon light: 40 super bright LEDs with with Durable PC Lens, 360 degrees of coverage. keep…
As an affiliate, we earn on qualifying purchases.
As an affiliate, we earn on qualifying purchases.
How to Choose the Right Detailing Light for Scratch Inspection
When choosing a detailing light for scratch inspection, consider the brightness and color of the light to guarantee you can see imperfections clearly. An adjustable, focused beam helps you target specific areas without overwhelming surrounding spots. Picking the right combination makes spotting scratches easier and more accurate. Additionally, using a properly maintained detailing light ensures consistent illumination and accurate inspection results. Regularly checking and calibrating your light can help maintain its measurement accuracy over time. Ensuring your lighting setup complements your body jewelry measurements routines can make your inspection process even more seamless and effective. Being aware of device limitations can also help prevent misinterpretation of surface flaws.
Light Brightness and Color
Have you ever struggled to spot scratches on a car’s surface? Brightness and color of your detailing light are key. Too dim, and scratches hide in shadows; too bright, and reflections obscure imperfections. Choosing the right light temperature helps reveal scratches without distortion. A cooler (bluish) light enhances surface contrast, making flaws more visible. Warm (yellowish) light softens reflections but can mask fine scratches. When selecting a light, consider light positioning to avoid glare or shadows that hide damage. Here are four tips:
- Use a light with adjustable brightness.
- Opt for a light with a neutral or cool color temperature.
- Test different light intensities to find the most suitable balance.
- Position the light to minimize direct reflections and shadows.
Additionally, proper lighting conditions significantly impact your ability to detect subtle scratches and imperfections. This ensures you detect scratches accurately, avoiding missed flaws.
Adjustable and Focused Beam
A focused and adjustable beam is essential for effective scratch inspection because it allows you to target specific areas with precision. Proper beam adjustment ensures the light concentrates exactly where you need it, revealing even the tiniest imperfections. When choosing a detailing light, look for one with adjustable focus to customize the light’s intensity and spread. Incorporating lighting control features helps enhance visibility and inspection accuracy. Additionally, selecting a light with beam consistency ensures even illumination across the inspected surface, reducing the chances of missing subtle scratches. The horsepower of electric dirt bikes demonstrates how powerful and efficient focused lighting can enhance detailed inspections, much like selecting the right espresso machines can improve your home brewing experience. Understanding ethical choices in consumer products emphasizes the importance of selecting tools that provide reliable performance and safety.
Car Detailing Light Rechargeable, 600LM Paint Correction Inspection Light with Magnetic Base & Hook, 2700/4500/6500K, Handheld LED Work Light for Auto Detailing, Color Matching & Repairs (1 Pack)
Three Color Temperatures: Choose from 2700K, 4500K, or 6500K color temperatures for precise detailing, paint correction, and color…
As an affiliate, we earn on qualifying purchases.
As an affiliate, we earn on qualifying purchases.
Tips for Setting Up Your Lighting Environment for Better Results

Setting up your lighting environment correctly is essential for achieving professional-looking results. Proper lighting highlights scratches and imperfections without creating glare or shadows. Focus on controlling lighting angles to illuminate surfaces evenly, reducing harsh shadows. Use ambient illumination to soften overall brightness, preventing overly stark contrasts. Keep the light source at an angle that enhances surface details without washing them out. Avoid direct, head-on lighting that can hide flaws or create unwanted reflections. Additionally, ensure your workspace is well-organized, with minimal clutter to prevent distractions. Adjust your lights and test different angles until scratches become clearly visible. Lighting control is a crucial element in revealing surface flaws effectively. Proper lighting setup is especially important when considering engine performance parts like flywheels and engine upgrades, as detailed inspection can make all the difference. Consistent, well-planned lighting setup makes a significant difference in revealing every detail and achieving a flawless finish.
Common Mistakes When Using Detailing Lights and How to Avoid Them
Many detailers make the mistake of relying on improper lighting techniques that can obscure surface flaws or create misleading reflections. One common error is using lights with the wrong color temperature, which can alter the appearance of scratches or imperfections. Cooler lights tend to make flaws less noticeable, while warmer lights can exaggerate surface imperfections. Additionally, poor light positioning can cause glare or shadows that hide scratches instead of revealing them. To avoid these mistakes, choose a consistent, neutral color temperature—around 5000K to 6000K—and position your lights at angles that minimize reflections and shadows. Proper lighting setup is essential for accurate surface assessment. Achieving consistent lighting conditions helps prevent misinterpretation caused by lighting variability, which can otherwise lead to missed or misjudged flaws. Using proper lighting techniques can significantly improve the clarity and reliability of your inspections. Always check your lighting setup from multiple viewpoints to verify you’re accurately evaluating the surface, rather than being misled by improper lighting conditions. Being aware of lighting color temperature and its effects on surface appearance can significantly improve the accuracy of your inspections. Recognizing the impact of lighting quality can help you achieve more precise detailing results.
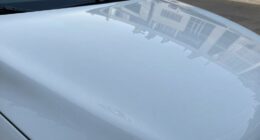
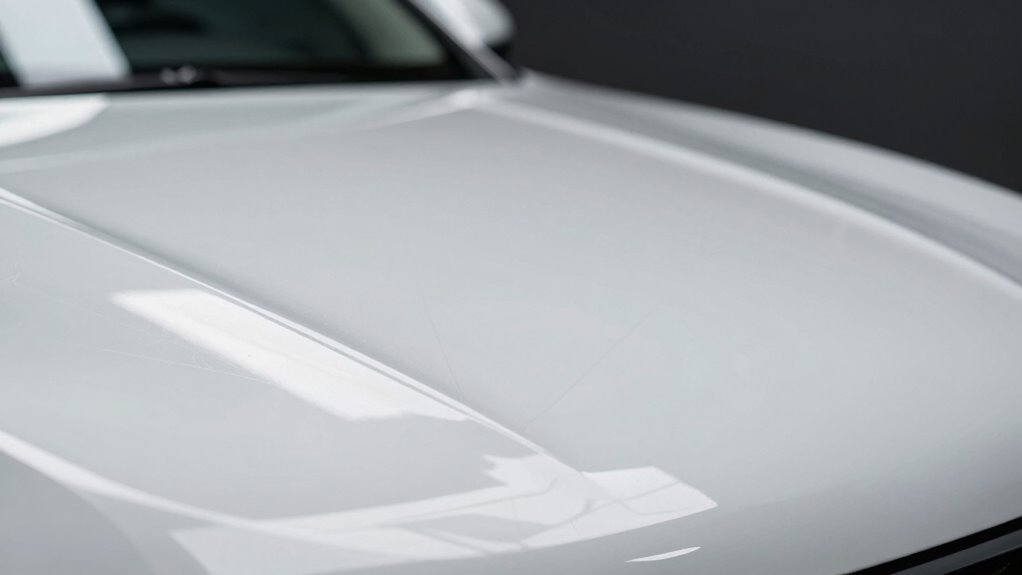
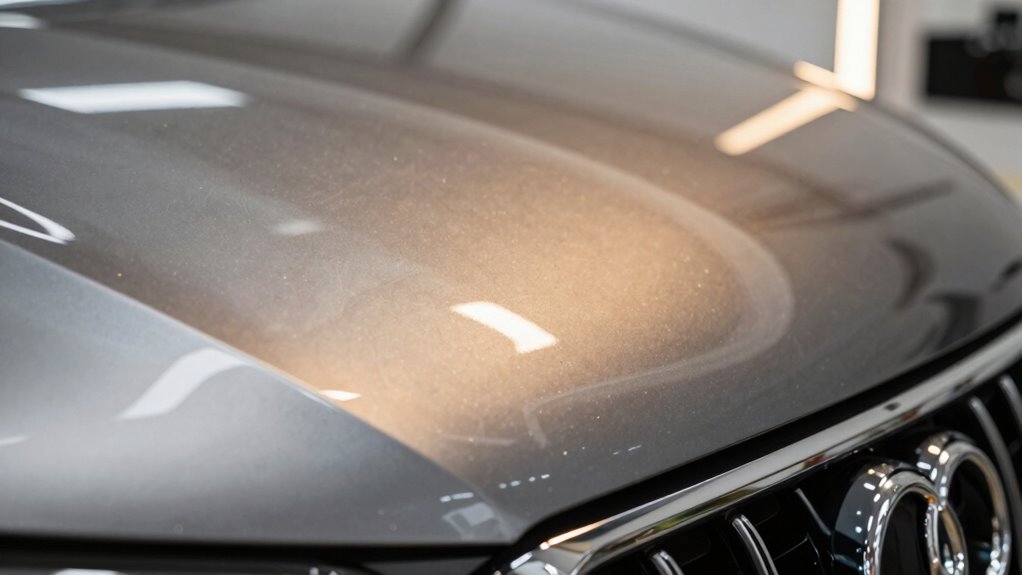
What to Look for When Evaluating Your Car’s Surface Under Different Lights
When evaluating your car’s surface under different lights, focus on identifying specific imperfections that may not be obvious in regular daylight. Proper lighting reveals issues like uneven paint thickness and hidden surface contaminants. Use a bright, focused light to spot these flaws clearly. Look for:
- Fine scratches or swirl marks that reflect light differently
- Variations in paint thickness, indicating areas needing more attention
- Surface contaminants such as embedded dirt or oxidation
- Hazy or dull spots suggesting oxidation or uneven polishing
These details help you determine where to focus your detailing efforts. Different lights can highlight issues invisible in normal conditions, making it easier to achieve a flawless finish. Always compare under various lighting conditions to get a thorough view of your car’s surface health.
Final Tips for Achieving a Perfect Finish With Proper Lighting
To achieve a flawless finish, you must use proper lighting consistently throughout your detailing process. Start by selecting the right color temperature; a neutral or slightly warm light reveals scratches without distorting colors. Avoid overly cool or warm tones, which can hide imperfections or give false impressions. Pay close attention to light positioning—angle your light source to cast subtle shadows that highlight surface imperfections. Keep your light at a low angle relative to the surface to maximize reflection and reveal fine scratches. Regularly check your work under different lighting conditions to ensure consistency. Adjust your lighting setup as needed to spot remaining flaws. Being aware of light quality and how it affects surface visibility is crucial for achieving that perfect, professional finish.
Frequently Asked Questions
Can Certain Colors of Lights Make Scratches More Visible?
Yes, certain colors of lights can make scratches more visible. When you use lights with high color contrast and appropriate light temperature, scratches stand out more clearly. Cool white or bluish lights enhance contrast, revealing imperfections, while warmer tones can hide them. By choosing the right light color and temperature, you can easily spot scratches during detailing, ensuring a thorough inspection and better results.
How Does Ambient Lighting Affect Scratch Detection Accuracy?
Did you know that improper ambient lighting can reduce scratch detection accuracy by up to 30%? You might miss scratches because ambient contrast isn’t ideal, and shadow play can hide or exaggerate imperfections. Bright, even lighting enhances visibility, reducing shadows that distort your view, so you get a true assessment of your vehicle’s surface. Proper ambient lighting guarantees you catch every scratch, making your detailing efforts more precise and effective.
Are LED or Halogen Lights Better for Spotting Scratches?
LED lights are better for spotting scratches because they offer a higher color temperature and more consistent lighting, making imperfections easier to see. Halogen lights can produce warmer, uneven light that hides scratches. Focus on proper light positioning to illuminate the surface evenly, highlighting any flaws. By choosing LEDs and adjusting the angle, you guarantee you catch even the tiniest scratches, giving your detailing work a professional finish.
What Safety Precautions Should I Take When Using Bright Detailing Lights?
Ever wonder if you’re protecting yourself properly? When using bright detailing lights, always wear protective eyewear to shield your eyes from intense brightness and potential sparks. Make certain electrical safety by inspecting cords for damage and avoiding water contact. Do you want to risk injury or damage your vehicle? Taking these precautions keeps you safe and helps you spot every scratch accurately without compromising your health.
How Often Should I Replace or Upgrade My Detailing Lights for Optimal Results?
You should replace or upgrade your detailing lights every 1-2 years, depending on usage. Keep an eye on the light bulb lifespan, as dimming or flickering indicates it’s time for a new one. Consider color temperature; cooler tones reveal scratches better, but they may degrade over time. Upgrading guarantees consistent brightness and accurate inspections, helping you achieve ideal results and maintain the quality of your detailing work.
Conclusion
Remember, using the right lighting can make all the difference—studies show that proper illumination helps you spot 90% more scratches. Don’t rely on just one type of light or overlook setup details. With the right environment, you’ll catch every flaw and achieve that flawless finish you’re after. So take your time, experiment with different lights, and watch your detailing skills shine brighter than ever!