
To remove air from your brake lines, start by safely lifting your vehicle and removing the wheel. Check and top off the brake fluid reservoir with the correct type. Attach a clear tube to the bleeder valve on the caliper or wheel cylinder, and have a helper press the brake pedal while you open the valve to release trapped air. Close the valve before the helper releases the pedal, and repeat until the fluid flows steadily without bubbles. Ensuring proper technique will give you firm, responsive brakes—keep going to learn detailed tips for a perfect bleed.
Key Takeaways
- Use the correct type of brake fluid and ensure the reservoir is topped off before bleeding.
- Attach a clear tube to the bleeder valve and have a helper press the brake pedal steadily.
- Open the bleeder valve to release air and fluid, then close it before the pedal is released.
- Repeat the process until the fluid runs clear and free of bubbles, maintaining fluid levels.
- Reassemble the wheel, tighten lug nuts, lower the vehicle, and test brake pedal firmness before driving.

Bleeding your brakes might seem intimidating, but with the right steps, it’s a straightforward process you can do at home. The key is understanding how to remove air from your brake lines to restore proper pedal feel and braking performance. Before diving in, it’s important to know about brake fluid types—most vehicles use DOT 3, DOT 4, or DOT 5.1 fluids, which are not all interchangeable. Confirm your vehicle’s specifications to avoid damaging your brake system. Using the correct brake fluid guarantees compatibility and safe operation. Additionally, safety precautions are essential. Always work in a well-ventilated area, wear gloves to protect your skin from brake fluid, which is corrosive, and avoid inhaling fumes. Keep a fire extinguisher nearby, just in case, as brake fluid is flammable.
Start by parking your vehicle on a level surface and engaging the parking brake. Loosen the wheel lug nuts slightly, then lift the car with a jack and secure it with jack stands. Remove the wheel to access the brake caliper or drum. Before beginning, check your brake fluid reservoir and top it up with the appropriate brake fluid if necessary. This prevents air from entering your system during the bleeding process. Keep a clean rag handy to wipe up any spills, as brake fluid can damage paint and plastics if it leaks.
Park on a level surface, loosen lug nuts, lift with a jack, and remove the wheel before bleeding brakes.
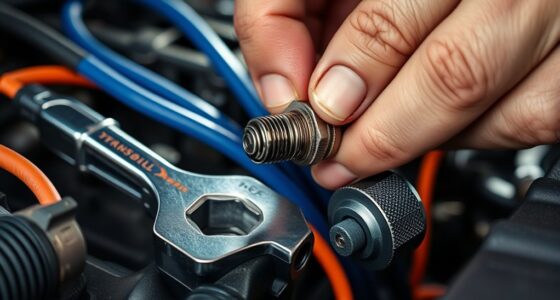
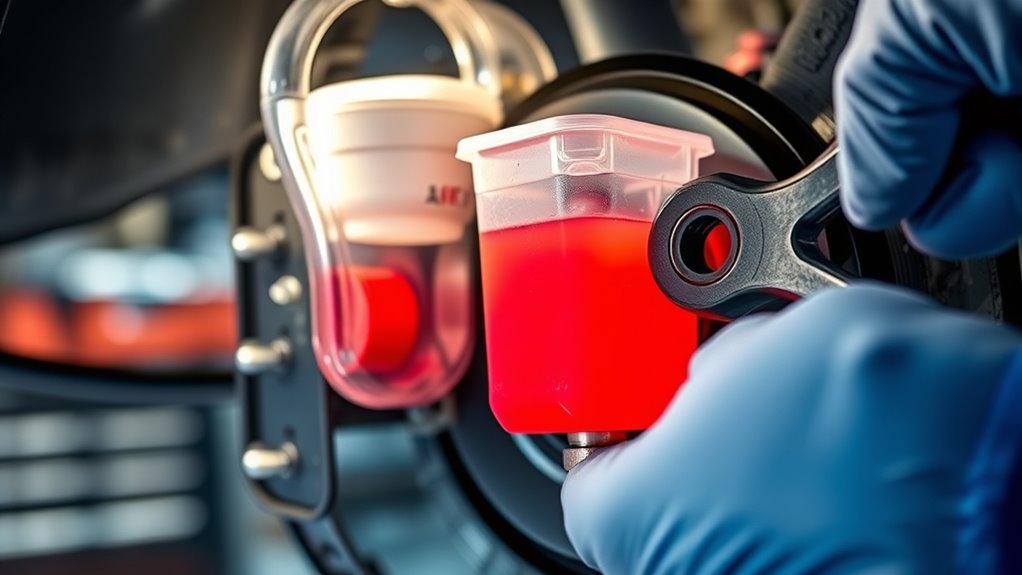
Next, locate the bleeder valve on your brake caliper or wheel cylinder. Attach a clear tube to the valve, with the other end submerged in a container of brake fluid or clean rags. Have a wrench ready to open and close the valve. With your helper pressing lightly on the brake pedal, open the bleeder valve to let out air and old fluid. When fluid flows steadily without bubbles, close the valve and have your helper release the pedal. Repeat this process until only clear, bubble-free brake fluid emerges. It’s essential to keep the brake fluid reservoir topped off throughout to prevent introducing more air into the system.
Additionally, understanding sound healing science can help you comprehend how vibrations influence cellular regeneration and overall health, which is relevant when considering the importance of a properly functioning brake system that relies on fluid vibrations to operate smoothly. While bleeding, make sure you don’t let the brake fluid reservoir run dry, as this can let air back into the lines. Be patient and methodical—air pockets can be stubborn, but consistent effort will pay off. Once you see a steady stream of clear fluid without bubbles, close the bleeder valve, reassemble everything, and check your brake pedal firmness. Test drive your vehicle carefully afterward to confirm your brakes feel solid and responsive. Properly bleeding your brakes is a cost-effective way to maintain safety, just remember to follow all safety precautions and use the right brake fluid type for your vehicle.

Orion Motor Tech Brake Bleeder Kit with Hand Vacuum Pump and Adapters, Brake Bleeding Kit for Brake Fluid Power Steering Fluid More, Vacuum Brake Bleeder Pump with Pressure Gauge
YOUR TRIP COMPANION: With Orion Motor Tech's brake bleeder kit, say goodbye to the old days when it…
As an affiliate, we earn on qualifying purchases.
As an affiliate, we earn on qualifying purchases.
Frequently Asked Questions
How Often Should I Bleed My Brakes?
You should bleed your brakes whenever you notice a soft brake pedal feel or after replacing brake fluid types. Typically, it’s recommended every 2 to 3 years or when the brake fluid becomes contaminated or old. Regular bleeding ensures air isn’t trapped in the lines, maintaining proper brake pedal feel and stopping power. Always check your vehicle’s manual for specific intervals and use the correct brake fluid type for peak performance.
Can I Bleed Brakes Without a Helper?
Yes, you can bleed your brakes without a helper by using a brake bleeding kit or a one-man bleeding system. These tools let you pump brake fluid and remove air effectively, improving brake pedal feel. Just make certain you use the correct brake fluid type, like DOT 3 or DOT 4, and keep an eye on the fluid level to prevent air from re-entering the lines. This way, you maintain safe, responsive brakes.
What Tools Are Essential for Brake Bleeding?
Did you know that using the right tools can reduce brake bleeding time by up to 30%? To get started, you’ll need a wrench to loosen bleed screws, a clear hose to monitor fluid flow, a container for old brake fluid, and a brake bleeder kit if preferred. make sure you’re using the correct brake fluid type, like DOT 3 or DOT 4, and follow the bleeding procedure steps carefully for safe, effective results.
How Do I Identify Air in the Brake Lines?
You can identify air in the brake lines by noticing spongy or soft brake pedal feel, which indicates brake fluid contamination with air. During brake system diagnostics, look for inconsistent brake pressure or longer stopping distances. Air bubbles may also be visible in the brake fluid reservoir when you gently press the brake pedal. If you see foam or bubbles, it’s a sign that air needs to be removed from your brake lines.
Are There Risks of Damaging Brake Components During Bleeding?
Yes, if you’re not careful, you could damage brake components during bleeding. Using contaminated brake fluid can lead to brake fluid contamination, which affects braking performance. Applying too much pressure or improper technique might cause master cylinder damage. Always follow proper procedures, use clean tools, and check brake fluid regularly to prevent damage while bleeding your brake lines. Proper care guarantees your brakes stay safe and effective.

Leakproof Hydraulic Fluid Container Transparent Gauge Reinforced Housing Quick-Install Car Models Clear Oil Window
Crafted from premium erosion with a clear observation window, this strong reservoir withstands extreme temperatures and allows easy…
As an affiliate, we earn on qualifying purchases.
As an affiliate, we earn on qualifying purchases.
Conclusion
Think of your brake lines as the arteries of your car, carrying essential fluid to keep you safe. Just like a skilled doctor clears a blocked artery, you’ve now removed the air, ensuring smooth, responsive brakes. With each squeeze of the pedal, you’re restoring the flow of life to your vehicle. Trust in your DIY skills—your car’s safety depends on it. Now, step back and enjoy the confident control of a well-bleed brake system.

Lisle 11000 8/10mm Brake Bleeder Wrench
Double ended tool
As an affiliate, we earn on qualifying purchases.
As an affiliate, we earn on qualifying purchases.

Thorstone 200cc Automotive Fluid Extractor Pump, Manual Oil Change Syringe with 2pcs 22cm PVC Suction Tubes
TRANSFER FLUID SMOOTHLY – Thorstone syringe style fluid evacuator comes with 0.24" OD and 0.32" OD extension tubes,…
As an affiliate, we earn on qualifying purchases.
As an affiliate, we earn on qualifying purchases.