To fix haze after polishing without starting over, first identify what’s causing it—residual compounds, over-polishing, or contamination. Use a fine polish or clay bar to lift haze and remove residue gently. Apply a dedicated cleaner or glaze for extra clarity and gloss. Be sure to use proper techniques to avoid worsening the problem. If you’re unsure or haze persists, there are additional steps that can help restore your finish—exploring these options can lead to better results.
Key Takeaways
- Use a fine abrasive polish or dedicated haze remover to gently eliminate residual film and restore clarity.
- Wipe the surface thoroughly with a clean microfiber cloth to remove any remaining polishing residue.
- Employ clay bars or detailing sprays to lift embedded contaminants causing haze.
- Re-polish with a softer pad and less abrasive compound to refine the finish without starting over.
- Inspect under good lighting, and repeat gentle polishing steps if haze persists, avoiding aggressive corrections.

Meguiar’s Ultimate Compound, Pro-Grade Car Scratch Remover for Paint Correction, Removes Swirls and Defects While Restoring Gloss and Shine, Christmas Gifts for Car Guys, 15.2 Oz
BUFF OUT IMPERFECTIONS: Meguiar's Ultimate Compound removes scratches, swirls & oxidation for a clear, perfect finish
As an affiliate, we earn on qualifying purchases.
As an affiliate, we earn on qualifying purchases.
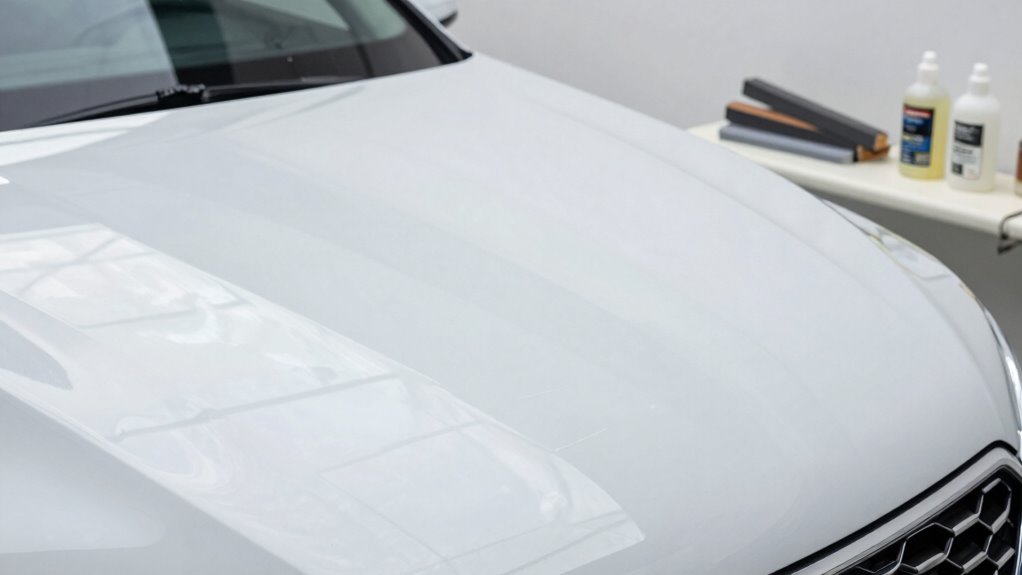
Why Does Haze Form After Polishing, and How Can You Recognize It?
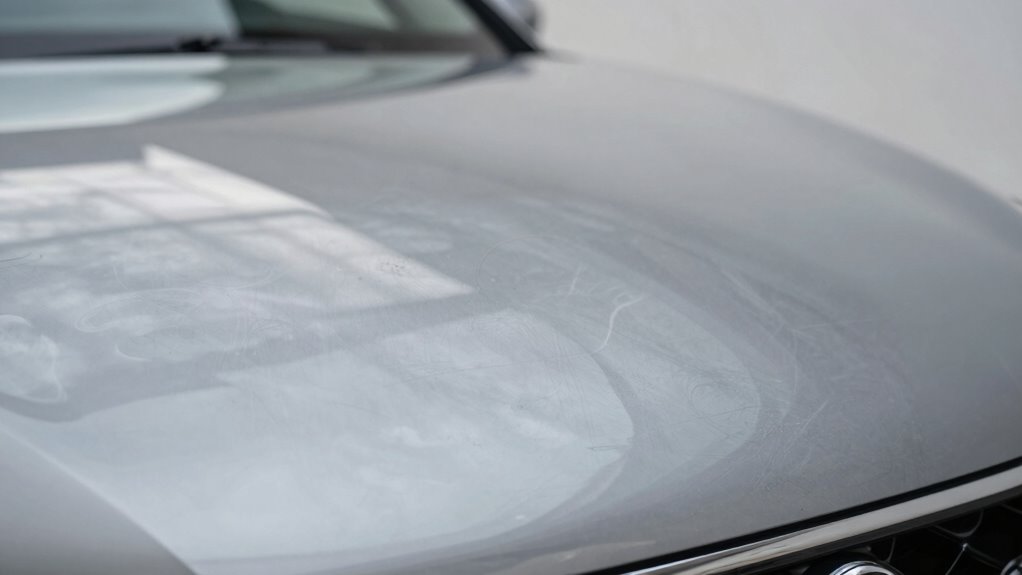
Haze often appears after polishing because residual polishing compounds or improperly buffed areas scatter light, creating a cloudy or foggy look. This haze can be tricky to spot at first, but it usually feels like a thin veil over your paint’s surface. One reason it occurs is because you may not have adjusted the polish levels correctly; using too much or too little polish can leave a hazy film. Additionally, if you haven’t checked the paint depth beforehand, you might be polishing through the clear coat, causing uneven results and leaving haze. Properly evaluating the surface and understanding your polish levels help prevent this issue. Recognizing haze involves observing how light reflects off the surface—if it looks cloudy or lacks gloss, it’s likely haze from improper polishing. Being aware of smart pool automation features can also help ensure your pool’s surface remains well-maintained and free of haze caused by chemical imbalances or improper cleaning methods. Also, understanding the proper polishing techniques can further minimize the risk of haze formation. To enhance your polishing process, consider learning about paint correction methods that can help restore clarity and gloss to your vehicle’s surface. Additionally, employing surface inspection techniques can help identify uneven areas or residual compounds before proceeding with finishing steps. Regularly inspecting the surface during polishing can help catch haze early and avoid redoing the entire process.

USANOOKS Microfiber Cleaning Cloth Grey – 12 Pcs (12.5"x12.5") – High Performance – 1200 Washes, Ultra Absorbent Microfiber Towel Weave Grime & Liquid for Streak-Free Mirror Shine – Car Washing Cloth
10x GRIP-ROOT WEAVE – TRAP MORE, WORK LESS: Ultra-absorbent microfiber towels for car Grip Root weave works like…
As an affiliate, we earn on qualifying purchases.
As an affiliate, we earn on qualifying purchases.
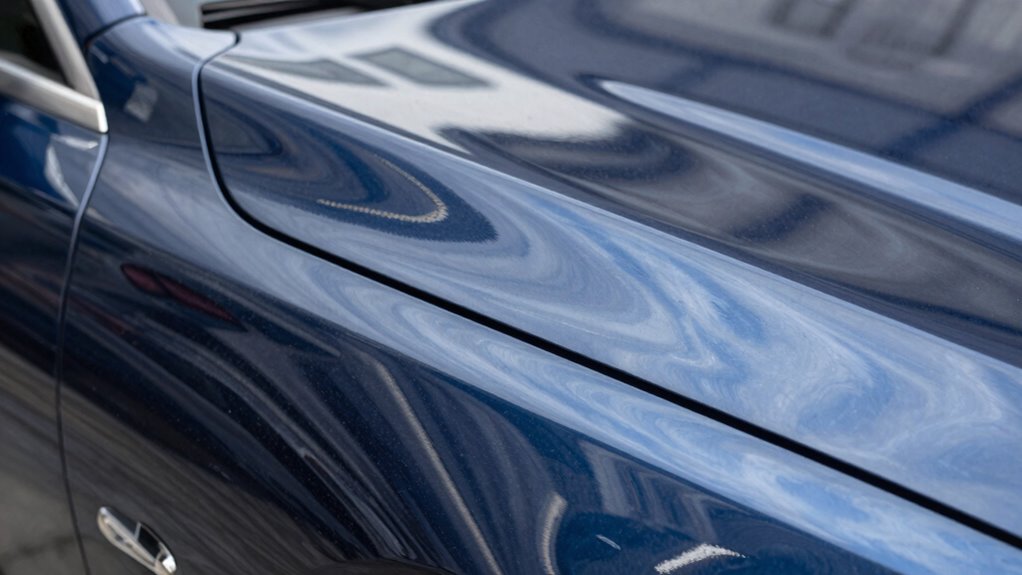
How to Find Out What’s Causing Your Polishing Haze

Wondering what’s causing that cloudy appearance after polishing? First, check for paint transfer—residual paint or overspray left on your car’s surface can create haze if not fully removed. If the haze appears dull or uneven, it might be due to water spots, which form when mineral-rich water dries on the paint and leaves mineral deposits behind. Examine your car closely under good lighting; water spots often look like tiny, cloudy circles. Additionally, look for any lingering polishing residue, which can also cause a hazy film if not thoroughly cleaned off. Identifying whether paint transfer, water spots, or leftover residue is behind the haze helps determine the right next step to restore clarity without starting over. Sometimes, proper cleaning techniques are needed to effectively eliminate these issues and achieve a clear finish. Being aware of contaminants that can cause haze ensures you can address the root cause more accurately. Recognizing common contaminant sources can help prevent future hazing problems, especially if you incorporate preventive maintenance into your detailing routine. Also, understanding how environmental factors contribute to haze can help you better protect your vehicle in the long term.

Mothers California Gold 3 Clay Bar Complete Kit, 3 80-gram Clay Bars + 16 oz. Instant Detailer + Microfiber Towel — Removes Contaminants, Restores Brilliance & Smoothness of Paint (07240)
Removes Embedded Surface Contaminants: Safely lifts paint overspray, industrial fallout, brake dust, tree sap, acid rain and bonded…
As an affiliate, we earn on qualifying purchases.
As an affiliate, we earn on qualifying purchases.
What Products Help Safely Remove Haze From Your Car?
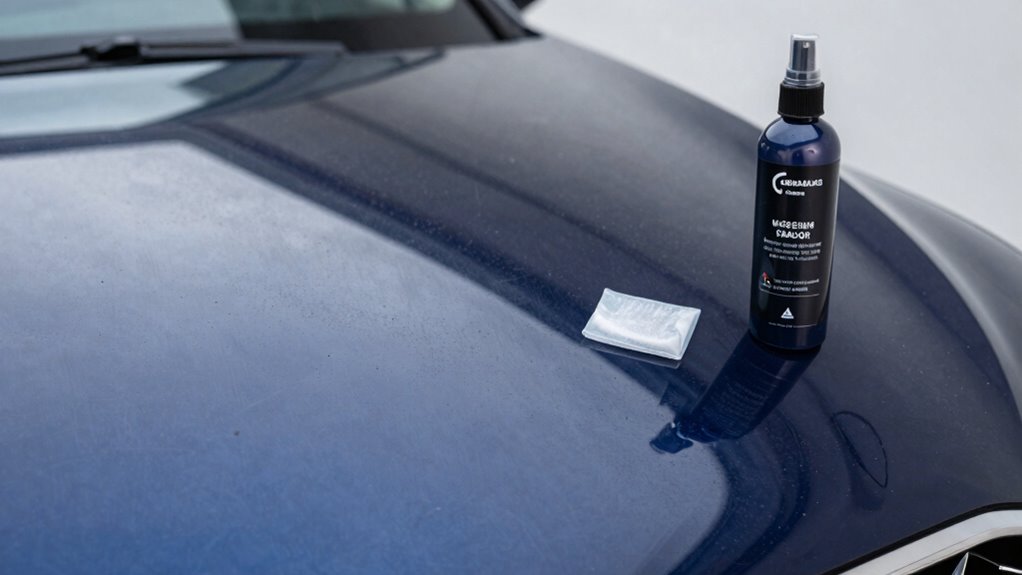
To remove haze safely, start with products designed for polishing residue removal to clear up leftover deposits. Fine abrasive polishes can help smooth out surface imperfections without causing damage, while car scratch removers tackle deeper scratches that may contribute to haze. Choosing the right products guarantees your car’s finish stays smooth and protected. Additionally, using measurement tools can help ensure your polishing process maintains the proper surface conditions. Incorporating surface assessment techniques can help identify the extent of haze and determine the most effective removal methods. Proper surface preparation is essential to achieve a clear, polished finish without introducing new issues. Moreover, understanding residue buildup can aid in selecting the most suitable cleaning approach for your specific situation. Recognizing product compatibility is also crucial to prevent unintended damage during the haze removal process.
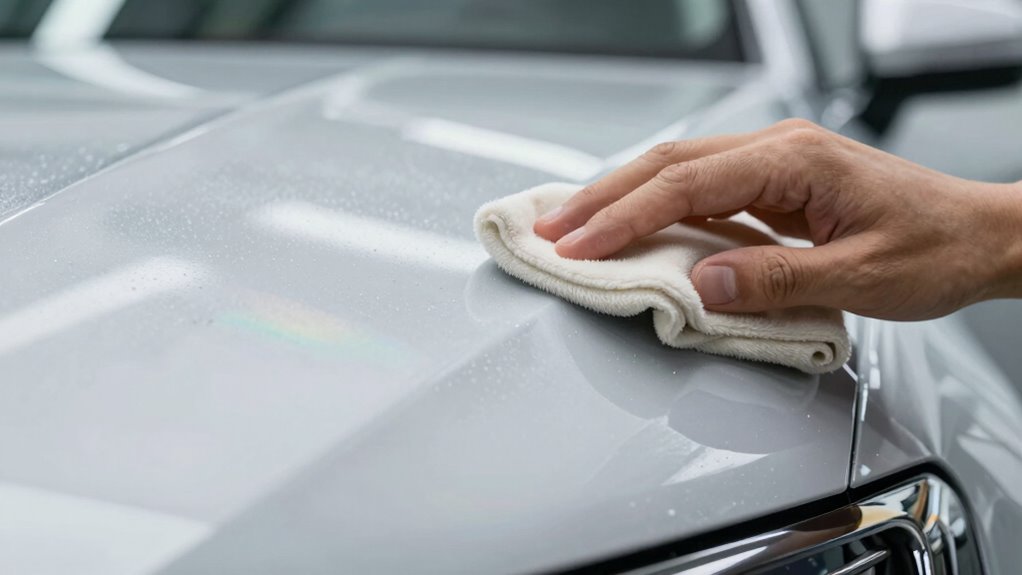
Polishing Residue Removal
Removing polishing residue safely is essential to achieving a clear, smooth finish on your car’s paint. Residue can obscure clarity and cause haze if not properly removed. To do this effectively, understand paint chemistry and choose the right polishing tools. First, use a clean microfiber cloth to wipe away excess product without scratching the surface. Second, consider a dedicated panel cleaner or clay bar to lift stubborn residues. Third, use a gentle paint prep solution to ensure all remnants are gone. Fourth, employ proper cleaning techniques to prevent damage and ensure your car’s surface remains pristine. Finally, always follow with a thorough wipe-down to prevent any leftover haze. These steps help maintain the integrity of your paint chemistry while ensuring no residue remains that could compromise your polishing results. Proper residue removal leads to a flawless, professional-looking finish. Additionally, employing appropriate cleaning techniques can prevent damage and ensure your car’s surface remains pristine. Incorporating proper technique can also help avoid introducing new haze or scratches during cleaning.
Fine Abrasive Polishes
When haze persists after polishing, applying fine abrasive polishes can effectively restore clarity without damaging your car’s paint. Understanding paint chemistry helps you choose the right product, as softer clear coats require gentler abrasives. Look for polishes labeled as fine or ultra-fine; these contain very mild abrasives designed to remove light haze and swirl marks safely. Proper abrasive selection is vital; using a polish with too harsh an abrasive can cause further damage, while too gentle may be ineffective. Always follow the manufacturer’s instructions, and test on a small area first to ensure compatibility. Selecting an appropriate abrasive grade ensures you achieve the desired results without compromising your vehicle’s finish. Additionally, inspecting the paint’s composition can guide you in choosing the most suitable polishing product, ensuring a safe and effective restoration. Knowing the paint’s chemistry can help you avoid selecting products that could harm your vehicle’s finish. When choosing a polish, consider the abrasive hardness to match the severity of the haze and swirl marks for optimal results. By selecting the appropriate fine abrasive polish, you can restore your vehicle’s clarity while preserving the integrity of your paint. Vetted – Two Green Leaves
Car Scratch Removers
If haze persists after polishing, using the right car scratch removers can help restore clarity safely. These products are essential for paint correction, especially when haze results from over-polishing or improper techniques. Choose scratch removers designed to gently remove surface imperfections without damaging the clear coat. They’re also effective before applying a ceramic coating, ensuring a smooth, haze-free finish. To maximize results, consider these options:
- Fine abrasive scratch removers for light haze correction
- Polishing compounds with diminishing abrasiveness
- Specialty products for minor scratches and swirl marks
- Clay bars combined with scratch removers for deep cleaning
Using these products correctly helps you achieve a glossy, haze-free surface while protecting your car’s paint.
Meguiar’s Ultimate Compound, Pro-Grade Car Scratch Remover for Paint Correction, Removes Swirls and Defects While Restoring Gloss and Shine, Christmas Gifts for Car Guys, 15.2 Oz
BUFF OUT IMPERFECTIONS: Meguiar's Ultimate Compound removes scratches, swirls & oxidation for a clear, perfect finish
As an affiliate, we earn on qualifying purchases.
As an affiliate, we earn on qualifying purchases.
How to Fix Haze Caused by Over-Polishing or Residue

If haze results from residual polishing compound or over-polishing, you’ll need to remove the leftover residue carefully first. Then, assess any damage caused by excessive polishing, like scratches or cloudiness, and decide on the best correction method. Addressing these issues promptly can restore your car’s clarity and shine. To prevent future haze, consider proper polishing techniques and using quality compounds suited for your vehicle’s finish.
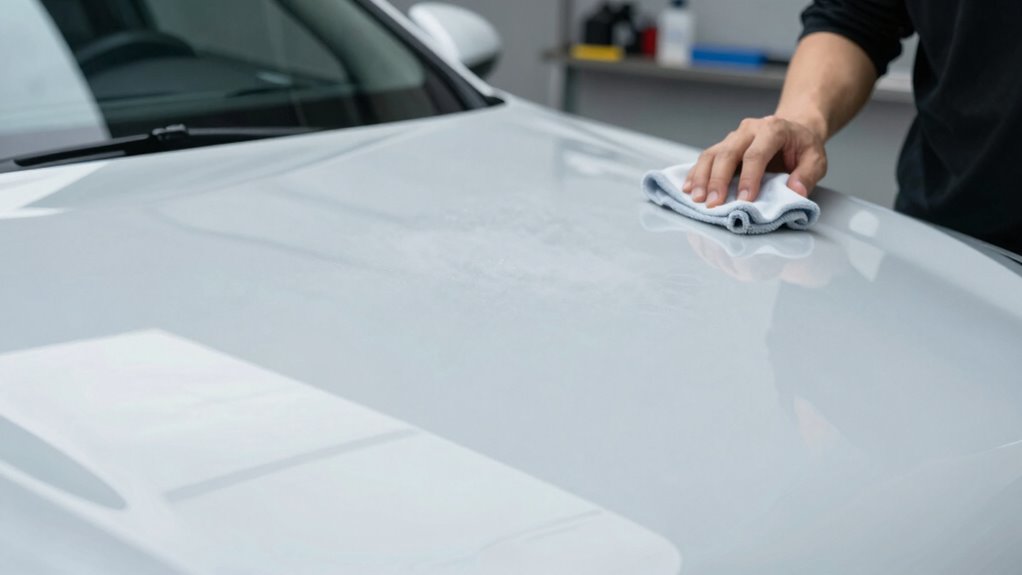
Removing Residual Polishing Compound
Residual polishing compound often lingers on the surface after buffing, causing that pesky haze you want to eliminate. To remove it effectively, you need to follow proper polishing techniques that guarantee a clean finish. Here are four steps to help you get rid of leftover residue:
- Use a clean, microfiber cloth to wipe the surface thoroughly.
- Apply a quick detailer or a dedicated paint cleaner to loosen stubborn residue.
- Work in small sections, using light pressure to avoid introducing new scratches.
- Follow up with a final wipe to ensure no compound remains, leaving a smooth, haze-free finish.
Mastering these steps is essential for effective paint correction and achieving a flawless shine without starting over.
Correcting Over-Polishing Damage
Over-polishing can sometimes create haze or dull spots that detract from your vehicle’s finish. To fix this, focus on proper paint correction and adjusting your polishing techniques. First, assess the damaged areas to determine if the haze results from excessive compound removal or uneven polishing. Use a finer polish or polish with a less abrasive pad to carefully refine the surface. Employ light, even pressure during polishing to avoid further damage. If haze persists, consider a second, more targeted paint correction session with a dual-action polisher. Always clean the surface thoroughly after polishing to remove residue. Remember, controlling your polishing techniques and choosing the right products are key to restoring clarity without causing additional harm.
How to Re-Polish Properly Without Making Haze Worse
Re-polishing your car’s surface requires careful technique to avoid worsening haze. To guarantee successful paint correction, follow these steps:
Re-polishing carefully prevents haze and ensures a flawless, smooth finish.
- Use a finer polishing compound to gently refine the surface without adding haze.
- Keep your pad clean and inspect it frequently to prevent reintroducing imperfections.
- Apply even pressure and work in small sections for consistent results.
- Always follow with a clean, soft microfiber cloth to remove residue and assess clarity.
Best Ways to Prevent Haze in Future Detailing Sessions
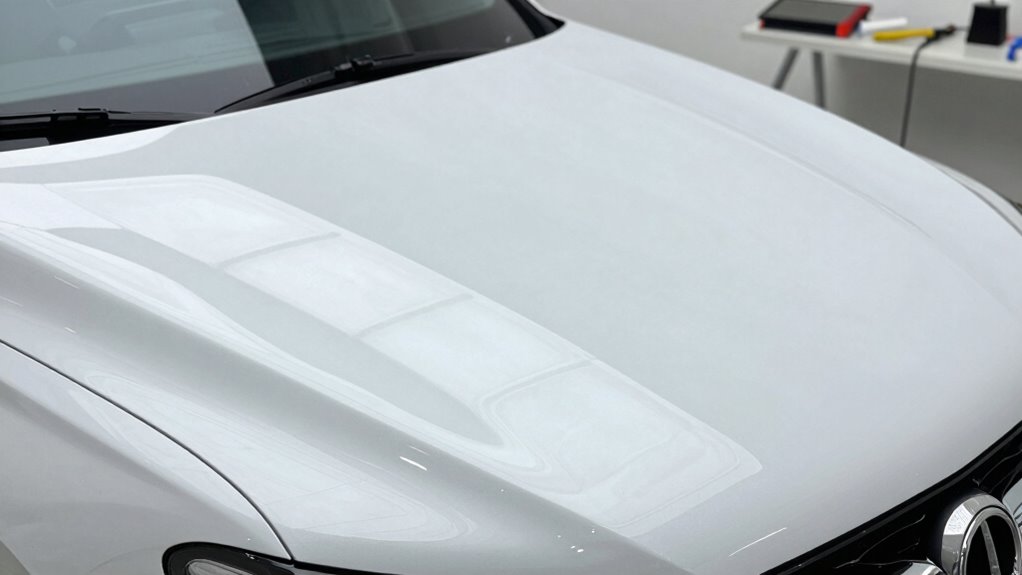
To prevent haze from forming during future detailing sessions, it’s essential to use proper techniques and high-quality products from the start. Focus on thorough surface preparation, ensuring the paint is clean and free of contaminants before beginning any paint correction. Proper surface prep allows your polishing to be more effective and reduces the risk of haze. Use the correct polishing compounds and pads tailored to your vehicle’s paint type, and work in controlled, consistent motions. Avoid rushing the process, as haste can lead to over-polishing and haze. Additionally, always inspect your work frequently to catch issues early. Proper surface preparation combined with precise paint correction techniques creates a smooth, clear finish and minimizes the chances of haze developing in future detailing sessions.
Using Clay Bars and Glazes to Remove Remaining Haze
Choosing the right clay bar is key to safely removing lingering haze without damaging your paint. When applying a glaze, use thin, even layers to enhance clarity and gloss. Proper technique guarantees the product works effectively, giving your finish a smooth, haze-free look.
Selecting Suitable Clay Bars
Selecting the right clay bar is essential for effectively removing remaining haze without damaging your paint. Proper clay bar selection guarantees you target contaminants safely and prevents unwanted scratches. When choosing a clay bar, consider these factors:
- Clay bar type – Fine or ultra-fine for delicate surfaces.
- Contamination prevention – Use a clay bar designed to trap dirt without transferring debris back onto your paint.
- Size and flexibility – Larger, pliable bars cover more area and conform better to curves.
- Quality and brand reputation – Invest in reputable brands to ensure consistent performance and reduce the risk of introducing scratches.
Always use a fresh, uncontaminated clay bar for each session to avoid contamination transfer. Proper selection and care help you achieve a smooth, haze-free finish safely.
Proper Glazing Techniques
After properly choosing and preparing your clay bar, the next step is to use it effectively alongside a glaze to eliminate any lingering haze. During paint correction, surface prep is vital to guarantee a smooth, glossy finish. Gently rub the clay bar over the paint in straight, overlapping motions to lift embedded contaminants that polishing may have missed. Follow this with a thin layer of glaze, which helps fill in microscopic imperfections and enhances clarity. Use a clean applicator and work in small sections, maintaining constant pressure. Proper glazing techniques help refine the surface, reducing haze and restoring depth. Always make certain the surface is lubricated with a clay lubricant or detail spray to prevent scratching. This careful process guarantees your paint correction achieves a flawless, haze-free finish.
Effectiveness of Thin Layers
Using thin layers of clay and glaze is highly effective in eliminating residual haze because it allows you to target imperfections without overwhelming the surface. Maintaining a consistent layer thickness prevents excess material buildup, which can cause additional haze. When applying, use gentle polishing pressure to avoid embedding haze deeper into the paint. This controlled approach ensures you remove only the unwanted residue. Consider these tips for best results:
- Keep layer thickness minimal to prevent thick buildup.
- Use light polishing pressure to avoid damaging the finish.
- Work in small sections for even coverage.
- Regularly check your progress to avoid over-polishing.
When to Use Fine Polish or Light Compounds to Eliminate Haze?
You should turn to fine polish or light compounds when the haze remains after initial polishing and appears as a faint, uniform cloudiness rather than deep scratches or heavy oxidation. This indicates a delicate surface issue that requires gentle correction. Use proper application techniques, such as light pressure and a clean microfiber pad, to avoid worsening the haze. Ascertain product compatibility with your surface to prevent adverse reactions. Fine polishes are especially effective when haze is stubborn but superficial. Here’s a quick guide:
| Condition | When to Use | Focus |
|---|---|---|
| Light cloudiness | After initial polish | Gentle removal of haze |
| Deep scratches | Use more abrasive compounds | Not suitable for haze |
| Heavy oxidation | Specialized chemical treatments | For severe damage |
| Surface compatibility | Verify before applying | Prevent damage |
This approach helps restore clarity without unnecessary rework.
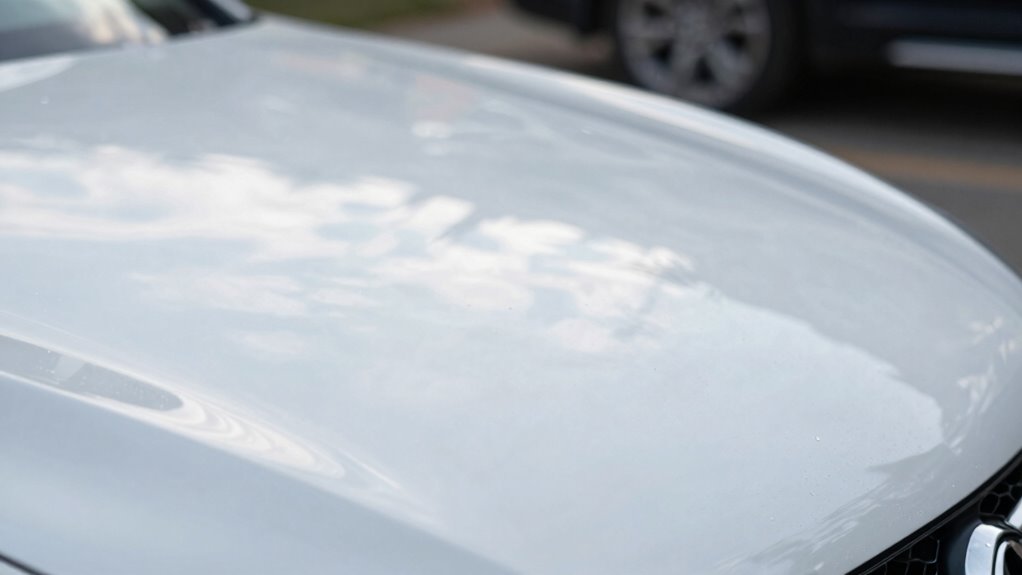
Tips for Maintaining a Clear, Glossy Finish After Fixing Haze
Maintaining a clear, glossy finish after fixing haze requires consistent care and proper techniques. To preserve your paint correction results and enhance gloss, follow these tips:
- Regularly wash with a gentle, pH-balanced car shampoo to prevent dirt buildup.
- Apply a quality wax or sealant to protect the surface and boost gloss enhancement.
- Use a microfiber cloth for polishing and drying to avoid introducing swirl marks.
- Avoid harsh chemicals or abrasive cleaners that can degrade your finish over time.
Troubleshooting Persistent Haze and When to Seek Professional Help
Persistent haze after polishing can be frustrating, especially if standard remedies haven’t worked. If your attempts at paint correction using various polishing techniques haven’t cleared the haze, it might be time to reassess your approach. Sometimes, the haze results from overly aggressive polishing or incorrect pad and compound choices. Before considering professional help, try refining your technique with lighter cuts or different polishing pads. However, if the haze remains stubborn despite multiple attempts, it’s best to consult a professional detailer. They have specialized tools and expertise to diagnose underlying issues and perform advanced paint correction without damaging your vehicle’s finish. Recognizing when to seek expert assistance can save you time, prevent further damage, and ensure your car gets the flawless, clear finish it deserves.
Frequently Asked Questions
Can Haze Develop Again After Fixing It?
Yes, haze can develop again after fixing it, especially if the polish isn’t durable or if you don’t maintain proper paint safety. To prevent this, use products with good polish durability and avoid harsh chemicals that can break down the finish. Regular washing and applying a protective wax or sealant help maintain clarity and prevent haze from returning. Proper care guarantees your paint stays clear longer.
How Long Should I Wait Between Polishing Steps?
You should wait at least 15-20 minutes between each step in your polishing sequence. This wait time allows the compound or polish to properly cure and minimizes the risk of introducing haze or swirl marks. Rushing through the process can cause uneven results or reintroduce haze, so patience is key. Make sure each layer is fully polished and cleaned before moving on to ensure a flawless finish.
Is It Safe to Use Household Products to Remove Haze?
Think of your car’s finish like a delicate painting; household solutions might seem tempting, but they can cause more harm than good. It’s not always safe to use household products to remove haze because they may contain harsh chemicals that damage your paint. Always follow safety precautions, like testing in a small area first and avoiding abrasive cleaners. For best results, use products specifically designed for automotive paint to protect your finish.
Does Climate Affect Haze Formation and Removal?
Climate influence and weather effects markedly impact haze formation and removal. Humid or rainy conditions can cause haze to linger longer, making it harder to clear. Conversely, dry, sunny weather helps dissolve and evaporate haze faster. You should consider these weather effects when planning polishing or cleaning, as climate variability can either aid or hinder your efforts. Adjust your approach accordingly to achieve the best results in different climatic conditions.
How Can I Tell if Haze Is Permanent or Removable?
Imagine your car’s finish as a delicate mirror; if haze persists after polishing, it’s likely permanent. To tell if it’s removable, test different polishing techniques with compatible products—if haze diminishes, it’s fixable. If not, it’s probably embedded, requiring professional intervention. Always check product compatibility beforehand, as mismatched products can worsen the haze. Persistent haze signals deeper issues, but with proper tests, you’ll know whether to restore or accept your vehicle’s new look.
Conclusion
Fixing haze after polishing is like untangling a knot—you just need the right tools and patience. By understanding why it forms and carefully choosing the right products, you can restore your car’s clarity without starting over. Remember, small tweaks often make a big difference, so don’t rush. With a little effort, your finish will shine brighter than a diamond—showing off your hard work and dedication.