
To replace a tail light bulb, first turn off your vehicle and access the tail light assembly from inside the trunk or cargo area. Remove any panels or screws to expose the housing, then carefully disconnect the bulb socket by turning it counterclockwise. Pull out the old bulb and substitute it with a new one, making sure it’s secured properly. Reassemble everything and test your lights; for detailed steps, keep going to ensure a smooth replacement.
Key Takeaways
- Turn off the vehicle and disconnect the negative battery terminal for safety.
- Access the tail light assembly by removing interior panels or trunk liners.
- Remove the bulb socket by turning it counterclockwise, then extract the old bulb.
- Insert the new bulb into the socket, ensuring proper fit and connection.
- Reassemble the housing, reconnect the battery, and test the tail lights for proper function.
Replacing a tail light bulb is a straightforward task that you can do yourself with just a few basic tools. Before starting, it’s vital to understand the different bulb types you’ll encounter. Common tail light bulbs include incandescent, LED, and sometimes halogen variants. Each type has specific features, so check your vehicle’s manual for the correct bulb specifications. Knowing the bulb type guarantees you buy the right replacement and handle it properly.
When tackling this task, safety precautions are essential. Make sure your vehicle is turned off, and the keys are removed from the ignition. To prevent electrical shock or short circuits, disconnect the negative terminal of your car’s battery if you’re working around wiring or connectors. Also, allow the bulbs and housing to cool down if your vehicle was recently driven, as they can get quite hot. Wearing gloves is recommended to keep oils from your skin off the new bulb, which can cause early failure, especially with halogen types. Keep a clean cloth or paper towel handy for handling the bulb.
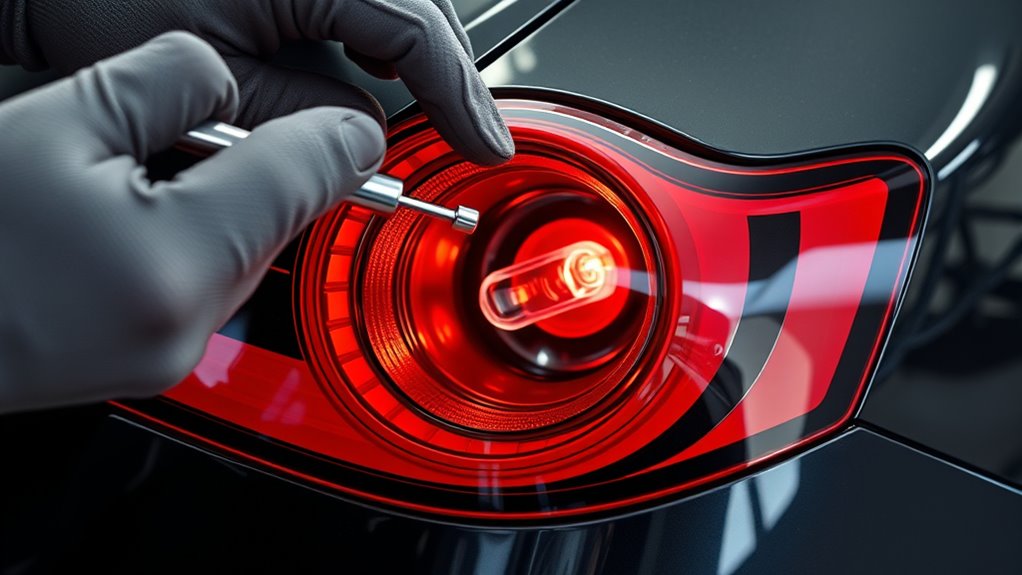
Once you’ve taken these precautions, locate the tail light assembly. Usually, it’s accessible from the trunk or cargo area, often behind an interior panel. Carefully remove any screws or clips holding the panel in place. With the cover exposed, identify the bulb socket—this is where you’ll need to remove the old bulb. For most vehicles, you’ll turn the socket counterclockwise to release it from the housing. Be gentle; forcing it can damage the plastic. Additionally, understanding fuel injection cleaning can help maintain your vehicle’s performance and reduce the risk of electrical issues that might complicate bulb replacement.
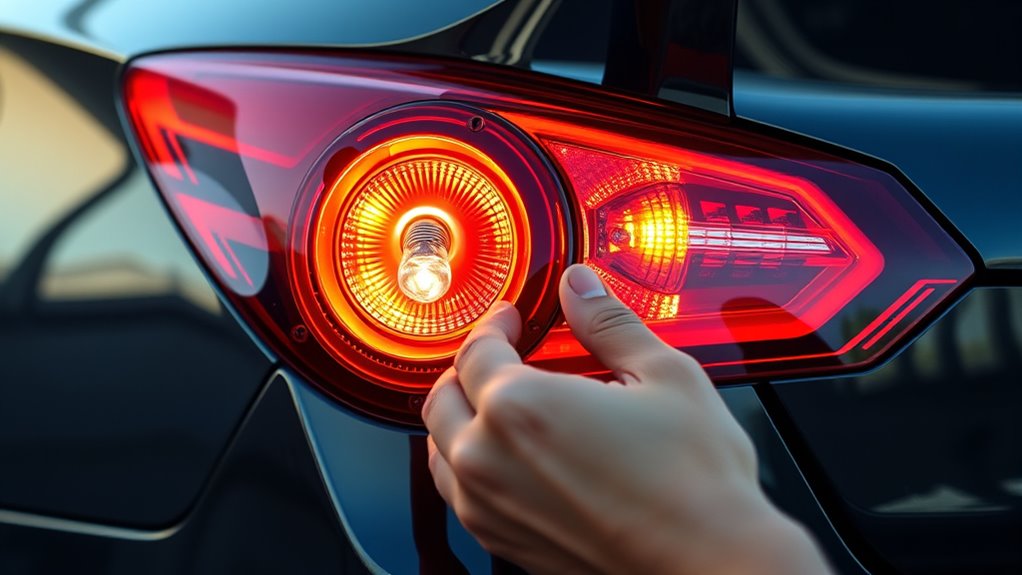
When the socket is free, pull it out gently. You’ll see the bulb secured in the socket—either with a twist or a bayonet-style fitting. If it’s a twist, rotate counterclockwise to remove. If it’s bayonet-style, push in slightly and turn counterclockwise. Once removed, inspect the bulb. If it’s visibly burned out or broken, it’s time for a replacement. Insert the new bulb into the socket, making sure it’s seated properly. Be careful not to touch the glass part of the new bulb with your fingers; oils can cause it to burn out prematurely.
After installing the new bulb, reassemble the socket and housing in reverse order. Reattach the interior panel, secure any screws or clips, and reconnect the negative terminal if you disconnected it. Before finishing, turn on your vehicle and activate the tail lights to verify the new bulb works correctly. By following these steps, you’ll have your tail light functioning properly again, guaranteeing safety on the road.

iFunyLED 4PCS 3157 LED Bulb Brake Tail Light 12V-24V Super Bright 3156 3056 3057 3047 4157 LED Replacement Light Kit Set for Car Tail Brake Lights – Brilliant Red
Key Specs: Voltage DC 12V-24V, 625nm Brilliant Red, Wattage 3w, low power consumption and fast heat dissipation for…
As an affiliate, we earn on qualifying purchases.
As an affiliate, we earn on qualifying purchases.
Frequently Asked Questions
Can I Replace a Tail Light Bulb While the Car Is Turned On?
You shouldn’t replace a tail light bulb while the car is turned on. Doing so can be unsafe and may cause electrical issues. Always turn off your vehicle and follow safety precautions before starting. If the bulb isn’t working, troubleshooting tips include checking the fuse or wiring first. Remember, turning off the car minimizes risks and guarantees you can handle the replacement safely without damaging electrical components.
What Tools Are Essential for Replacing a Tail Light Bulb?
To replace a tail light bulb, you’ll need essential tools like safety gloves to protect your hands and screwdrivers to remove any covers or screws. Safety gloves prevent cuts from sharp edges, and screwdrivers help loosen or tighten screws holding the assembly in place. Make sure to have the right size screwdriver for your vehicle’s screws, and wear gloves to keep your hands clean and safe during the process.
How Do I Identify the Correct Replacement Bulb for My Vehicle?
You identify the correct replacement bulb by checking your vehicle’s owner’s manual for specific bulb specifications, including size and type. Look for labels on your current bulb or check online using your vehicle’s make, model, and year to confirm vehicle compatibility. Many auto parts stores also have compatibility guides to help you choose the right bulb. Always verify these details before purchasing to avoid installing the wrong bulb.
Is It Necessary to Disconnect the Car Battery Before Replacing the Bulb?
No, you don’t need to disconnect the car battery when replacing a tail light bulb, but it’s a good idea to prioritize battery safety and electrical precautions. Turn off your vehicle, ensure the lights are off, and avoid touching metal parts to prevent shocks or short circuits. If you’re working around wiring or connectors, disconnecting the battery adds extra safety. Always follow your vehicle’s safety guidelines to prevent any electrical issues.
How Long Does It Typically Take to Replace a Tail Light Bulb?
Replacing a tail light bulb usually takes about 10 to 15 minutes. You’ll want to handle it promptly to avoid wiring issues and guarantee your bulb’s lifespan stays ideal. Carefully remove the old bulb, check the wiring for any damage, and insert the new one. With the right tools and a bit of patience, you can do it quickly, keeping your vehicle safe and compliant.

iFunyLED 4PCS 1157 LED Bulb Brake Tail Light 12V-24V Super Bright 2357 2057 7528 BAY15D LED Replacement Light Kit Set for Car Tail Brake Turn Signal Lights – Brilliant Red
Key Specs: Voltage DC 12V-24V, 625nm Brilliant Red, Wattage 3w, low power consumption and fast heat dissipation for…
As an affiliate, we earn on qualifying purchases.
As an affiliate, we earn on qualifying purchases.
Conclusion
Now that you’ve replaced your tail light bulb, you’ve lit the path for safety and style. Think of your car as a glowing beacon, guiding you safely home through the night. Just like tending a delicate flame, your quick fix keeps your vehicle shining bright and ready for the road ahead. So, keep your lights shining like stars in the dark—because a well-lit journey is a smooth ride. Drive confidently, knowing you’ve got this under control.
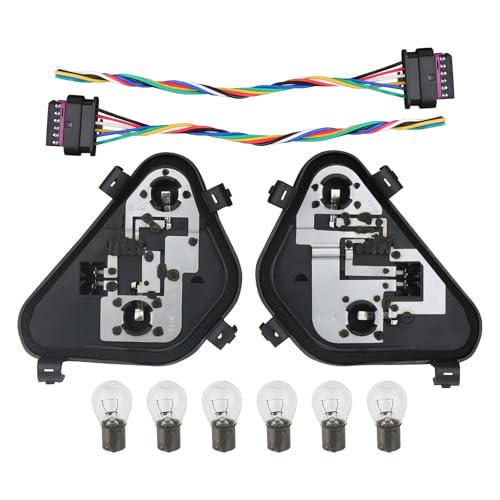
Osompar 1Pair Tail Lights Bulb Socket Panel & Plug Connector Harness & Six Bulbs for 2012-2015 BMW 3 Series 320i 328i 328d 335i Replaces 63217313043 63217313044 Rear Light Lamp Repair Board Kit
The rear tail light repair panel kit is made of high-quality materials, which have high performance and heat…
As an affiliate, we earn on qualifying purchases.
As an affiliate, we earn on qualifying purchases.

Mini Halogen Light Bulb Pliers Removal Tool, Common to Removing Car Dashboard Interior and Broken Hard Reach Miniature Light Bulb(Red)
Strong Compatibility: the mini bulb remover tool works with all types of bulbs including bayonets, screws, and wedge…
As an affiliate, we earn on qualifying purchases.
As an affiliate, we earn on qualifying purchases.