
Before replacing your battery or alternator, you should properly test them to identify the real issue. Use a multimeter to check your battery’s voltage; a healthy one should read around 12.6 volts when off. Start your vehicle and verify the alternator’s charging power, which should be between 13.8 and 14.8 volts. If results seem off, it’s time to seek professional guidance. Learning the correct testing steps helps save money and prevents unnecessary replacements—discover more below.
Key Takeaways
- Use a multimeter to check your battery’s voltage when the car is off (around 12.6V indicates health).
- Test the alternator by measuring voltage while running; 13.8-14.8V shows proper charging.
- Look for signs like flickering lights or difficulty starting before replacing parts.
- Inspect terminals for corrosion and ensure tight connections to avoid false diagnoses.
- Seek professional diagnosis if test results are inconclusive or electrical system issues persist.

ANCEL BA101 Car Battery Tester, 12V Digital Automotive Alternator Meter Diagnostic Tool,100-2000 CCA Load Capacity, Charging & Cranking Analyzer for Truck, Boat, RV, Marine Vehicle, and More
Catch Battery Problems Early: Featured in two videos by Project Farm, a popular YouTube channel with millions of…
As an affiliate, we earn on qualifying purchases.
As an affiliate, we earn on qualifying purchases.
Signs Your Car Might Need Battery or Alternator Testing
Your car might need battery or alternator testing if you notice it struggles to start or experiences frequent stalls. A declining battery lifespan can cause these issues, especially if the electrical system isn’t functioning properly. When the battery’s power drops, your vehicle’s ability to turn over weakens, leading to slow or failed starts. Additionally, the alternator plays a critical role in maintaining the electrical system’s stability; if it’s failing, your car may run on limited power, causing stalls or dimming headlights. Pay attention to warning signs like flickering dashboard lights or a dead battery after short trips. Recognizing these symptoms early helps prevent unexpected breakdowns and guarantees the battery or alternator gets tested before further damage occurs. Proper battery maintenance can extend its lifespan and ensure your vehicle runs smoothly.
ANCEL BA101 Car Battery Tester, 12V Digital Automotive Alternator Meter Diagnostic Tool,100-2000 CCA Load Capacity, Charging & Cranking Analyzer for Truck, Boat, RV, Marine Vehicle, and More
Catch Battery Problems Early: Featured in two videos by Project Farm, a popular YouTube channel with millions of…
As an affiliate, we earn on qualifying purchases.
As an affiliate, we earn on qualifying purchases.
Why Test Your Battery and Alternator Before Replacing Them
Testing your battery and alternator first helps you get an accurate diagnosis of the real issue. This way, you avoid replacing parts that still have plenty of life left, saving you money. Plus, it saves you time by getting your car fixed correctly the first time. Incorporating body-based healing techniques can also help reduce stress and improve mental clarity during diagnostic procedures, which can be especially beneficial when dealing with diagnostic stress. Remember, using proper testing techniques ensures that you identify the actual problem rather than guesswork, leading to more effective repairs and a reliable vehicle setup. Utilizing precise measurement tools can further enhance the accuracy of your diagnostics, ensuring you target only the necessary repairs.
Accurate Diagnosis Matters
Because replacing a battery or alternator without proper diagnosis can lead to unnecessary costs and repeated repairs, verifying the true cause of the issue first is essential. Your battery’s lifespan isn’t indefinite, and electrical system problems often mimic a failing battery or alternator. Testing ensures you identify whether the issue stems from a weak battery, a faulty alternator, or an underlying electrical system problem. Conducting electrical system diagnostics can help pinpoint the root cause more accurately. Additionally, understanding battery load testing can help you better interpret test results and prevent future issues. Performing proper testing can also reveal issues related to electric power generation with bike generators, which may be mistaken for battery or alternator failure. Proper testing methods can also identify smart lock power supply issues that might be confused with vehicle electrical faults. Jumping straight to replacement might seem quicker, but it risks unnecessary expenses if the root cause isn’t correctly diagnosed. Accurate testing saves you money and time by pinpointing the real culprit. It also helps prevent premature replacements, extending the lifespan of your parts and maintaining your vehicle’s reliability. Proper diagnosis is the key to effective, cost-efficient repairs.
Save Money and Time
Have you considered how skipping proper diagnosis before replacing your battery or alternator can lead to unnecessary expenses? Testing first ensures you identify the real issue, saving you time and money. Batteries and alternators have unique designs influenced by battery chemistry and alternator design, affecting their lifespan and performance. Without proper testing, you might replace a perfectly good part or overlook a failing component. This approach prevents costly guesswork and reduces waste. Use testing tools to evaluate voltage, current, and overall health. Here’s a quick comparison:
| Aspect | Battery Chemistry | Alternator Design | Cost Impact |
|---|---|---|---|
| Function | Stores energy for start-up | Converts engine power to electricity | Avoids unnecessary replacements |
| Lifespan | 3-5 years depending on use | 7-10 years with proper care | Saves money by accurate diagnosis |
| Failure Signs | Diminished capacity | Charging issues | Prevents premature part failure |
| Testing Methods | Voltage and load tests | Output and performance tests | Ensures correct repairs |
Additionally, understanding the performance characteristics of each component can help you make better maintenance decisions. Recognizing diagnostic procedures can further improve the accuracy of your assessments, ensuring that only faulty parts are replaced. Performing comprehensive testing is essential for accurate diagnosis and avoiding costly mistakes. Incorporating proper testing techniques ensures you properly evaluate the health of your battery and alternator before making replacements. Moreover, familiarity with advanced testing tools can significantly enhance your diagnostic accuracy and confidence in repairs.
ANCEL BA101 Car Battery Tester, 12V Digital Automotive Alternator Meter Diagnostic Tool,100-2000 CCA Load Capacity, Charging & Cranking Analyzer for Truck, Boat, RV, Marine Vehicle, and More
Catch Battery Problems Early: Featured in two videos by Project Farm, a popular YouTube channel with millions of…
As an affiliate, we earn on qualifying purchases.
As an affiliate, we earn on qualifying purchases.
How to Test Your Car Battery at Home
To test your car battery at home, start by gathering the necessary tools like a multimeter. Then, perform a voltage test to check the battery’s health and reliability. Additionally, it is helpful to understand battery maintenance practices to ensure optimal performance and longevity. Regularly inspecting for microplastics in dust can also provide a broader understanding of your vehicle’s environment and its impact on component longevity. Finally, assess the overall condition of the battery to determine if it needs replacement or further inspection.
Gather Necessary Tools
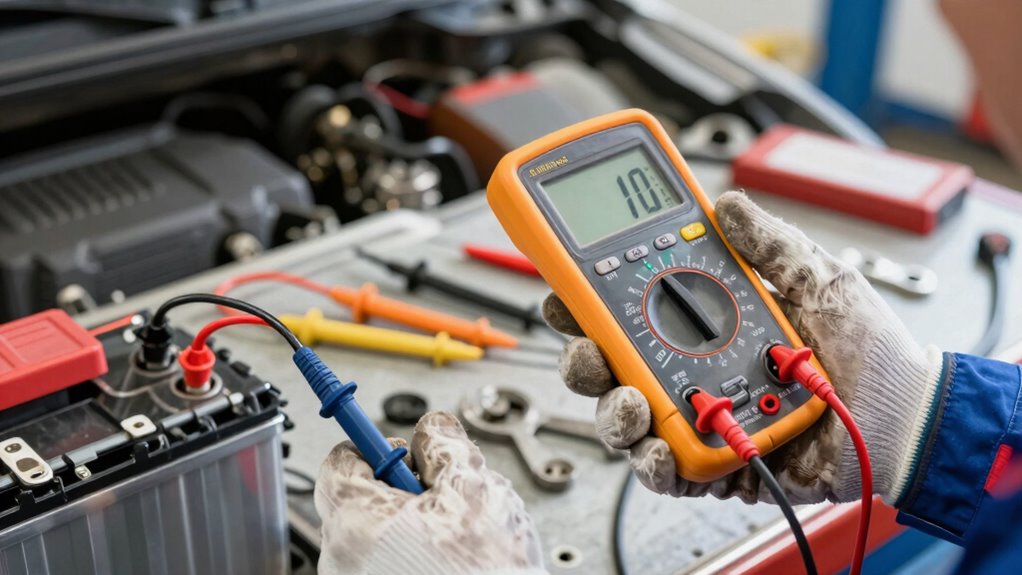
Before you start testing your car battery at home, it’s important to gather the right tools to guarantee accurate results. Proper tools ensure accurate battery maintenance and help identify if an alternator upgrade is needed. You’ll need a digital multimeter to check voltage and a set of safety gloves to protect yourself. Additionally, having a flashlight helps in low-light conditions. Here’s what you’ll need:
| Tool | Purpose |
|---|---|
| Digital Multimeter | Measure voltage for precise testing |
| Safety Gloves | Protect hands during testing |
| Test Leads | Connect multimeter to battery terminals |
| Rag or Cloth | Clean terminals if needed |
| Flashlight | Illuminate in dark areas |
Having these tools ready ensures a smooth testing process and reliable results. Ensuring your tools are vetted and reliable improves testing accuracy and helps prevent unnecessary part replacements.
Perform Voltage Test
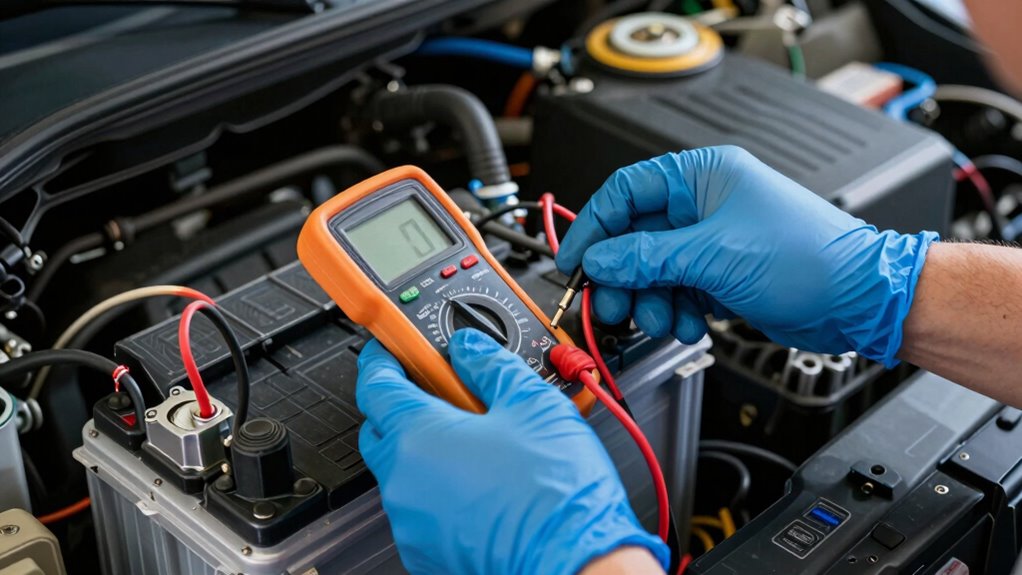
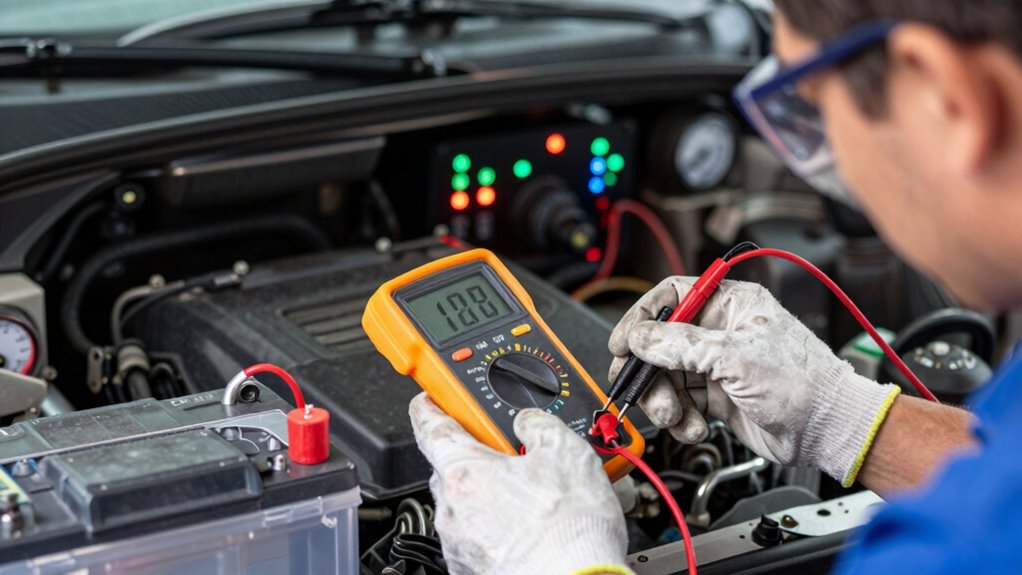
With your tools ready, you can now perform a voltage test to assess your battery’s health. Turn on your multimeter and set it to DC voltage. Place the red probe on the positive terminal and the black probe on the negative terminal of the battery. A healthy, fully charged battery should read around 12.6 volts. If it’s markedly lower, your battery’s capacity might be compromised, affecting starting power. While testing, also consider your alternator’s efficiency—if the voltage rises above 13.8 volts when the engine runs, your alternator is likely charging properly. However, if the voltage remains low or fluctuates, it could indicate issues with either the battery or the charging system. Performing this simple test helps identify potential problems before more serious failures occur, especially by evaluating the battery’s state of charge, which is crucial for reliable vehicle operation. Additionally, regularly monitoring your battery health can help prevent unexpected breakdowns and extend the lifespan of your vehicle’s electrical system. Regular voltage monitoring can also detect developing problems early, saving time and repair costs. Understanding how to interpret these readings can help you make informed decisions about battery maintenance, ensuring your vehicle remains dependable. Remember that proper maintenance of your electrical system is essential for overall vehicle safety and performance.
Assess Battery Condition
Testing your car battery at home is a straightforward process that helps you determine if it’s holding a proper charge. First, inspect the battery terminals for corrosion—white or bluish buildup can hinder performance. Clean any corrosion carefully with a mixture of baking soda and water, and ensure the terminals are tight. Next, check the alternator wiring connected to the battery; loose or damaged wires can cause charging issues. Use a multimeter to measure the voltage across the terminals; a healthy battery should read around 12.6 volts when the car is off. If the voltage is considerably lower or fluctuates, your battery may be failing. Regularly evaluating these factors can prevent unexpected breakdowns and extend your battery’s lifespan.
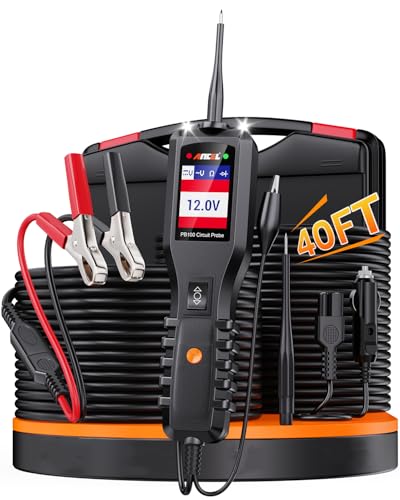
ANCEL PB100 Automotive Power Circuit Probe, 12-24 VDC Car Electrical Diagnostic Tool, AC/DC Voltage Current Resistance Short Detection, Trailer Fuse Tester, Digital Voltmeter Ohmmeter, 40FT Cables
All-in-One Power Circuit Tester for 12–24V Systems: The ANCEL Electrical Tester provides a complete solution for diagnosing vehicle…
As an affiliate, we earn on qualifying purchases.
As an affiliate, we earn on qualifying purchases.
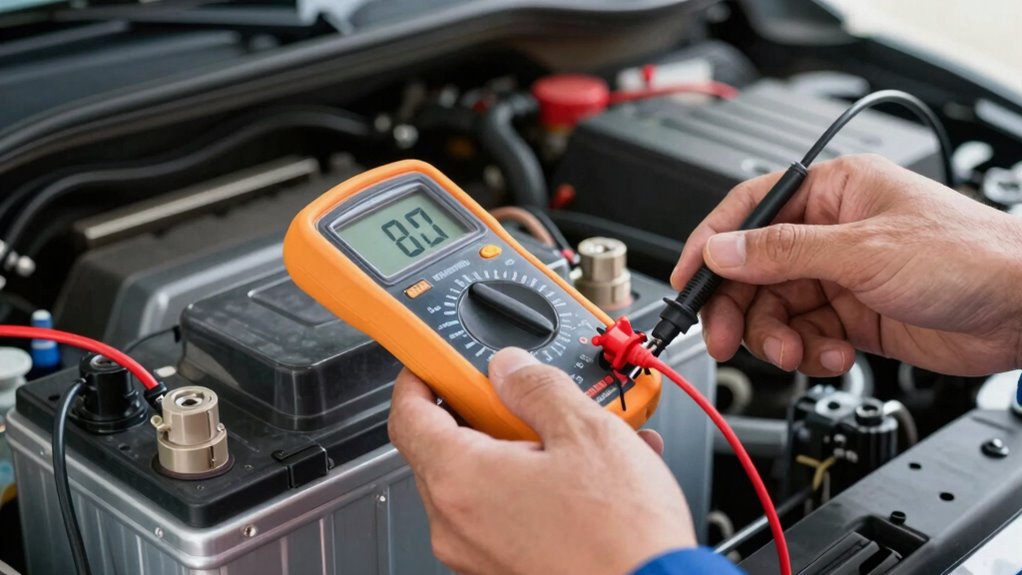
How to Use a Multimeter to Check Your Battery’s Health

Ever wonder how to quickly assess your car battery’s health? Using a multimeter is a simple way to do it. First, set your multimeter to 12V DC. Then, connect the red probe to the positive terminal and the black probe to the negative terminal of your battery. A healthy battery should read around 12.6 volts when the car is off. If it’s considerably lower, your battery may need maintenance or replacement. Keep in mind, a weak battery can cause alternator repair issues down the line. Regular testing helps prevent unexpected breakdowns. Remember to check your battery periodically, especially before cold weather. This simple step ensures your battery is in good shape, saving time and money on unnecessary replacements.
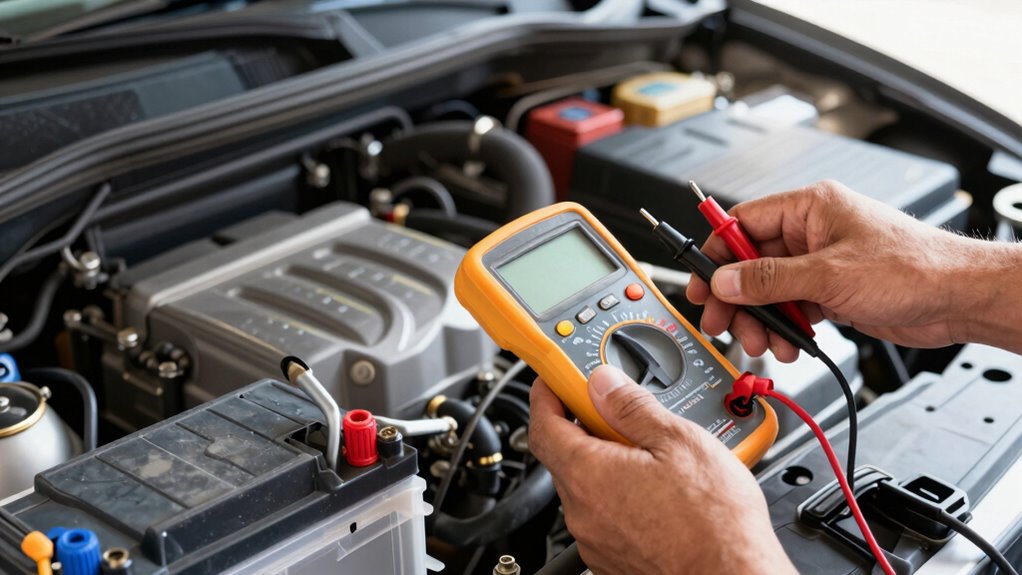
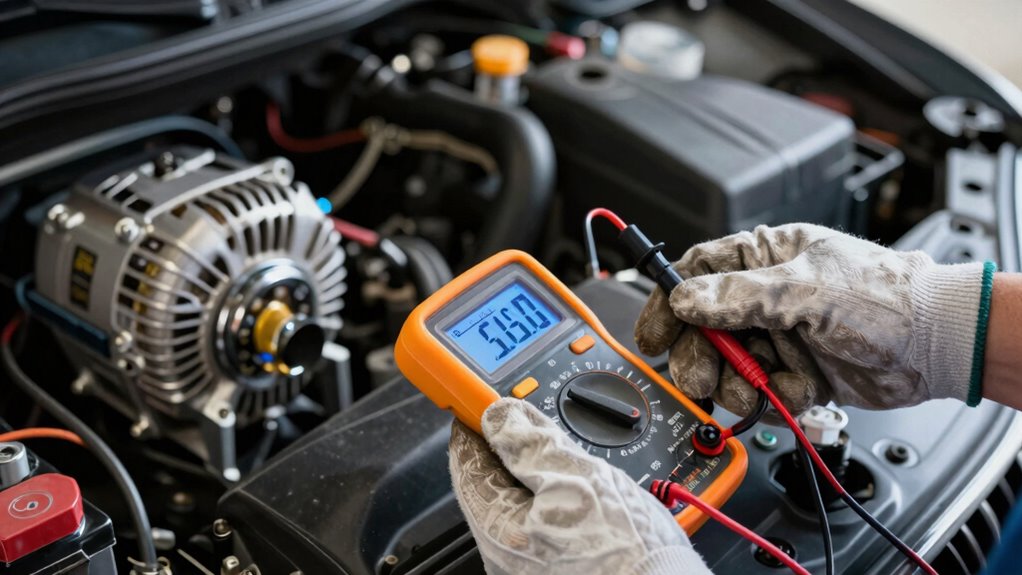
How to Check Your Alternator’s Charging Power

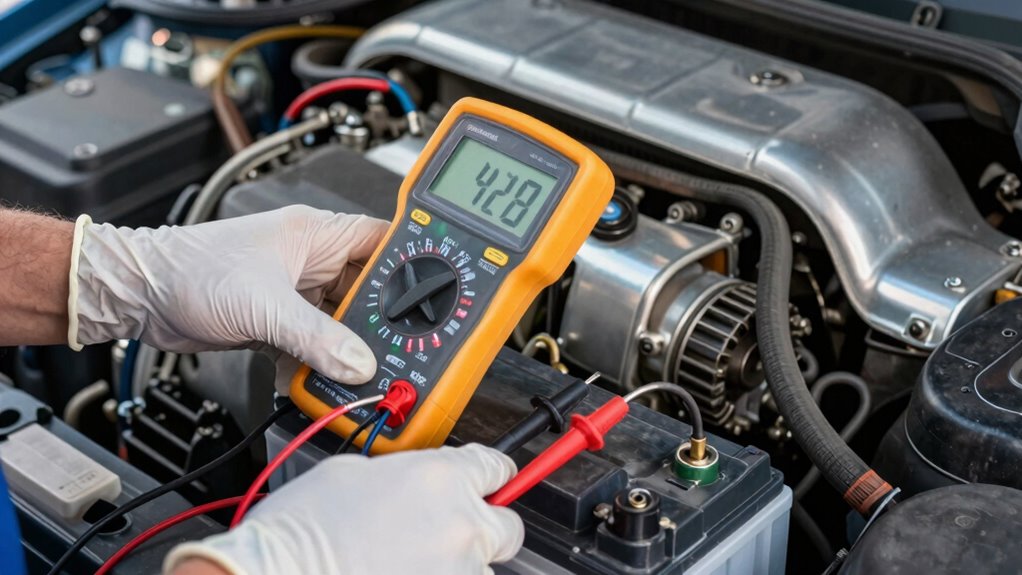
Wondering if your alternator is providing enough charge? To check its charging power, start your vehicle and set your multimeter to voltage. Place the probes on your battery terminals; a healthy alternator should produce between 13.8 and 14.8 volts. If the voltage is lower, your alternator’s efficiency might be compromised, affecting your charging system diagnostics.
Use the following table to compare your readings:
| Voltage Reading | Interpretation |
|---|---|
| 13.8 – 14.8 V | Alternator working properly |
| Below 13.8 V | Possible alternator or wiring issue |
| Above 14.8 V | Overcharging, check regulator |
This quick test helps you determine if your alternator is doing its job or if further inspection is needed.
How to Interpret Your Test Results and Know When to Replace

When you’ve taken a voltage reading on your battery, understanding what those numbers mean can save you time and money. A healthy battery should read around 12.6 volts when the engine is off. If it’s considerably lower, your battery may need replacement. For alternator repair, a reading between 13.8 and 14.4 volts indicates proper charging.
To interpret your results:
To interpret your results, compare voltage readings to standard ranges to assess battery health and charging status.
- Voltage below 12.4V suggests a weak or failing battery.
- Voltage above 14.4V indicates overcharging, possibly damaging your battery.
- Consistently low readings point to battery maintenance issues.
- Fluctuating numbers could signal alternator problems.
- Always test with a fully charged battery for accurate results.
Proper interpretation helps you decide when to replace parts, avoiding unnecessary repairs and ensuring reliable performance.
When to Seek Professional Help for Electrical Issues
Electrical issues in your vehicle can be complex and often require specialized knowledge to diagnose and repair accurately. If you notice frequent warning lights, dimming headlights, or intermittent electrical problems, it’s time to seek professional help. A trained mechanic has access to advanced diagnostic tools that can pinpoint the exact cause within your electrical system. Attempting to troubleshoot or fix complicated electrical issues yourself can lead to further damage or safety risks. If your vehicle struggles to start, experiences unexplained electrical failures, or if tests reveal inconsistent readings, don’t delay in consulting a professional. They can accurately diagnose the problem, ensure proper repairs, and prevent future issues, saving you time and money in the long run.
Tips to Maintain Your Battery and Alternator Longer
To extend the life of your battery and alternator, regular maintenance is essential. Proper care can boost your battery’s lifespan and keep your alternator running efficiently. Start by checking your battery terminals for corrosion and cleaning them regularly. Avoid short trips that don’t fully charge your battery, and keep your vehicle’s electrical system in top shape. Make sure your drive belt is tight and in good condition to ensure alternator efficiency. Additionally, keep an eye on dashboard warning lights and schedule routine inspections. Properly maintaining these components reduces strain on your charging system, saving you money and preventing unexpected failures.
Regular maintenance extends battery and alternator life, prevents failures, and saves money.
- Clean battery terminals periodically
- Drive longer trips to fully charge your battery
- Inspect the drive belt for wear and tension
- Turn off electronics when engine is off
- Schedule routine electrical system checks
Next Steps After Testing: Ensuring Your Vehicle’s Electrical Health
After completing a battery and alternator test, it’s crucial to interpret the results carefully to determine your vehicle’s electrical health. If the tests show a weak battery or failing alternator, focus on proper battery maintenance to extend its lifespan. Check connections, clean corrosion, and ensure the charging system is functioning correctly. A healthy electrical system depends on consistent monitoring and timely repairs. If the readings are within normal ranges, you can confidently continue routine battery maintenance and keep an eye on the system’s performance. Remember, ignoring minor issues can lead to bigger problems later. Regular testing and maintenance help prevent unexpected breakdowns and keep your vehicle’s electrical system running smoothly, saving you time and money in the long run.
Frequently Asked Questions
What Are Common Signs of a Failing Alternator?
You’ll notice an alternator warning when your car’s electrical systems act up, like dimming headlights or flickering dashboard lights. Battery failure signs, such as a slow-starting engine or battery warning light, can also point to a failing alternator. If your vehicle stalls unexpectedly or the electronics malfunction, don’t ignore these clues. Check your alternator before replacing parts, as these signs often indicate it’s time for testing rather than immediate replacement.
How Often Should I Test My Car Battery?
You should test your car battery at least once a year, especially if you notice slow starts or dim lights. Regular battery maintenance helps verify it’s charging properly through each cycle and prevents unexpected breakdowns. If you frequently drive short distances or experience extreme temperatures, consider testing more often. Monitoring your battery’s health keeps it performing well, avoiding costly replacements and ensuring your vehicle runs smoothly.
Can a Weak Battery Affect My Car’s Engine Performance?
A weak battery is like a shaky foundation, and it can definitely affect your engine’s performance. When battery corrosion builds up or voltage fluctuates, it struggles to power the starter and other essential systems, leading to misfires or rough idling. This strain can cause your engine to run inefficiently or stall unexpectedly. Regularly testing your battery helps identify issues early, preventing these performance problems before they become serious.
What Tools Are Needed to Test My Alternator at Home?
For DIY testing your alternator, you’ll need a digital multimeter, which is the primary tool recommended for accurate readings. Set it to voltage mode, then start your car and place the probes on the battery terminals. Ideally, you should see around 13.8 to 14.4 volts. Other helpful tools include a flashlight and safety gloves. These tools make it easy to assess if your alternator is functioning properly before seeking professional help.
How Long Do Batteries and Alternators Typically Last?
Your battery lifespan usually lasts about 3 to 5 years, depending on climate and usage. Alternator durability typically spans 70,000 to 100,000 miles or around 7 years. Factors like frequent short trips or extreme temperatures can shorten these lifespans. To avoid unexpected failures, regularly check your battery and alternator’s condition, and don’t wait until they completely fail—timely testing can save you money and prevent breakdowns.
Conclusion
Before rushing to replace your battery or alternator, test them first—you might save yourself from a costly mistake. With simple tools and a little know-how, you can pinpoint the real issue and avoid unnecessary parts replacement. Think of it as giving your car a health check-up rather than guessing blindly. Don’t let electrical problems turn your vehicle into a ticking time bomb—stay proactive, stay safe, and keep your car running smoothly for miles to come.